
You will need: the tools needed to remove the gearbox and clutch, and a socket «at 17» and a screwdriver.
1. Remove the gearbox (see «Removal and installation of a transmission») and grip (see «Removal and installation of clutch»).
2. Mark in any way the relative position of the flywheel and crankshaft.
Note. The flywheel can only be installed on the crankshaft in one position, since one of the holes in the flywheel and the crankshaft is located asymmetrically (has an angular displacement), however, to facilitate the installation of the flywheel, we recommend that you mark the relative position of the parts.
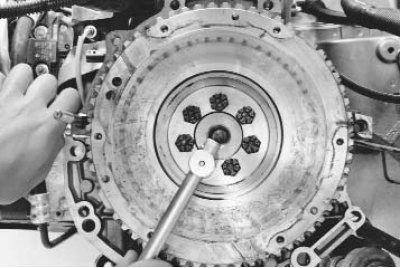
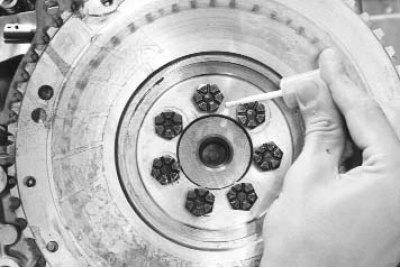
3. Turn out six bolts of fastening of a flywheel, keeping from turning a flywheel by means of a screw-driver.
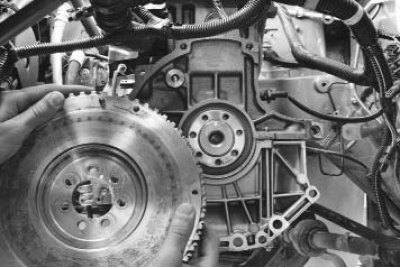
4. Remove the flywheel.
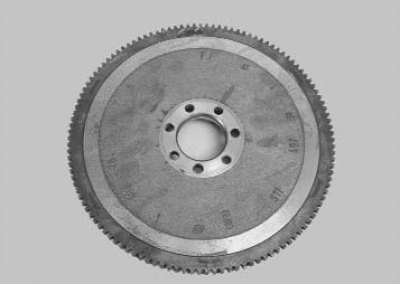
5. Check the condition of the flywheel rim teeth and replace the flywheel if damaged.
6. Replace or repair the flywheel if there are marks and burrs on the contact surfaces of the clutch disc or crankshaft flange.
7. You can check and repair the flywheel in a workshop with special equipment. The flywheel runout, measured along the toothed rim, must not exceed 0.5 mm. To remove deep scratches and scuffs, the contact surface of the driven disk can be ground, while the layer of metal being removed should not exceed 0.3 mm.
8. Establish a flywheel according to the put labels and all removed knots in sequence, return to removal. Lubricate the threads of the flywheel mounting bolts with an anaerobic thread locker such as Loctite Frenetanch or similar. Tighten the bolts evenly crosswise to a torque of 65 Nm (6.5 kgf·m).
Attention! Be sure to replace the flywheel mounting bolts with new ones. Their reuse is not allowed.