



Remove mudguards and engine crankcase protection if they are damaged or to provide access to components and assemblies from underneath the vehicle during repairs and maintenance.
Each mudguard (right and left) consists of two parts, upper and lower.
Note: The right mudguard is shown being removed; the left mudguard is removed in the same way.
You will need: TORX T20 key, flat- and Phillips-head screwdrivers, 10 mm wrench.
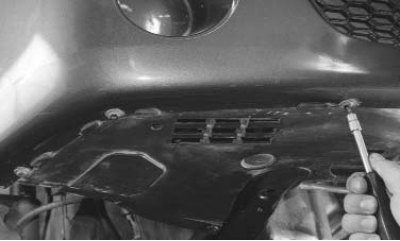
1. To remove the lower part of the mudguard, unscrew the three front bolts...
Note: The three bolts that secure the lower part of the mudguard also secure the front bumper.
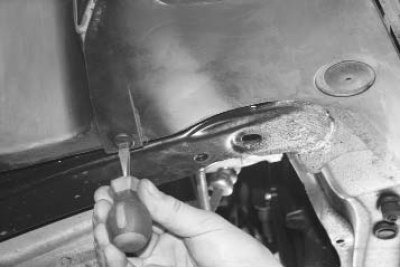
2. ...and the retainer of one rear mounting piston...
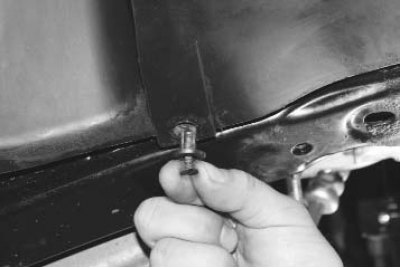
3. ...then remove the piston.
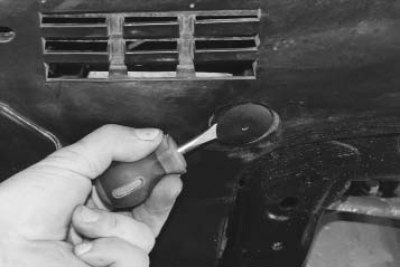
4. Using a screwdriver, pry...
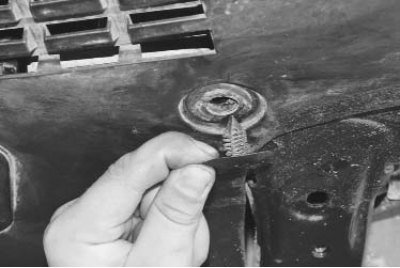
5. ... remove the large pin securing the lower part of the right mudguard.
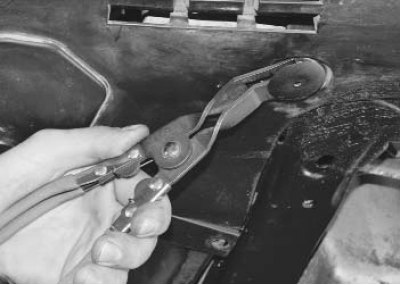
Note: It is more convenient to remove large pistons using a specially designed puller.
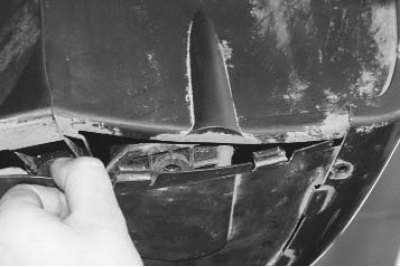
6. Disengage the lower mudguard clips from the upper mudguard and the front bumper...
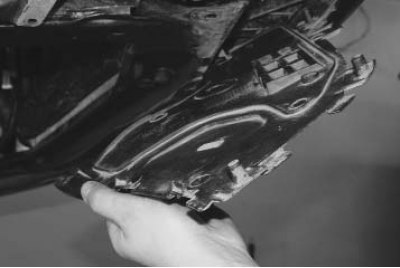
7. ...and remove the bottom part.
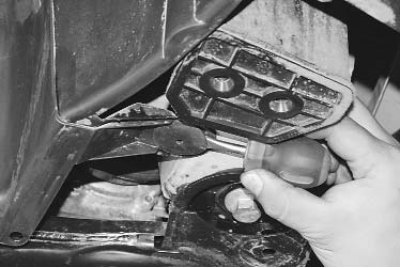
8. To remove the upper part of the mudguard, use a screwdriver to pry...
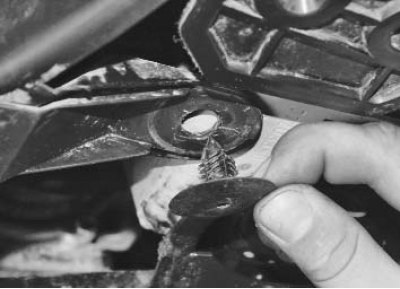
9. ... remove the piston from its lower mount...
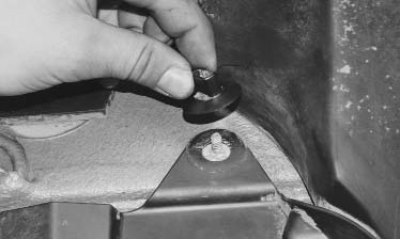
10. ...unscrew the plastic nut of the upper mount to the body...
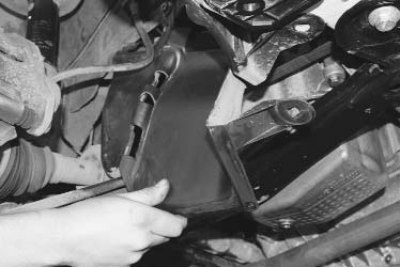
11. ...and remove the upper part of the mudguard.
12. Install the mudguards in the reverse order of removal.
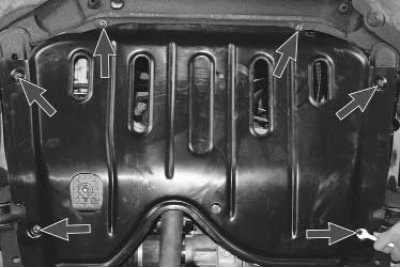
13. To remove the crankcase protection, unscrew the six bolts securing the protective shield...
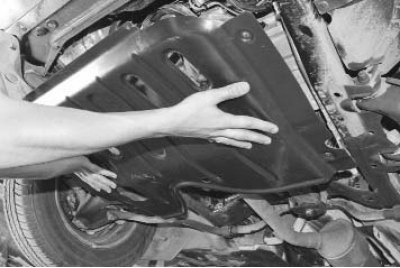
14. ...and remove the shield.
15. Install the engine crankcase guard in the reverse order of removal.