
Removing
1. Remove the toothed belt and crankshaft gear, refer to Sections Removal, inspection and installation of a toothed drive belt and Removal, inspection and installation of the gear wheel of the drive belt and the tension mechanism.
2. Remove the pan, refer to Section Removal and installation of the oil pan.
3. On the E7J engine, remove the key (where installed) from a groove in the crankshaft.
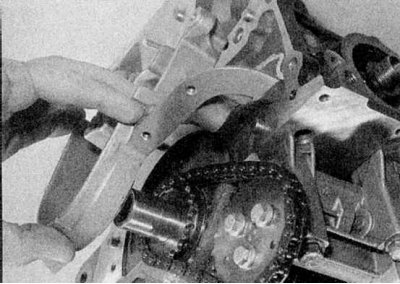
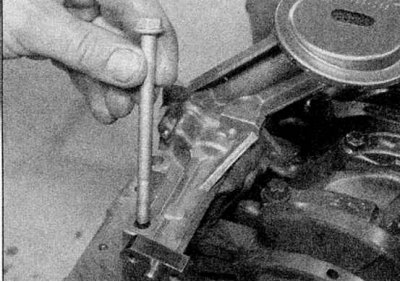
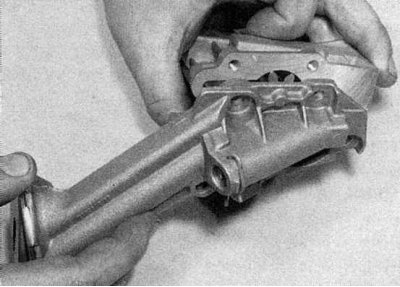
4. Unscrew the stuffing box casing from the side of the drive belt from the cylinder block (refer to accompanying illustration).
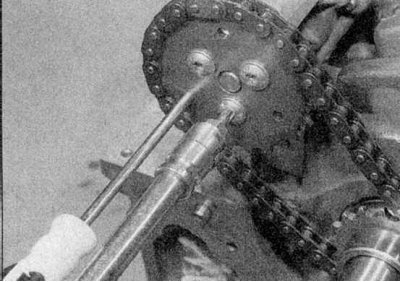
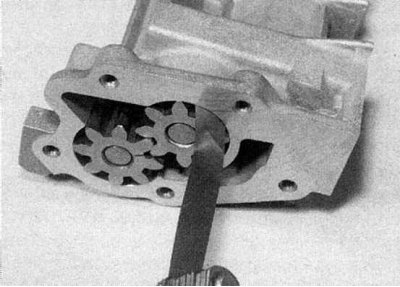
5a. To hold the gear, insert a screwdriver into one of the holes in it (refer to illustrations).
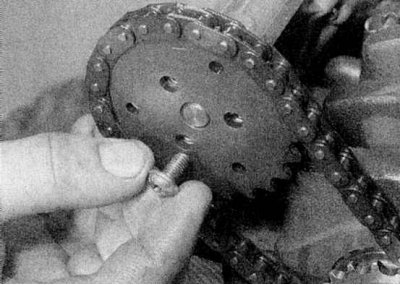
5b. Remove the bolts securing the gear wheel to the oil pump hub.
6. Remove the gear wheel from the oil pump.
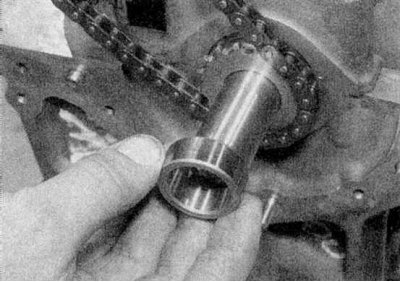
7. Pull out the stuffing box spacer (refer to illustrations).
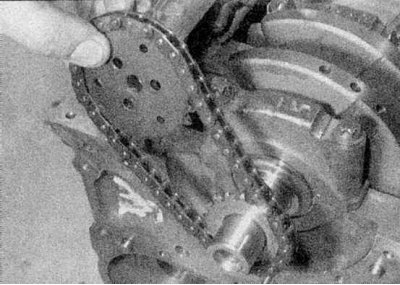
8. Remove the drive sprocket from the crankshaft, then release both sprockets from the chain (refer to accompanying illustration).
Note. The gear wheel is not keyed to the crankshaft, so the pulley bolt must be properly tightened. This is very important, otherwise there is a chance that the oil pump will not function.
9a. Turn away two fixing bolts.
9b. Take out the oil pump. If there are two dowel pins, leave them in the cylinder block (refer to illustrations).
Inspection
1. Turn away bolts of fastening.
2. Remove pump cover and oil pickup tube (refer to illustrations).
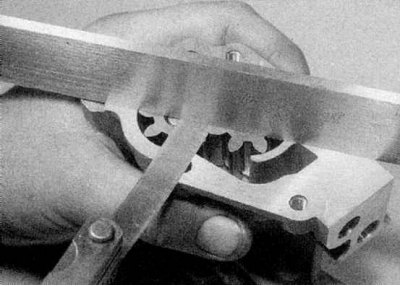
3. Use a feeler gauge to check the clearance between each gear and the oil pump housing.

4. Also check the axial clearance of both gears (between the gears and the parting surface of the cover). If any clearance is outside the tolerances given in Specifications, the oil pump must be replaced (refer to illustrations).

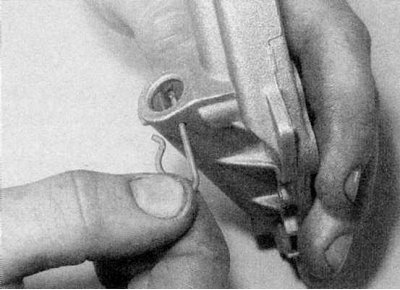
5a. Press the end stop of the safety valve and remove the spring clip.
5b. Release the stopper and remove the spring and piston (refer to illustrations).
6. Inspect the relief valve piston and cylinder walls for signs of wear and damage. If these damages are found, replace the oil pump.
7. If the components are serviceable, clean them and reassemble in the reverse order of disassembly. Before installing the cover, fill the pump with engine oil.
8. Inspect the chain for signs of wear and replace if necessary. Check also the asterisks.
Installation
1. Wipe the contact surfaces of the oil pump and cylinder block.
2. Make sure there are two locating pins in the cylinder block, then place the oil pump on them and insert the two mounting bolts. Tighten the bolts given in Specifications effort.
3. Put the chain on the oil pump sprocket.
4. Align the holes, then insert the bolts and tighten them to the Specifications force while holding the sprocket with a screwdriver.
5. The drive belt side seal should be changed each time the cover is removed. Note the correct location of the old oil seal, then remove it with a screwdriver and wipe the bearing surface. Lubricate the outer edge of the new oil seal and place it on the casing, closed side out. Place the casing on a block of wood, then hammer the gland into place with a head or metal pipe.
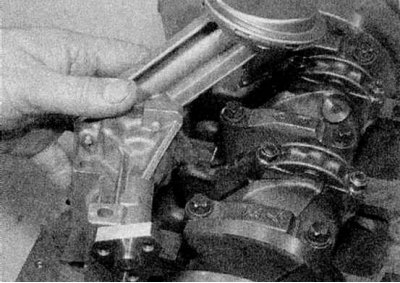
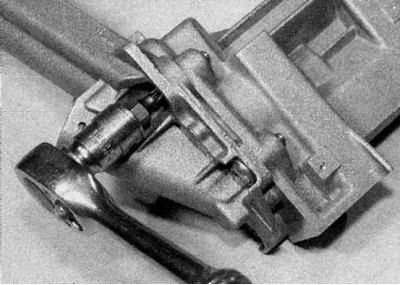
6. Clear the combined surfaces of an epiploon casing and the block of cylinders from hermetic. Apply a 0.6 - 1.0 mm bead of sealant to the casing, then install it on the cylinder block and tighten the bolts securely. The sealant must run around the inside edges of the bolt holes (refer to accompanying illustration).
7. Lubricate the oil seal, then position the spacer on the end of the crankshaft. If the spacer is worn where the seal touches, it can be rotated so that the new seal touches the unworn area.
8. On the E7J engine, install the key (where installed) into the groove on the crankshaft.
9. Install the pallet (guided by Section Removal and installation of the oil pan).
10. Install the crankshaft gear and a new toothed drive belt, refer to Sections Removal, inspection and installation of the gear wheel of the drive belt and the tension mechanism and Removal, inspection and installation of a toothed drive belt.