
Attention! If the toothed drive belt breaks while the engine is running, serious damage may result. Replace the belt at the intervals specified in Specifications to the head Maintenance, or earlier if in doubt about his condition.
Removing
1. Disconnect the ground cable from the battery (contact the head Engine electrical equipment)
Attention! If the car radio in your car is coded, make sure you know the code before disconnecting the battery.
2. Apply the handbrake, then jack up the front right side of the vehicle and place it on axle stands. Remove the right wheel. Where available, remove the bottom shield of the engine compartment.
3. Remove the right wheel arch liners.
4. Remove the power steering drive belt, then the alternator drive belt.
5. Set the piston No. 1 of the engine to the TDC position, as described in Section Top dead center location (TDC) piston number 1.
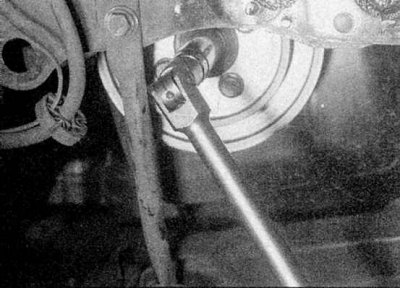
6a. To hold the crankshaft while loosening the pulley bolt, have an assistant engage the highest gear and depress the brake pedal. The crankshaft can also be locked in another way: unscrew the crankshaft speed / position sensor from the top of the transmission and insert a screwdriver through the sensor hole in the clutch housing between the teeth of the flywheel crown.
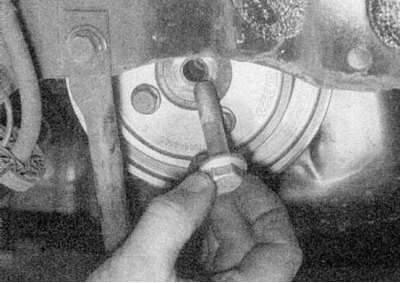
6b. Loosen the crankshaft pulley bolt.
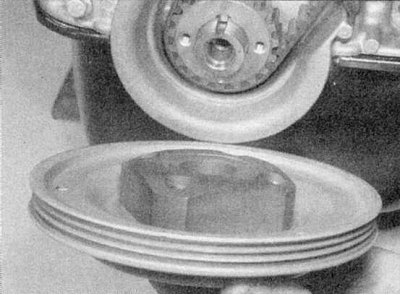
6c. Then remove the pulley and hub; note the key on the end of the crankshaft (refer to illustrations).
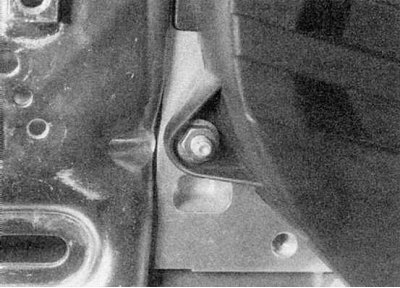
7a. Loosen the bottom nut of the drive cover.
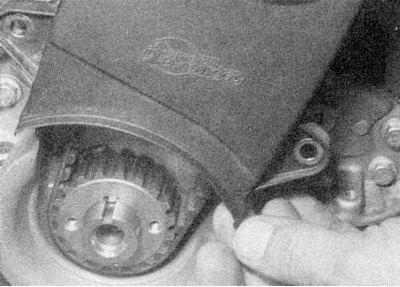
7b. Remove the timing belt cover (refer to illustrations).

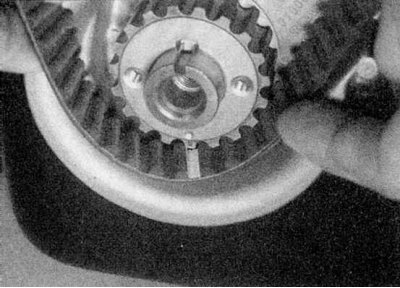
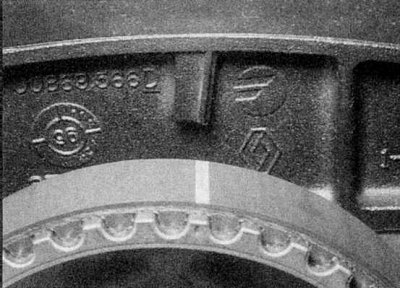
8. Make sure the TDC mark on the camshaft sprocket is pointing up and aligned with the mark on the valve cover. On some models, the mark on the gland housing must be aligned with the mark on the crankshaft sprocket located at 6 o'clock, opposite the key slot. On later models, mark the location of the shroud to facilitate subsequent installation (refer to accompanying illustration).
9. Loosen the nut on the timing belt tensioner, turn the tensioner pulley counterclockwise to reduce tension, then tighten the nut to secure the pulley.

10a. Check that there are arrows on the belt indicating the direction of its rotation; if necessary, make them yourself.
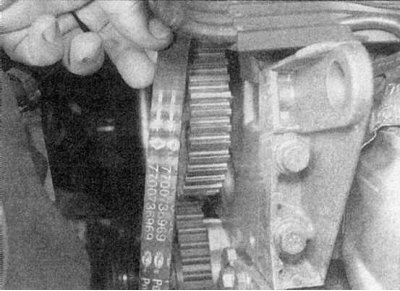
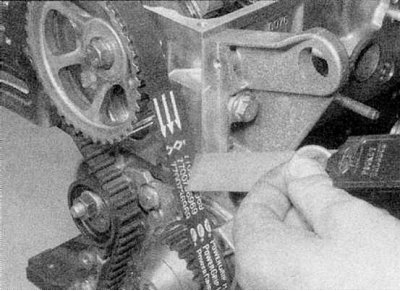
10b. Remove the belt from the camshaft, water pump and crankshaft gears. If the belt is to be used again, contrary to Renault's instructions, do not twist or break it when removed (refer to illustrations).
11. Clean gears and tensioner. Also clean the side of the head and cylinder block where the toothed drive belt is installed.
Inspection
Note. Renault recommends replacing the timing belt every time it is removed. If the belt tension is checked using a special tool, then it will only be suitable for further use if the tension is within the limits specified in Specifications allowable deviations. If the tension is in the lower range of acceptable values, the belt cannot be tightened further, it must be replaced.
Carefully inspect the toothed drive belt along its entire length, especially at the bases of the teeth. Replace the belt if it is contaminated with oil or grease. Replace any leaking seals. The belt must be replaced when the maximum mileage is reached. Also inspect the gears and tensioner as described in the next Section Removal, inspection and installation of the gear wheel of the drive belt and the tension mechanism.
Installation
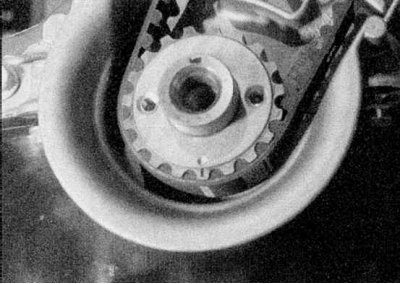
1a. Install a new belt on the crankshaft gear so that one of the alignment strips on it is aligned with the marks on the pulley (at the 6 o'clock position, opposite the keyway slot) and on the seal housing.
1b. The other strip should line up with the marks on the camshaft sprocket and on the valve cover.
1c. Putting the belt on the crankshaft gear and holding the tension, put it further on the water pump pulley and on the camshaft gear, then place it on the tensioner pulley (refer to illustrations).
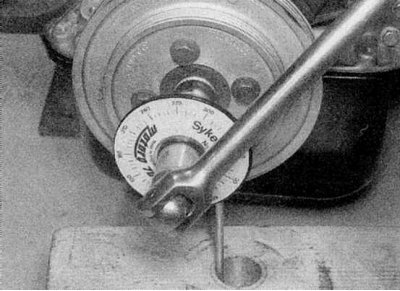
2. With the belt on the pulleys, loosen the tensioner nut and tighten the belt, then tighten the nut again (refer to accompanying illustration). The tensioner is not spring-loaded, so the belt must be rotated by hand to tension the belt; as a lever, you can use a screwdriver inserted between the bolts in the holes in the hub of the tensioner. Make sure that the alignment marks remain aligned.
3. Now you need to adjust the belt tension, this can only be done accurately using the Renault Mot tool. 1273 (SEEM C. Tronic 105.6). If this equipment is not available, adjust the belt tension as far as possible using the method described below, and then contact a Renault workshop as soon as possible to check the tension. Do not go on a long trip or drive at high speed until the toothed drive belt tension has been checked.
4. If the adjustment is incorrect, the tensioner will need to be repositioned. The nut of the tension mechanism must be clamped with the force given in the Specifications.
5. Install the crankshaft pulley and bolt. Rotate the crankshaft two full turns in the normal direction of rotation, then recheck the belt tension and make sure the timing marks are correctly aligned. The alignment marks on the gears should only align every two revolutions, however, the strips on the toothed drive belt will only align after a few engine revolutions. Tighten the crankshaft pulley bolt to specification (and tighten to the specified angle for the K7M engine), while holding the crankshaft as described earlier in this Section (refer to accompanying illustration).
6. Establish a cover of a gear drive belt and tighten bolts of fastening.
7. Install the alternator drive belt, then the power steering drive belt, and tension them.
8. Install the right wheel arch liners, then install the wheel and lower the vehicle to the ground.
9. Connect the ground cable to the battery.