
Warning! Disc brake pads should be changed on both front wheels at the same time - changing the pads on only one wheel will result in unequal braking. Dust generated during pad wear may contain asbestos, which is harmful to health. Never blow it off with compressed air and try not to inhale it. DO NOT use mineral solvents to clean brake components. Use only special cleaner or methyl alcohol.
Note. When installing, use a new caliper guide pin bolt.
1. Apply the handbrake, then jack up the front of the vehicle and place it securely on axle stands. Remove the front wheels.
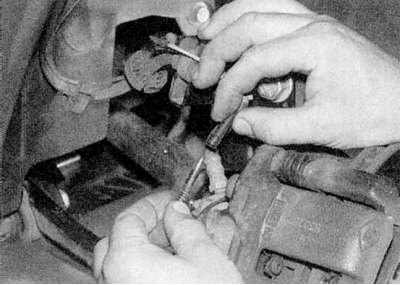
2. Trace the pad wear sensor wiring to the connector and disconnect it (refer to accompanying illustration). Note the correct location of the electrical wiring and release it from the mounting brackets.
3. Pull the caliper out. This will push the piston into the cylinder and make it easier to remove and install the pads.
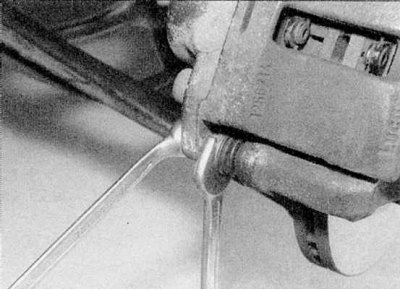
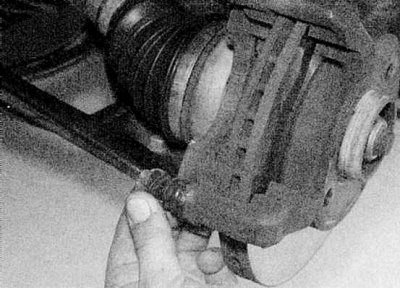
4. Loosen the caliper lower guide pin bolt using a suitable wrench and locking the pin with a second wrench. Throw away the bolt - it must be replaced (refer to illustrations).
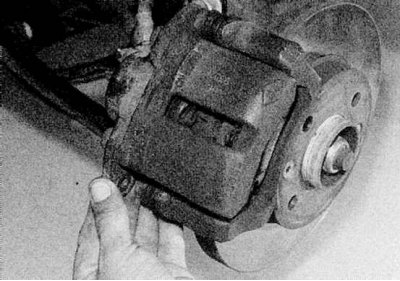
5. Rotate the caliper to move it away from the blocks and tie it with wire to the suspension strut (refer to accompanying illustration). Do not let the caliper hang on the hose.
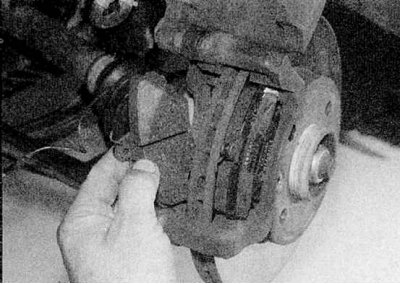
6. Remove the brake pads from the bracket (refer to illustrations).
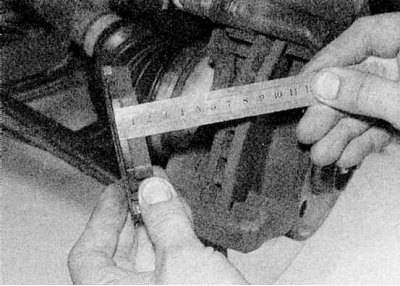
7. Measure the thickness of each brake pad (metal base plus overlay) (refer to accompanying illustration). If any of the pads are worn to the specified Specifications minimum thickness, all four pads must be replaced. The pads must also be replaced if at least one of them is contaminated with oil or grease, since it cannot be cleaned. If uneven wear or contamination is found, find and correct the cause before installing new pads.
8. If the brake pads are serviceable, clean them gently with a soft wire brush, paying particular attention to the sides and back of the metal backing. Also clean the inside surface of the caliper mounting bracket.
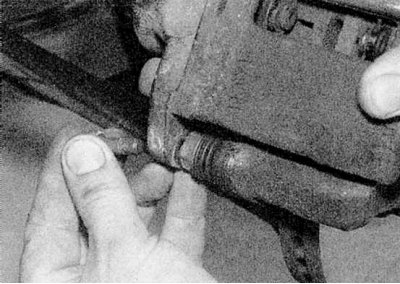
9. Before installing the shoes, make sure that the drive pins slide freely in the bracket and that the rubber boots on the drive pins are not damaged (refer to accompanying illustration). Clean the dust off the caliper and piston with a brush. Inspect the piston dust cover and the piston itself for damage, leakage, and corrosion. Maintenance of these components is described in Section Removal, reassembly and installation of front brake calipers.
10. If new pads are installed, push the caliper piston into the cylinder to make room for them. Use a clamp or a flathead screwdriver to do this. Please note that this will increase the liquid level in the tank (it is recommended to first pump out some of the liquid from it).
11. Install the pads in the working position, remembering that the inner pad is equipped with a wear sensor.
12. Turn the caliper into working position. Make sure the pad springs are installed correctly, then push the caliper in and install the new guide pin bolt (refer to accompanying illustration). Tighten the bolt to Specifications effort.
13. Connect the brake pad wear sensor harness connector and secure the wires with clips.
14. Depress the brake pedal several times to move the pads close to the disc.
15. Repeat the above procedure on the second front brake caliper.
16. Install the wheels, then lower the vehicle to the ground and tighten the wheel bolts to Specifications effort.
17. Check the brake fluid level as described in Section Schedule of ongoing maintenance.