
Removal and installation of a drive of adjustment of giving of fuel
Note: Before opening the fuel circuit, prepare a new fuel control actuator.
Removal of a drive of adjustment of giving of fuel
1. Disconnect the negative battery terminal.
2. Remove the turbocharger air duct.
3. Remove the fuel rail protection.
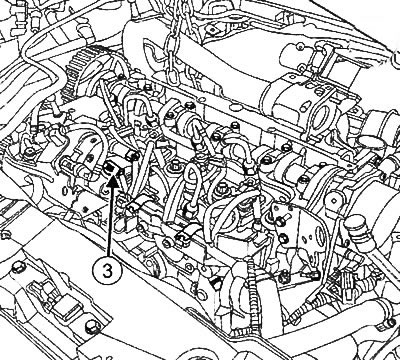
4. Disconnect the fuel control actuator connector (3).
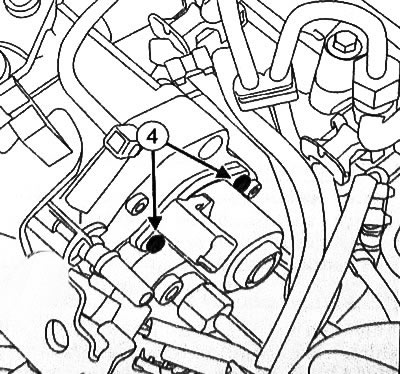
5. Loosen the bolts (4) and remove the fuel control actuator.
Attention:
- Make sure that no dirt gets into the injection system when removing the fuel control actuator.
- After opening the fuel system circuit, do not use compressed air for cleaning, as this may introduce contaminants into the system. If necessary, use lint-free cleaning wipes.
Installing the Fuel Control Actuator
Note: Be sure to replace the fuel control actuator gasket with a new one.
Attention: You must remove the plugs from the components and remove the components from the packaging immediately before installing the component.
1. Install the fuel control actuator to the high pressure fuel pump.
2. Connect the fuel control actuator connector.
3. Fill the system with fuel using the manual priming pump (with automatic venting).
4. Install fuel rail protection.
5. Install the turbocharger air duct.
6. Connect the negative battery terminal.
7. Start the engine.
8. Check for fuel leaks.
9. Using a scan tool, perform post-repair procedures for the injection control unit and fuel control actuator.