
You will need: flat blade screwdriver, socket head «at 13».
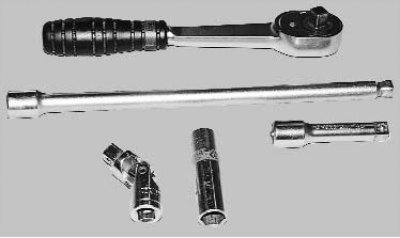
Note. To unscrew the hard-to-reach nuts for fastening the vacuum booster, you need a set of socket heads, extension cords and wrenches, similar to the one shown in the photo.
1. Disconnect the wire from the terminal «minus» battery.
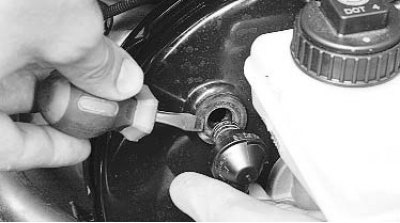
2. Disconnect the hose from the vacuum booster to the intake pipe by prying the hose check valve with a screwdriver.
3. Remove the brake master cylinder (see «Replacing the master brake cylinder»).
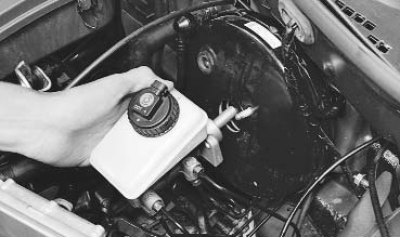
Note. If the performer has sufficient skills, the master brake cylinder can not be completely removed, it is enough to disconnect it from the brake booster and move it forward without disconnecting the pipelines from it.
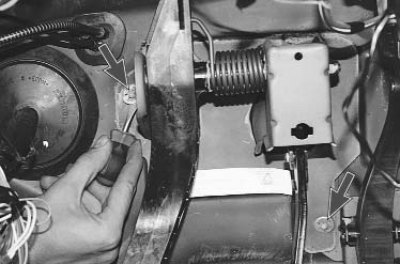
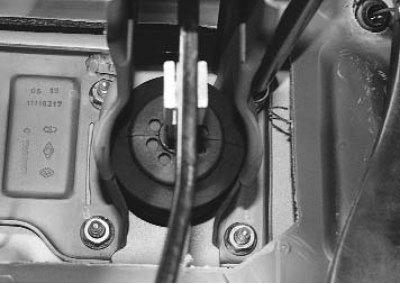
4. Pry off with a screwdriver, remove the two holders of the noise-insulating lining...
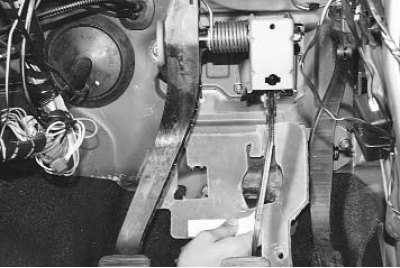
5.... and remove the overlay.
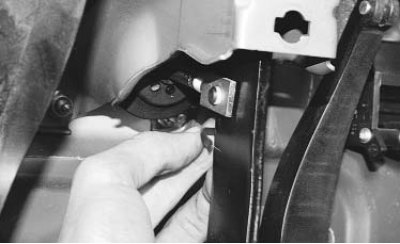
6. Disconnect the pusher of the vacuum booster from the brake pedal, to do this, unfasten the spring clip of the finger from the pedal...
7....and, squeezing the plastic retaining ring...
8.... remove the finger from the holes of the pedal and pusher fork.
Note. Replace the brake booster pushrod yoke pin if it is worn or the spring retainer and circlip are damaged.
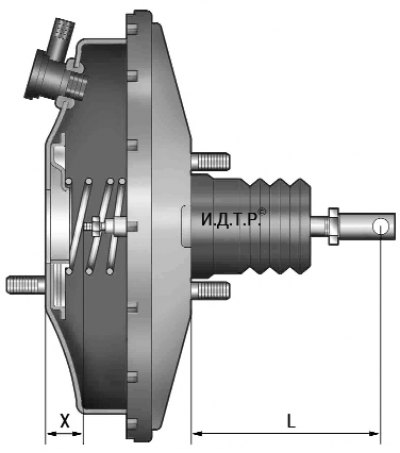
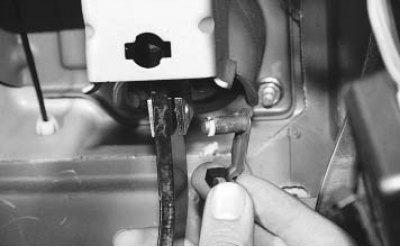
9.7. Adjusting dimensions of the vacuum brake booster: Х=22.3 mm; L=145.8 mm
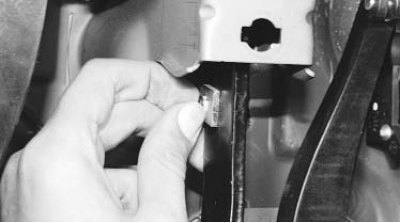
9. Turn away four nuts of fastening of the vacuum booster of brakes to a bulkhead panel...
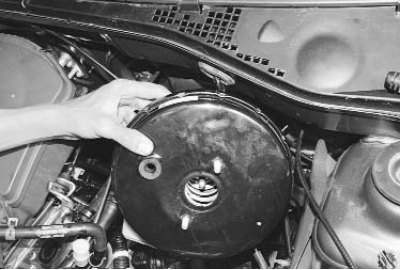
10.... and remove the vacuum booster.
11. Install the vacuum booster and all removed parts in the reverse order of removal. Before installation, check the adjusting dimensions of the amplifier (pic. 9.7) and, if necessary, restore them by turning the adjusting bolt of the amplifier rod (X size) and pusher forks with released locknut (size L).
Note. The adjusting bolt of the amplifier rod is fixed from self-loosening during operation with an anaerobic thread lock.
12. If the main brake cylinder was completely removed, fill in the brake fluid and bleed the air from the system (see «Bleeding the hydraulic drive of the brake system»).