



Note: The engine is very heavy, so we recommend that you have someone help you when removing it.
Attention! When removing and installing a heavy engine, use only fully functional lifting mechanisms designed for the corresponding load, and especially carefully monitor the correctness and reliability of the connection of cables, crossbars, etc. to the engine's transport lugs.
1. For ease of work, remove the hood (see "Removing and installing the hood").
2. Reduce the pressure in the fuel system (see "Lower pressure in the fuel system").
3. Remove the air filter (see "Removing and installing the air filter").
4. Disconnect the wires from the battery and remove it from the vehicle (see "Removing and installing the battery").
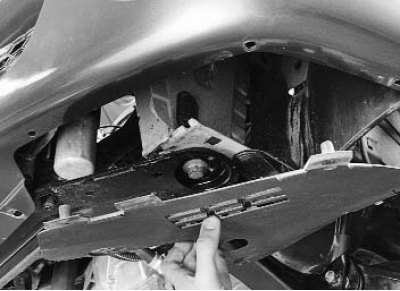
5. Remove the engine crankcase guard and splash guards (see "Removal and installation of mudguards and engine crankcase protection").
6. Drain the cooling system (see "Replacing the coolant").
7. If you remove the engine for repair, drain the oil from the oil pan (see "Changing engine oil and oil filter").
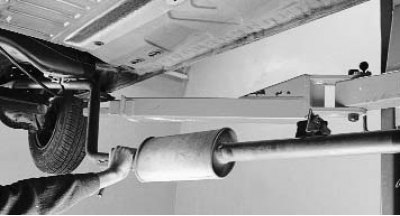
8. Remove the exhaust system (see "Replacing elements of the exhaust system"), since its intake pipe prevents the engine from lowering down.
9. Disconnect the wiring harness connectors:
- from injectors;
- throttle position sensors, absolute pressure, coolant temperature, intake air temperature;
- idle speed controller.
Note: The operations listed in paragraph 9 are described in the subsection "Cylinder Head Gasket Replacement".
10. Disconnect the wire harness connectors from the power steering pump pressure sensor (see "Replacing the power steering pump")...
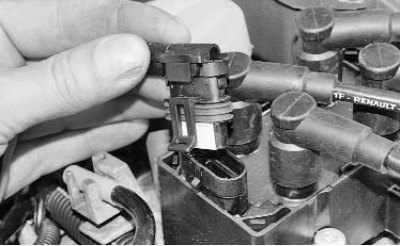
11. ...ignition module...
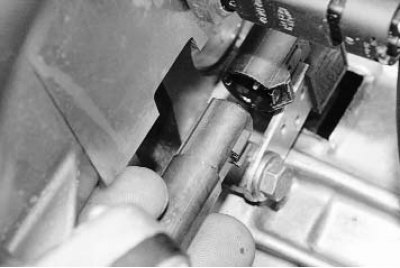
12. ...top dead center sensor...
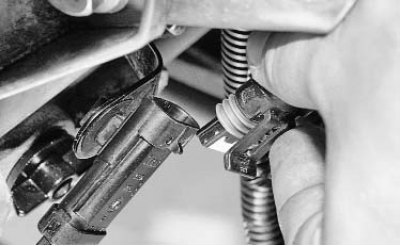
13. ...sensor of oxygen concentration in exhaust gases...
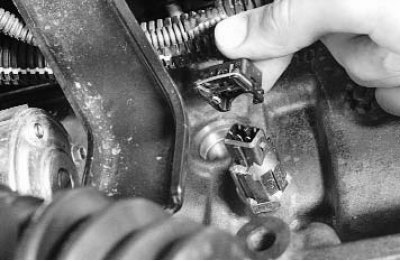
14. ...knock sensor...
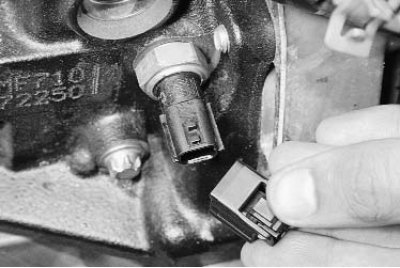
15. ...oil pressure sensor...
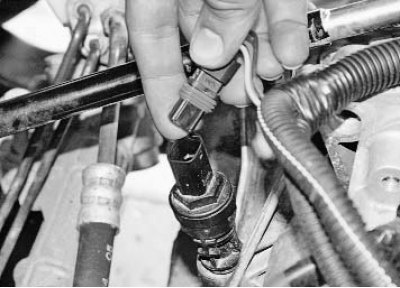
16. ...speed sensor...
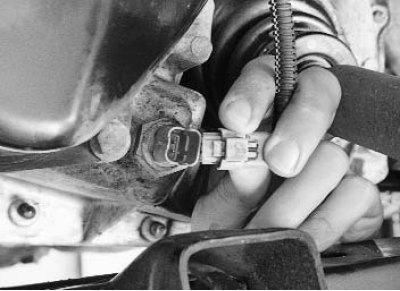
17. ...and the reverse light switch.
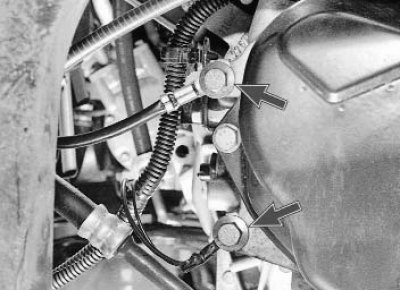
18. Disconnect the two ground wires from the gearbox by unscrewing the bolts that secure them.
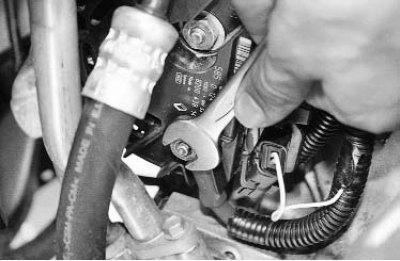
19. Disconnect the wires from the generator (see "Removing and installing the generator")...
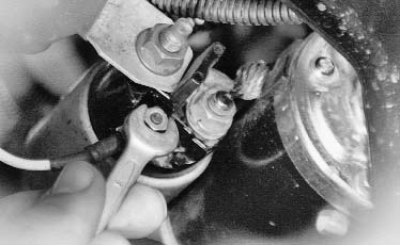
20. ...and the starter (see "Removing and installing the starter").
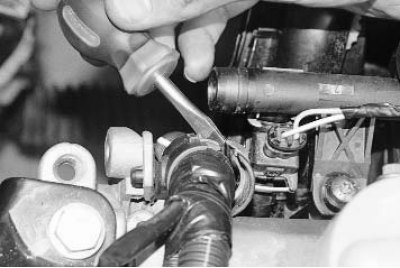
21. Remove the engine harness from the holders on the engine (see "Cylinder Head Gasket Replacement") and take it aside.
22. Disconnect the front end of the throttle cable from the intermediate lever on the intake manifold and from the bracket on the engine (see "Replacing the throttle cable").
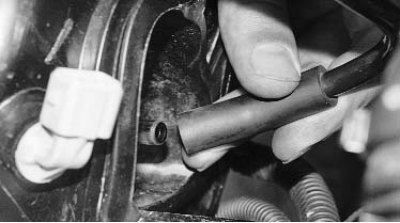
23. Disconnect the purge hose from the intake pipe...
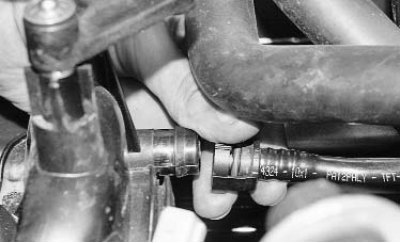
24. ...and the hose to the brake booster, squeezing the clamps of its fastening.
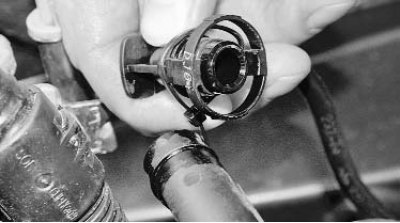
25. Disconnect the fuel hose from the fuel rail (see "Cylinder Head Gasket Replacement").
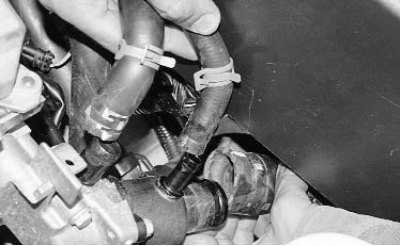
26. Disconnect the hoses from the thermostat, cylinder head and water distribution pipe.
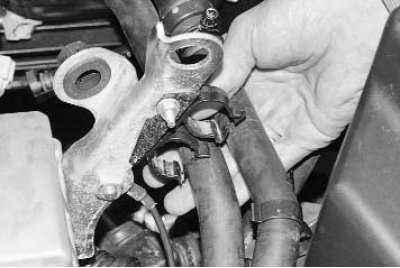
27. Remove the heater hoses from the holders on the bracket and move them to the side.
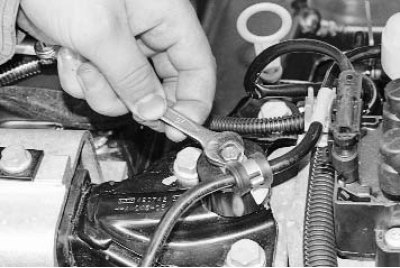
28. Unscrew the bolt securing the purge hose holder...
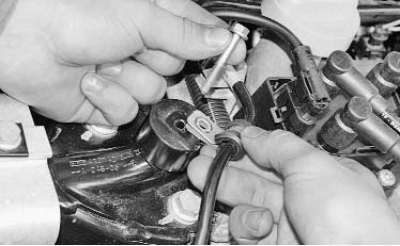
29. ...and move the hose to the side.
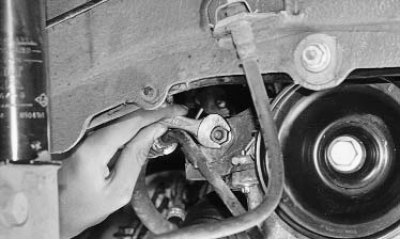
30. Remove the bolt securing the power steering system pipe holder to the engine.
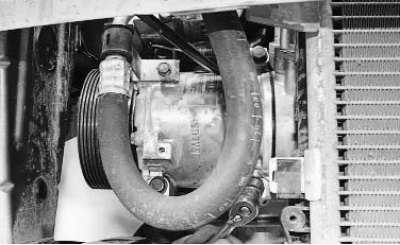
31. Remove the bolts securing the air conditioning compressor to the bracket...
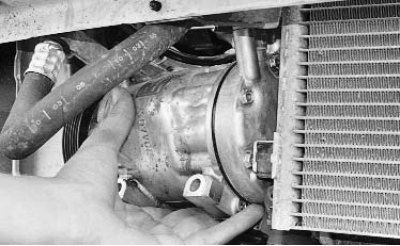
32. ...and, without disconnecting the pipelines from it, move it to the side and secure it in any available way (for example, by tying it with wire).
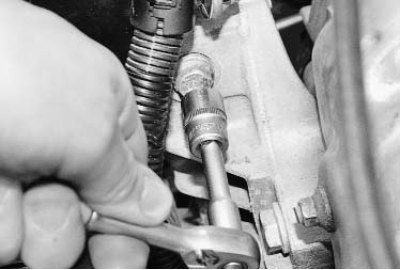
33. Similarly, disconnect the power steering pump from the engine (see "Replacing the power steering pump").
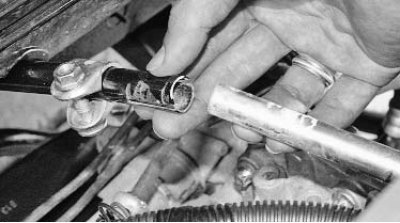
34. Disconnect the gearbox control rod...
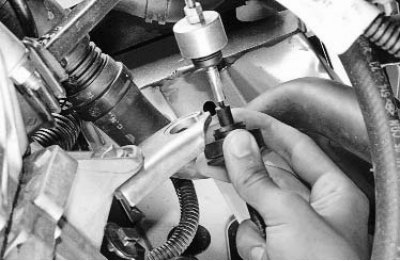
35. ...and the front end of the clutch release cable (see "Replacing and adjusting the clutch release cable").
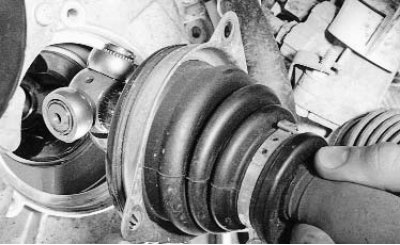
36. Disconnect the front wheel drives from the gearbox (see "Removal and installation of front wheel drives").
37. Remove the subframe (see "Removing and installing the subframe").
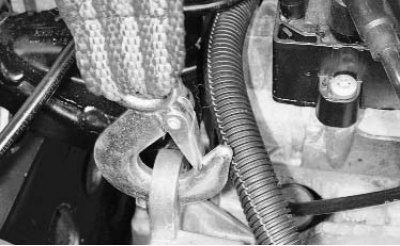
38. Attach the lifting gear slings to the front...
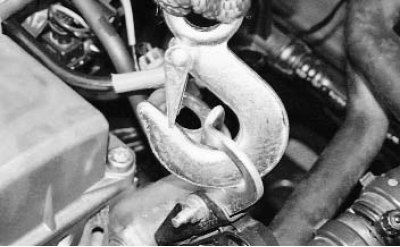
39. ...and the rear transport eyes and tighten the straps.
40. Remove the right and left powertrain suspension supports (see "Replacing the powertrain suspension supports").
Note: The rear powertrain mount was removed along with the subframe.
41. Check again that all wires, hoses and attachments are disconnected from the engine.
42. Lower the engine down to the floor.
43. Raise the front of the car (raise the car on a lift) to a height sufficient to remove the power unit from under the vehicle, and install reliable supports under the body.
44. Remove the engine from under the vehicle.
45. Install the engine and all removed components and parts in the reverse order of removal, taking into account the following:
- before installing the power unit, clean the threaded holes for fastening its supports from rust using a tap;
- be sure to replace the intake pipe gasket with a new one;
- when connecting wires and pipelines, carefully ensure that they are correctly positioned in the engine compartment, avoiding contact with heating and moving elements of the power unit.
After installing the engine, do the following.
1. Fill with oil (see "Changing engine oil and oil filter").
2. Fill the gearbox with oil.
3. Fill with coolant (see "Replacing the coolant").
4. Adjust the tension of the accessory drive belt (see "Checking the tension of the auxiliary drive belt").
5. Adjust the throttle actuator (see "Adjusting the Throttle Cable").
6. Start the engine and check for fuel, oil and coolant leaks. Check the oil pressure. Listen to the engine, it should run smoothly, without any extraneous noise or knocking.