



Contents: Intake manifold (e7J engines) 🠛 Intake manifold (k7M engines) 🠛 Intake manifold (f3R engines) 🠛 Intake manifold (f7R engines) 🠛 Exhaust manifold 🠛
Intake manifold (e7J engines)
Removal
1. Remove the throttle body as described in Section Removal and installation the throttle body.
2. Drain the cooling system as described in Chapter Maintenance, then disconnect the cooling system hoses from the intake manifold.
3. Disconnect the brake booster vacuum hose and electrical connector from the heater at the bottom of the intake manifold.
4. Gradually loosen the nuts, then remove the intake manifold from the studs in the cylinder head. Remove the gasket.
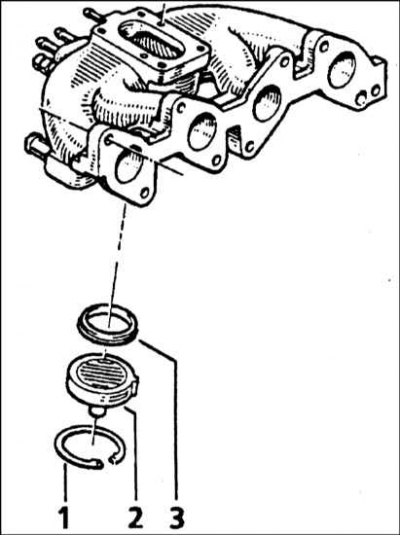
5. If necessary, the heater (2) can be removed from the base of the inlet manifold by removing the retaining ring (1). Note the location of the seal (3)(refer to the accompanying illustration).
Installation
1. Install in reverse order. Use a new gasket and tighten the mounting nuts to the specifications given in Specifications force. Fill the cooling system as described in Chapter Maintenance.
Intake manifold (k7M engines)
Removal
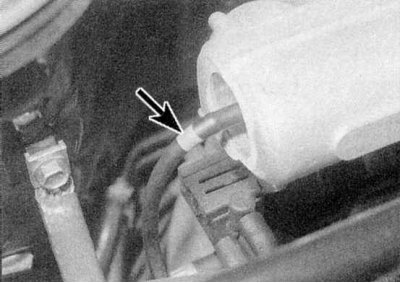
1. Remove the fuel rail and injector assembly as described in Section Removal and installation of distributed injection system components. Also disconnect the fuel pressure regulator hose from the right end of the intake manifold (refer to the accompanying illustration).
2. Remove the air intake duct as described in Section Removal and installation - air filter assembly and air intake ducts. For improved access, apply the handbrake, then jack up the front end and support it on axle stands. Where applicable, remove the engine undershield.
3. Remove the throttle body as described in Section Removal and installation the throttle body. Move the fuel supply and return hoses to the side and plug them to prevent fuel loss.
4. Where applicable, disconnect the wiring from the EGR valve, then remove the bolts and valve. Release the clamp, then unscrew the steel pipe from the EGR valve.
5. Remove the bolts securing the wiring harness bracket to the back of the intake manifold.
6. Disconnect the absolute pressure vacuum hose and the brake booster vacuum hose.
7. Disconnect the fuel vapor recirculation solenoid valve hoses.
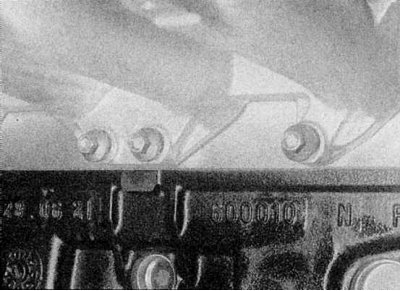
8a. Unscrew the lower mounting nuts.
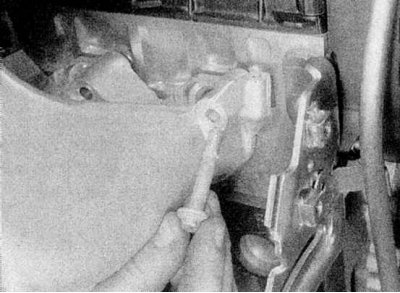
8b. Loosen the upper mounting bolts.
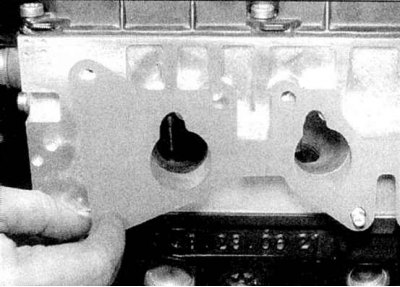
8c. Then carefully remove the intake manifold from the studs and remove the gasket (refer to the illustrations).
Installation
1. Install in reverse order, use a new gasket and tighten the mounting nuts and bolts to the specified Specifications force. Make sure that the contact surfaces of the cylinder head and the pipeline are clean.
Intake manifold (f3R engines)
Removal
1. Remove the fuel rail and injector assembly as described in Section Removal and installation of distributed injection system components.
2. Set the handbrake, then jack up the front of the vehicle and support it on axle stands. Where applicable, remove the engine undershield.
3. Disconnect the exhaust system from the manifold as described in Section Removal and installation of the exhaust system.
4. Loosen the mounting bolts and remove the heat-insulating shield above the starter.
5. Loosen and remove all lower pipe mounting nuts.
6. From the top, disconnect the brake booster vacuum hose, line pressure sensor hose, vacuum hose and breather hose from the line.
7. Loosen and remove the upper manifold mounting nuts, then separate the intake manifold from the engine.
8. Remove the exhaust manifold and remove the gasket, remembering its location.
Installation
1. Install in the reverse order. Use a new gasket and tighten the mounting nuts and bolts to the specified Specifications force. Make sure that the contact surfaces of the cylinder head and manifold are clean.
Intake manifold (f7R engines)
Removal
1. Remove the throttle body as described in Section Removal and installation the throttle body.
2. Remove the fuel rail and injector assembly as described in Section Removal and installation of distributed injection system components.
3. Disconnect the steel pipe under the EGR valve and release the electrical wiring from the brackets under the pipe.
4. Release the power steering fluid reservoir from its mount and move it to the side.
5. Unscrew the support posts below the pipeline and unscrew the bolt securing the oil level dipstick tube to the support post.
6. Disconnect the brake booster, EGR solenoid and line pressure sensor vacuum hoses.
7. Remove the generator bracket from the pipeline.
8. Unscrew the nine mounting nuts and remove the pipeline from the engine.
Installation
1. Install in the reverse order. Use a new gasket and tighten the mounting nuts and bolts to the specified Specifications force. Make sure that the contact surfaces of the cylinder head and manifold are clean.
Exhaust manifold
Note: On F3R engine equipped models, exhaust manifold removal is part of the intake manifold removal procedure described earlier in this Section.
Removal
1. Set the handbrake, then jack up the front of the vehicle and support it on axle stands. Where applicable, remove the engine undershield.
2. On the E7J engine, disconnect the warm air hose from the shroud on the exhaust manifold.
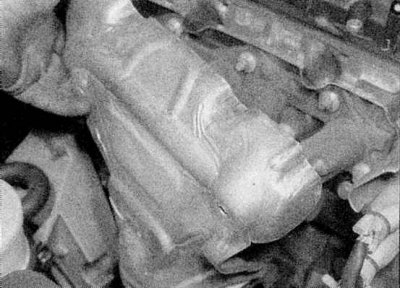
3. Loosen the nuts/bolts and remove the air preheating chamber and, where applicable, the heat-insulating shields from the manifold (refer to the accompanying illustration).
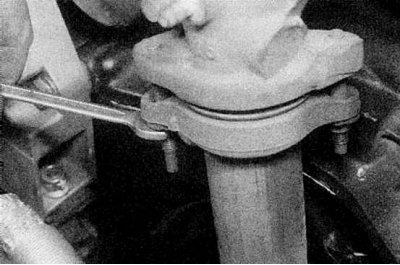
4. Where necessary, support the exhaust pipe (do not damage the Lambda sensor), then remove the nuts/bolts securing the exhaust/converter downpipe to the exhaust manifold. Remove the gasket (refer to the accompanying illustration).
5. Where applicable, loosen the nut and release the clamps securing the EGR valve steel pipe to the manifold.
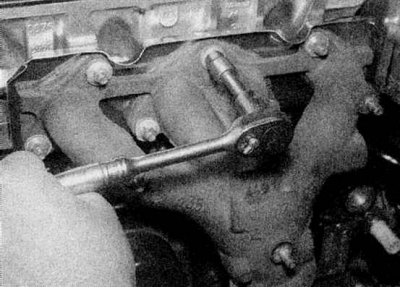
6a. Loosen the fastening nuts.
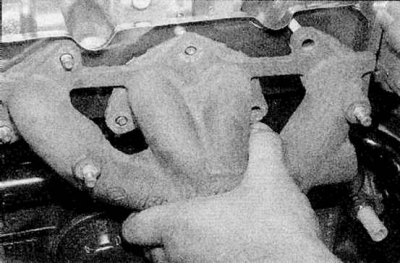
6b. Remove the exhaust manifold from the studs on the cylinder head (refer to the illustrations.
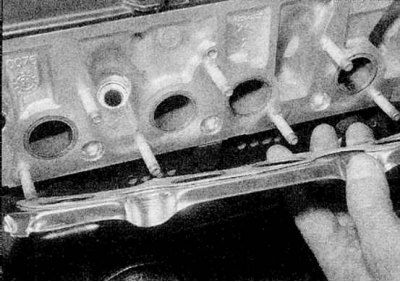
7. Remove the gasket (refer to the accompanying illustration).
Installation
1. Install in reverse order. Tighten the nuts to the torque specified in Specifications force. Make sure the contact surfaces of the cylinder head and manifold are clean and use a new gasket.