



E7J Engines
Removal
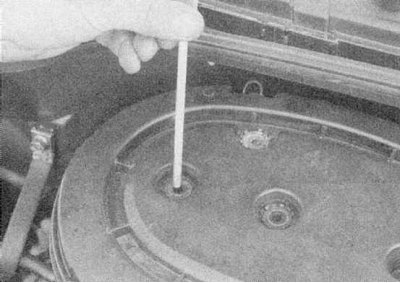
1a. Loosen and remove the bolts.
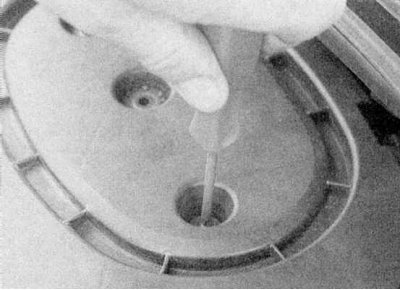
1b. Remove the cover screw from the top of the air filter, then release the clips and remove the cover. Remove the filter element (refer to the illustrations).
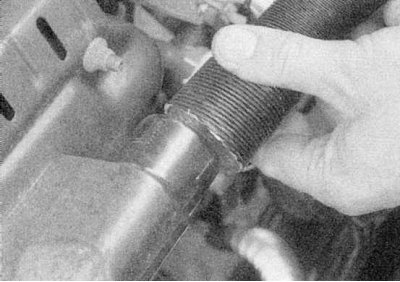
2a. Disconnect the warm air hose from the exhaust manifold housing.
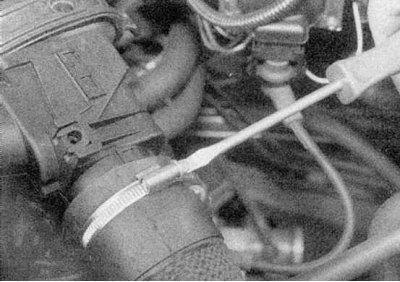
2b. Loosen the clamp.
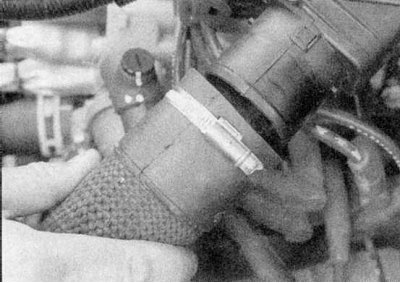
2c. Then disconnect the surrounding air hose from the inlet elbow on the air cleaner (refer to the illustrations).
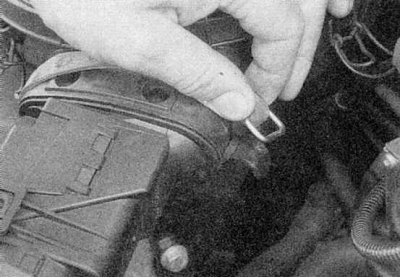
3a. Release the rubber belt.
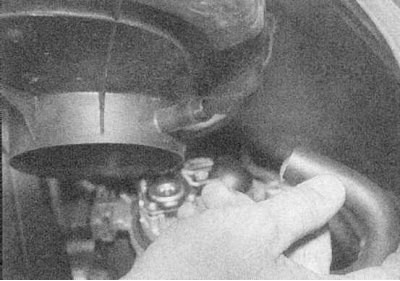
3b. Then lift the filter housing off the throttle body and disconnect the crankcase ventilation hose (refer to the illustrations).
4. If necessary, remove the bolts and bracket. Remove the hose and unbolt the air intake duct from the front of the engine compartment.
K7M and F3R engines
Removal
1. Loosen the reinforcement rod, where applicable, between the front suspension strut domes.
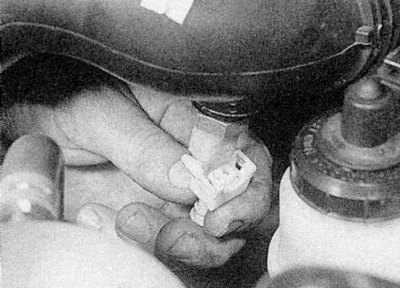
2. Disconnect the wiring from the inlet air temperature sensor on the intermediate air duct (refer to the accompanying illustration).
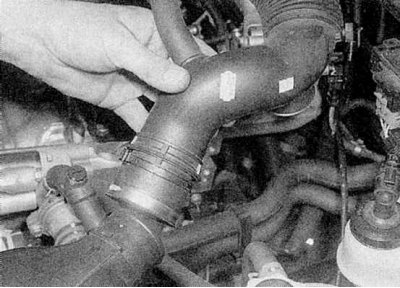
3a. Disconnecting the intermediate air duct from the air filter - K7M engine.
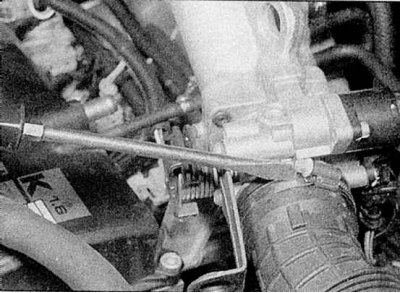
3b. Loosen the clamp and disconnect the intermediate air duct from the air cleaner, then loosen the clamp and disconnect the duct from the throttle body.
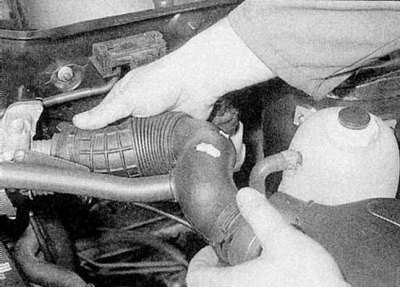
3c. Disconnect the crankcase ventilation hose and remove the air duct (refer to the illustrations).
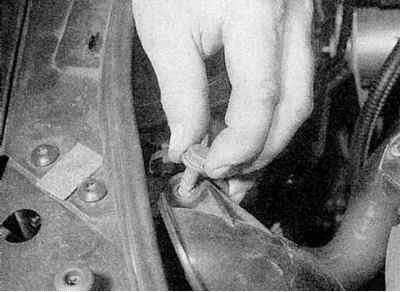
4. Loosen and remove the bolt securing the air intake elbow to the front of the engine compartment (refer to the accompanying illustration).
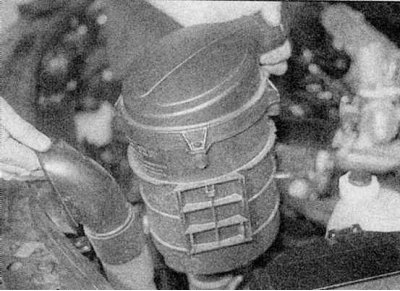
5. Remove the air cleaner housing and primary hose from the bracket in the engine compartment (see illustration).
6. If necessary, disconnect the primary air intake duct from the base of the air cleaner housing and remove the element as described in Chapter Maintenance.
F7R Engines
Removal
1. Disconnect the wiring from the intake air temperature sensor on the air filter housing.
2. Disconnect the crankcase ventilation hose and all additional hoses, as well as the cable clamps from the air cleaner housing.
3. Separate the air intake ducts from the air cleaner base from the throttle body.
Installation
1. Perform installation in reverse order.