
Attention: Be sure to replace the valve stem seals with new ones after each removal.
2. Install valve stem seals:
Attention:
- Make sure the valves are properly seated in their seats.
- Apply engine oil to the inside of the valve guides.
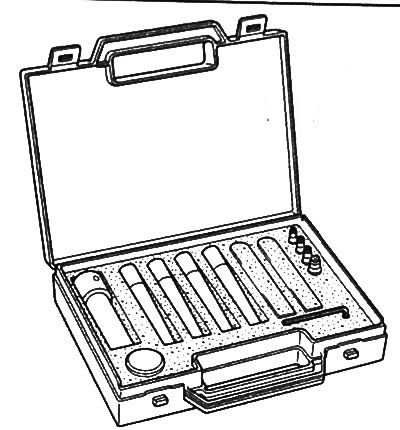
Note: It is very important to use the valve stem seal tool to install the valve stem seals (Mot. 1759) or a kit for installing oil seals.
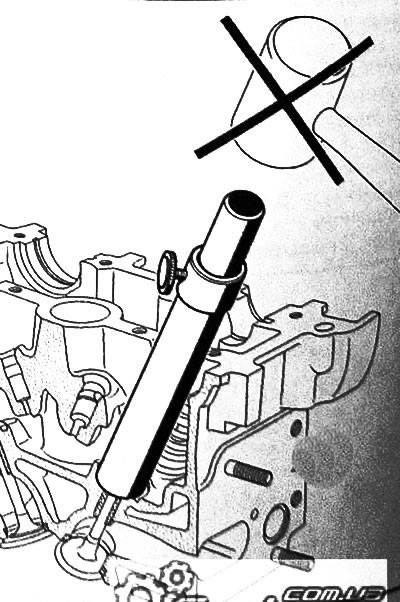
Valve stem seals with lower spring retaining washer:
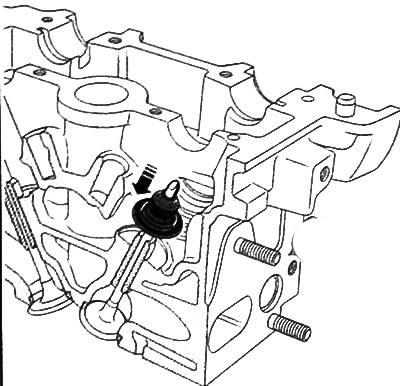
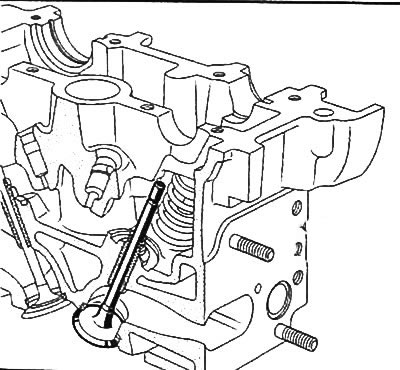
- Insert the valve into the cylinder head.
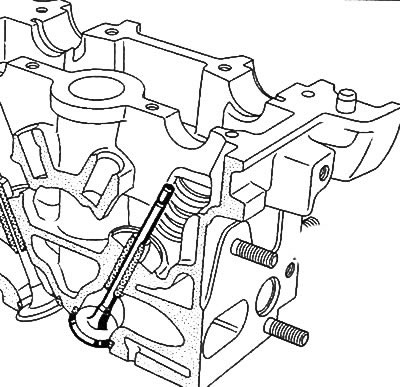
- Install protective device (Mot. 1511) on the valve stem.
Note: The inside diameter of the guard must match the diameter of the valve stem.
Attention: Do not lubricate oil seals.
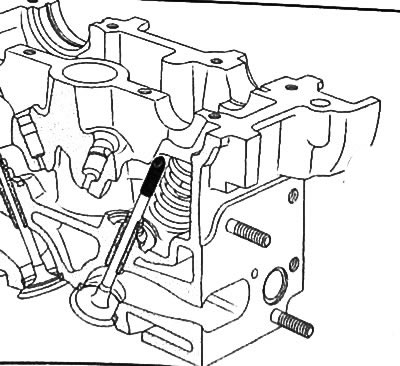
- While holding the valve against the seat, install the flinger cap onto the guard on the valve stem, and then push the flinger cap through the guard.
- Remove the guard from the valve stem.
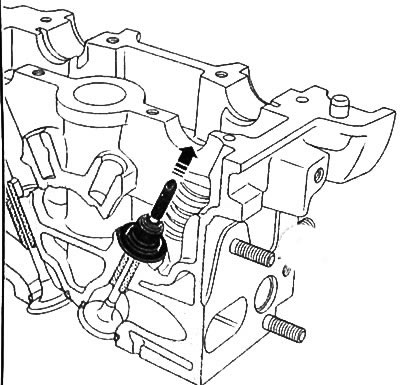
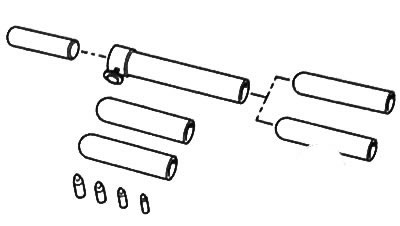
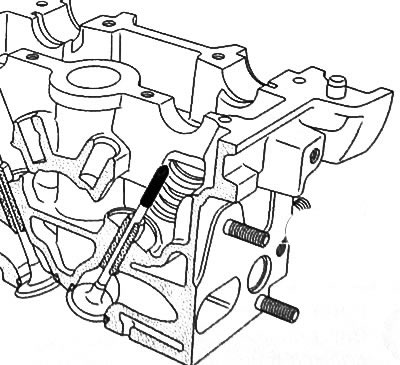
- Install mandrel (8) through the valve stem.
Note: The inside diameter of the mandrel must match the diameter of the valve stem. Also, the base of the mandrel should be pressed against the part of the slinger cap that acts as the thrust washer of the valve spring.
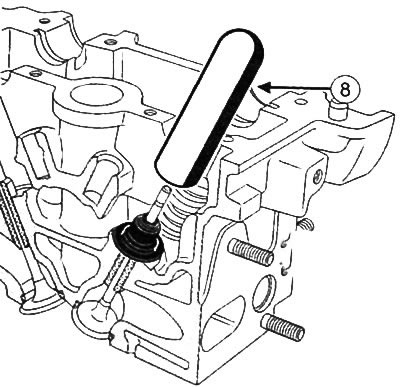
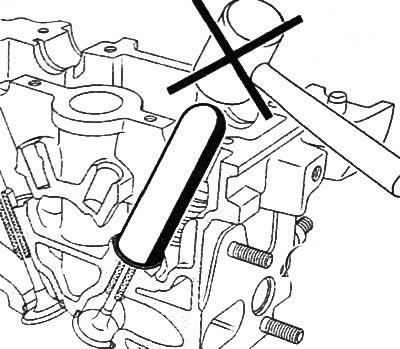
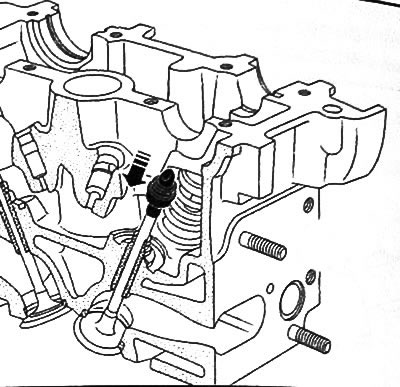
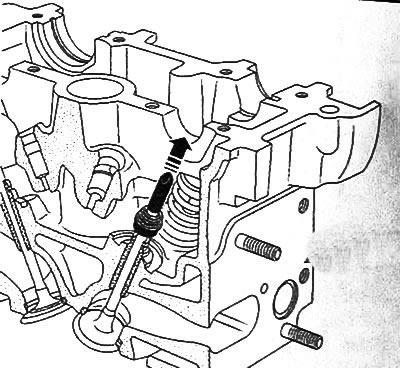
- Press on the valve stem seal by gently tapping the mandrel with the palm of your hand until the valve stem seals against the cylinder head.
- Repeat the procedure for installing the valve stem seals for the remaining valves.

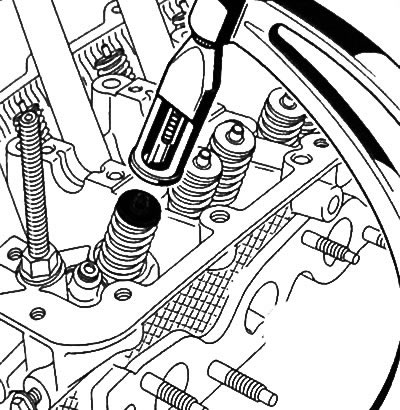
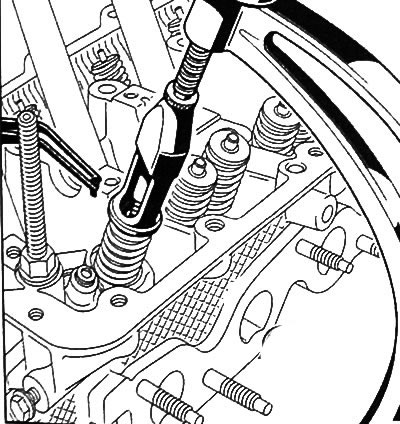
Valve stem seals without lower spring retainer:
- Insert the valve into the cylinder head.
- Install protective device (Mot. 1759) on the valve stem.
Note: The inside diameter of the guard must match the diameter of the valve stem.
Attention: Do not lubricate oil seals.
- While holding the valve against the seat, install the slinger cap onto the guard on the valve stem, and then push the slinger cap through the guard
- Remove the guard from the valve stem.
- Install the guide tube with bushing assembly on the oil seal.
- Press on the oil seal by gently tapping the sleeve with the palm of your hand until the guide tube rests against the cylinder head.
- Repeat the procedure for installing the valve stem seals for the remaining valves.
3. Install valve springs and valve plates.
4. Compress the valve spring with a special tool (Mot. 1502), same as when removing the valve.
5. Insert crackers with tweezers.
6. Install the other valve cotters in the same way.
7. Apply two bead of RHODORSEAL 5661 (5) with a diameter of 2 mm on bearing No. 5 of the cylinder head.
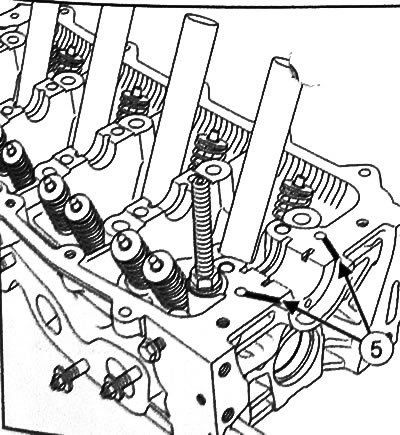
8. Apply two drops of WiODORSl /-I. 5661 (6) on the bearing Neither cylinder head.

9. Apply a drop of oil to the camshaft bearings in the cylinder head.
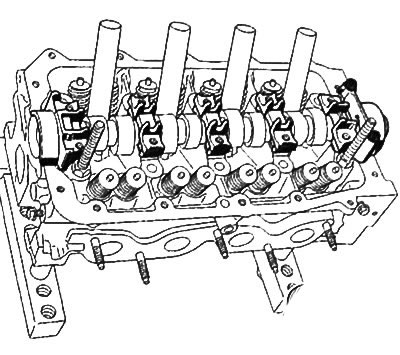
10. Install the camshaft in the cylinder head.
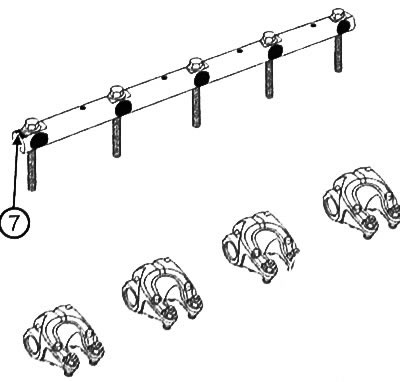
11. Install the camshaft bearing caps.
12. Tighten the camshaft bearing cover No. 5 bolts to 9 Nm.
13. Install the rocker shaft by placing the rocker arms on the appropriate valve stems. At the same time, the label (7) should be on the flywheel side.
14. Tighten the camshaft bearing cap bolts in the sequence shown in the figure to a torque of 5 Nm.
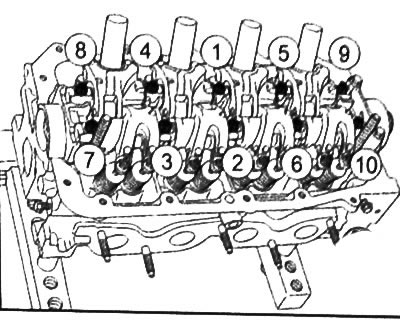
15. Loosen the fixing bolt (1).
16. Tighten the bolt again (1) torque of 7 Nm, and then tighten another 50°±6°.
17. Repeat the described procedure with the bolt (1) for bolts with (2) By (10)
18. Make sure the camshaft seal seat is clean.
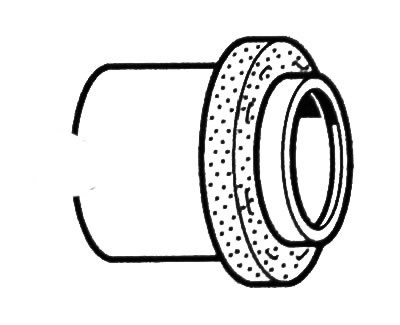
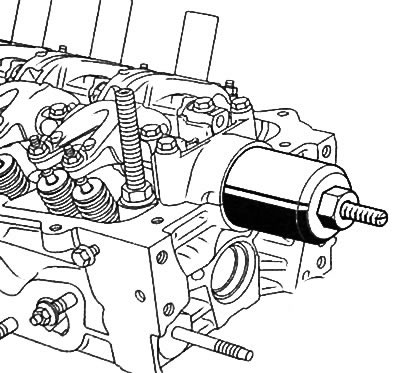
19. Install the camshaft oil seal:
Note: A drift can be used to install the camshaft oil seal (Mot. 1605).
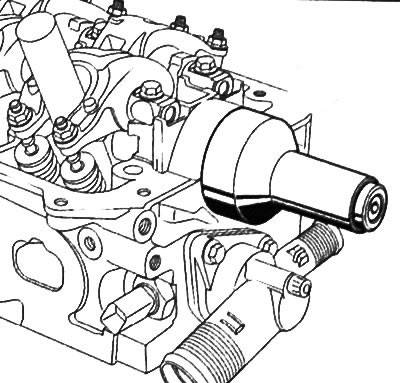
- Insert seal lips.
- Screw the threaded rod into the camshaft oil seal installer (Mot. 1587) into the distributor.
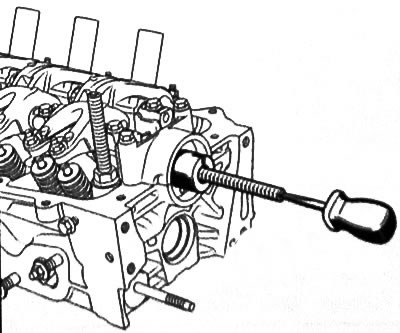
- Install the oil seal with guard on the camshaft, being careful not to touch the oil seal.
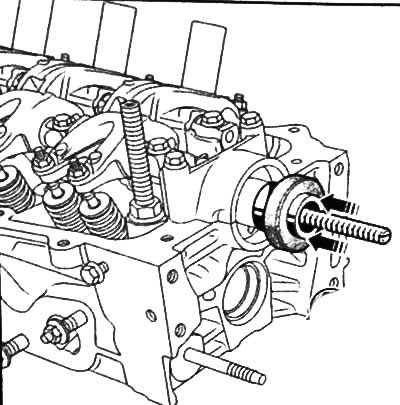
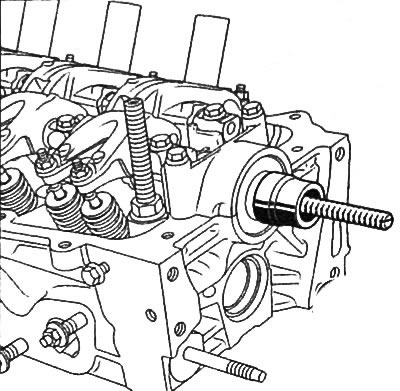
- Install cover (8) with nut (9) camshaft seal installer (Mot. 1587).
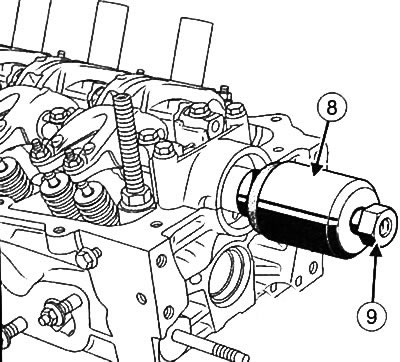
- Screw in the tool nut so that the tool cover rests on the cylinder head.
- Loosen the tool nut and remove the cover, guard and threaded rod.
20. Install the camshaft sprocket.
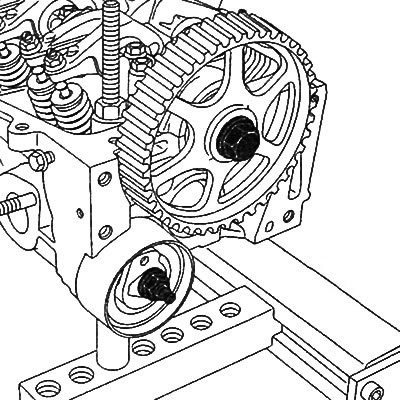
Note: Replace the camshaft sprocket mounting bolt with a new one after each removal.
21. Using the timing gear locking tool (Mot. 799-01) tighten the camshaft sprocket bolt to 30 Nm, and then tighten it another 45°±6°.
22. Install rocker cover.