
You will need: socket heads «at 13» and «at 15», flat and Phillips screwdrivers, ohmmeter (autotester).
1. Remove the alternator from the vehicle (see «Removal and installation of the generator»).
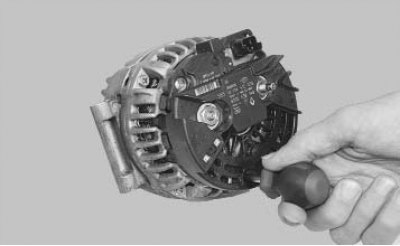
2. Turn out the screw of fastening of a back cover.
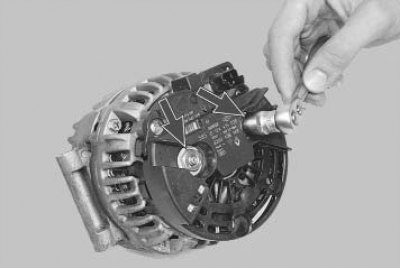
3. Turn off two nuts...
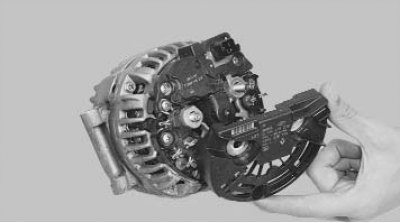
4.... and remove the back cover of the generator.
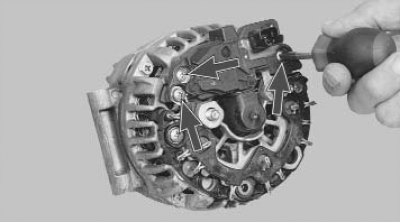
5. Turn out three screws of fastening...
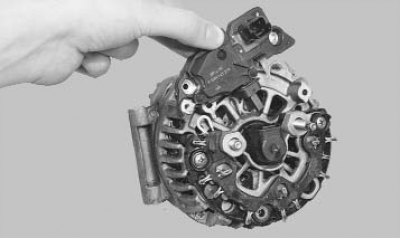
6.... and remove the voltage regulator.
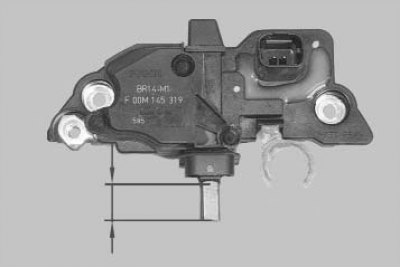
7. Check the ease of movement of the brushes in the brush holder and their protrusion. If the brushes protrude from the brush holder by less than 5 mm, replace the voltage regulator assembly with the brush holder.
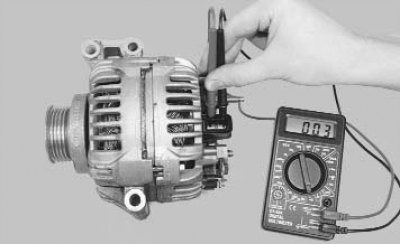
8. Check with an ohmmeter (tester) resistance of the rotor winding by connecting it to slip rings. If the ohmmeter shows infinity, then there is a break in the windings and the rotor needs to be replaced.
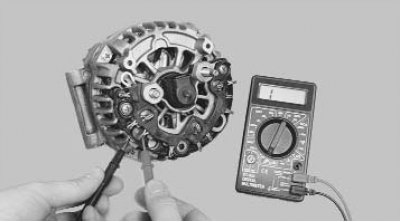
9. Check rectifier diodes. Connect one wire to «mass» rectifier block, the second - to the output of the diode...
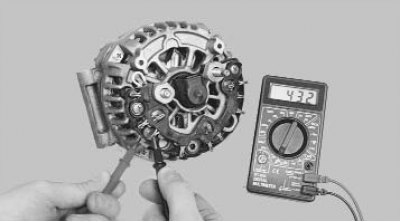
10.... and then swap the wires. The diode should only allow current to flow in one direction. If the diode passes current in both directions, then it is faulty.
11. Similarly, check the remaining diodes.
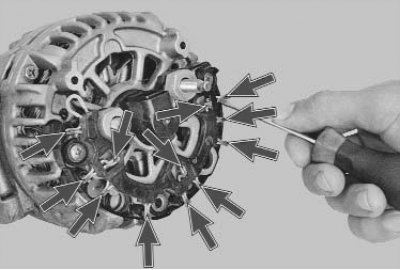
12. To replace the rectifier unit, open the twelve contacts with a screwdriver...
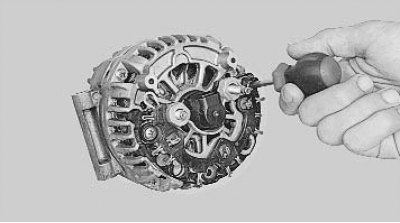
13.... Remove the two fastening screws and remove the rectifier unit.
14. Assemble the generator in the reverse order of disassembly.