
This element is removable and made of aluminum.
Note. Since the removal and installation operations are not particularly difficult, only adjustment is written off below.
Attention! To access the bolts of the lower fastening of the hood hinges, it is necessary to first sleep the grille of the air intake niche.
Loop bolt tightening torque: 0.5 Nm.
Adjustment
Install the hood on the car (together with an assistant). Install all mounting bolts, but do not tighten them.
Attention! The stop and safety hook of the hood lock must be installed during the final adjustment to prevent the hood from being stressed in the closed position during the first two stages of adjustment.
Adjusting the position of the hood relative to the wing (in the back)
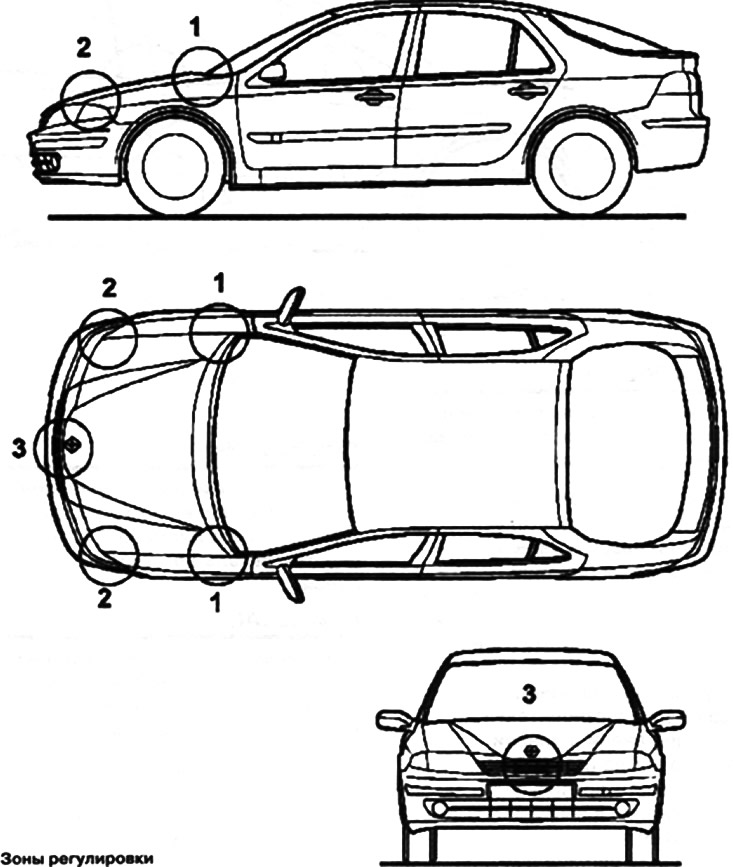
Ensure correct clearances and mating in zone 1 (bolts A and B).
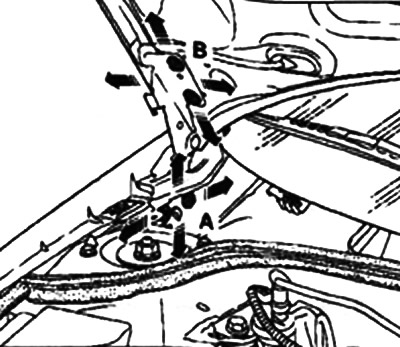
Note. Always start by adjusting the stops in the hinge area.
Adjusting the position of the hood relative to the wing (in front)
Ensure correct clearances and mating in zone 2 (bolts A and B).
Check adjustment.
Tighten the fasteners in this position.
Note. If necessary, during this operation, you can change the position of the front wings.
Adjusting the position of the hood relative to the fender and grille (in front)
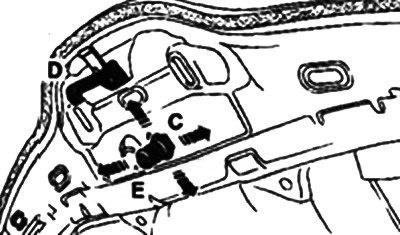
Reinstall stop C and hood lock safety hook D.
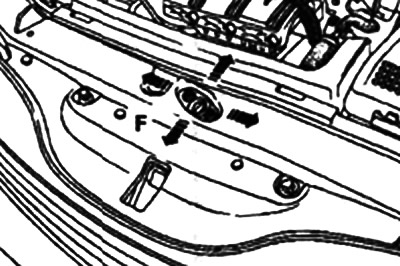
Ensure uniform mating in zones 2 and 3 (bolts E stop the hood cover).
To eliminate friction when normally non-contacting surfaces come into contact and ensure tight closure, change F stop C.
This adjustment should not affect the perimeter clearances previously adjusted.