English Русский
Български
Беларускі
Український
Српски
Hrvatski
Română
Polski
Slovenský
Magyar
Bookmark Contacts Articles Sitemap
Company vehicles Peugeot Company vehicles Opel Company vehicles Skoda Company vehicles Land Rover Company vehicles Mitsubishi Company vehicles Volkswagen Company vehicles Honda
RenaultBook.ru


Duster   Fluence   Kangoo   Laguna   Logan   Megane   Sandero   Scenic   Symbol   Clio   Other
Laguna 2 (2001-2007)

Tailgate and luggage compartment door (Renault Laguna 2)

  • Main
  • Laguna
  • Laguna 2 (2001-2007)
  • Body and interior
  • Doors, locks and windows
  • Tailgate and luggage compartment door
0
Contents: Operations to be performed before…🠛 Adjusting the position of the…🠛 Final adjustment 🠛
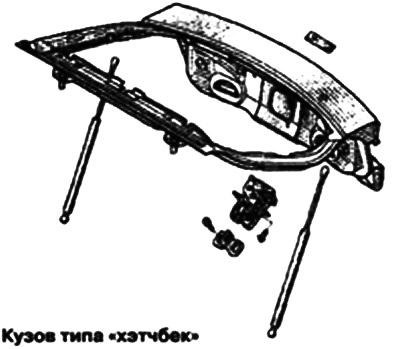
Replacing this part is the main operation in case of a possible rear impact.

This element is removable.

The door is made of composite material based on polyester resin.

Note: Only adjustment operations for both modifications are described below.

Note: Only adjustment operations for both modifications are described below.

Operations to be performed before adjustment


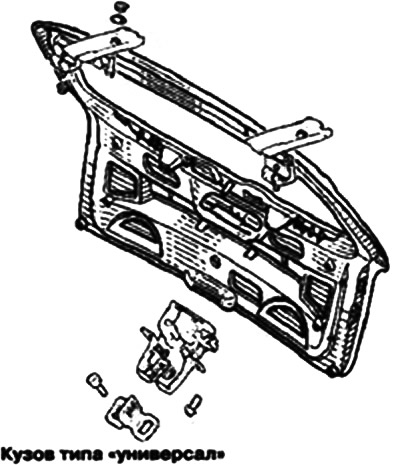
Install the door, tailgate (luggage compartment door) on the car (together with an assistant).

(Original of this article on the website: RenaultBook)

Install all mounting bolts, but do not tighten them.

Note: Before final installation, it is necessary to restore the seal between the extreme rear roof cross member and the hinges using sealing mastic.


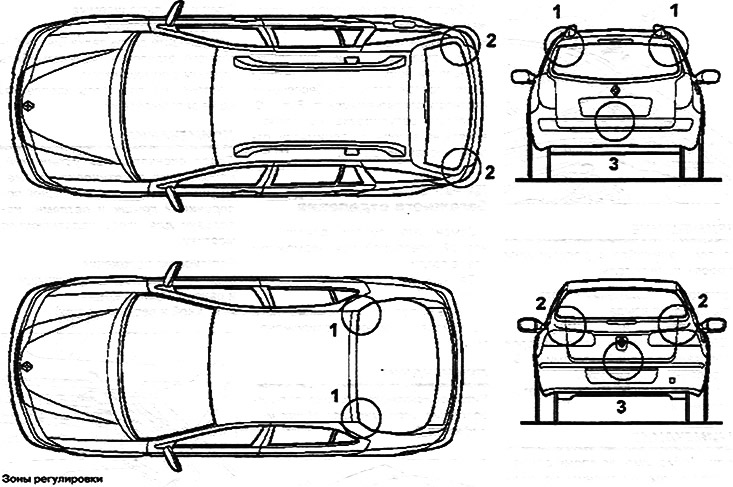
Adjusting the position of the tailgate relative to the roof and rear wing panel (in the lower and upper parts)


Adjusting the position of the tailgate relative to the roof and rear wing panel (in the lower and…

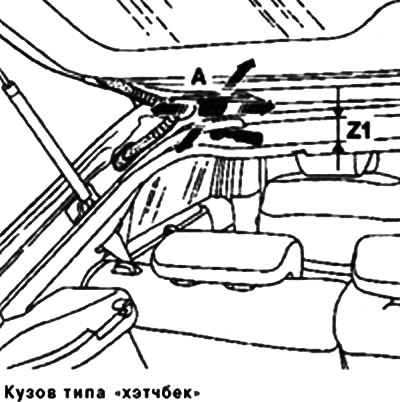
Ensure proper clearances and mating in Zone 1 (with bolts A of the upper hinges).
Ensure proper clearances and mating in Zone 1 (with bolts A of the upper hinges).


Check the adjustment.

Tighten the fasteners in this position.

Note: Before you begin adjusting, you must loosen the fastening of the retainer and lock, so as not to create stress when checking the gaps around the perimeter on a closed door.


Always start by adjusting the stops in the hinge area.

Note: Base roof panels do not have holes for the upper hinge mounting bolts.

Note: Base roof panels do not have holes for the upper hinge mounting bolts.


It is necessary to move the roof panel as shown in the picture in order to insert the tool (ratchet wrench Z1: 100 mm).

Adjusting the position of the tailgate (tailgate) relative to the rear wing panel (at the bottom).
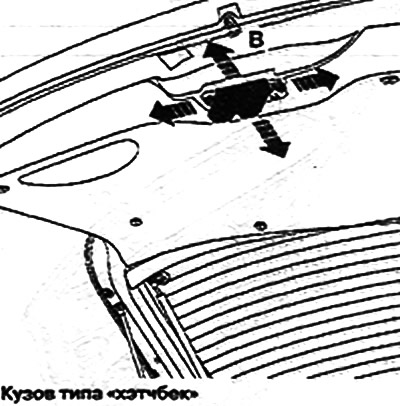
Adjusting the position of the tailgate (tailgate) relative to the rear wing panel (at the bottom).


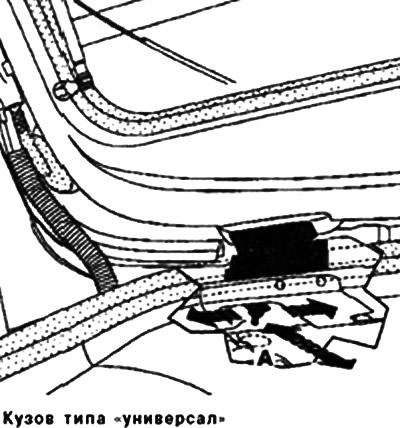
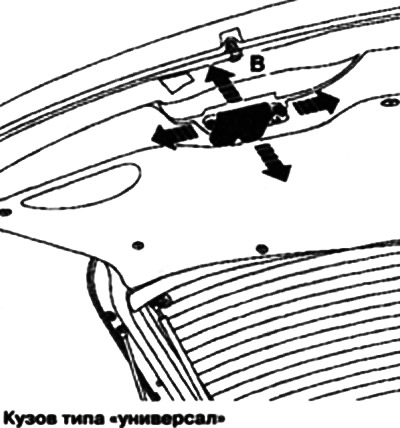
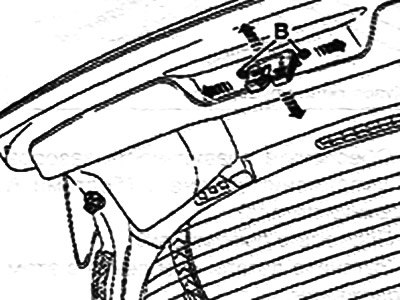
Provide clearances and mating in zones 2 and 3 (bolts B of the lock and C of the lock retainer).

Provide clearances and mating in zones 2 and 3 (bolts B of the lock and C of the lock retainer).
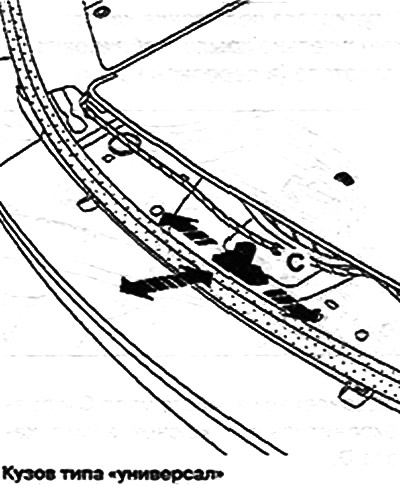

During this operation, friction is eliminated when normally non-contacting surfaces come into contact and the door closes tightly.


This adjustment should not affect previously adjusted perimeter gaps.
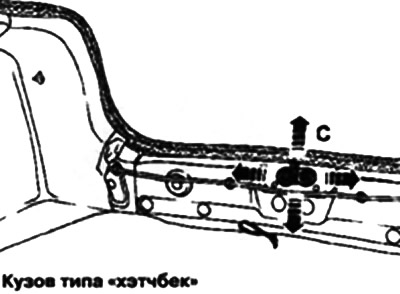

This adjustment should not affect previously adjusted perimeter gaps.


Final adjustment


Final adjustment
Final adjustment

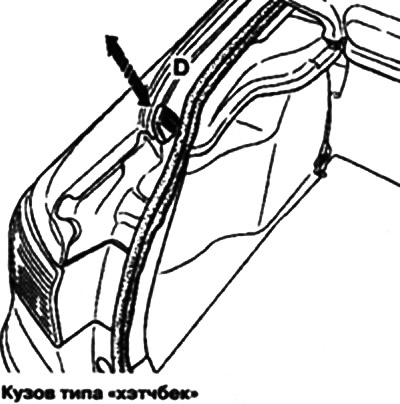
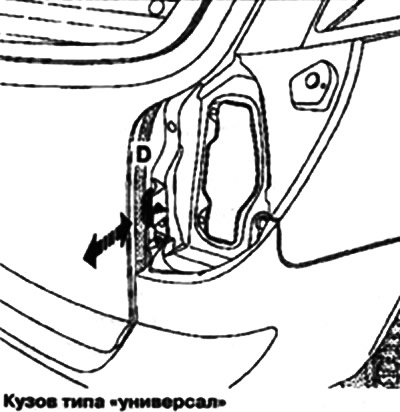
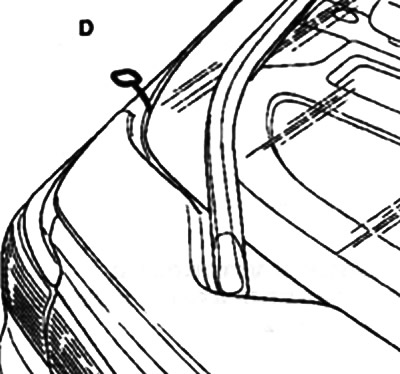
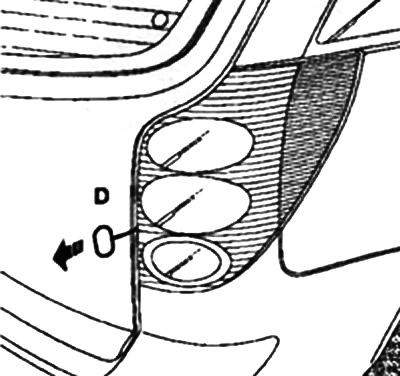
Select the gap between the tailgate (luggage compartment door) and the body (stop D).
This article is available on: russian, bulgarian, belarusian, ukrainian, serbian, croatian, romanian, polish, slovak, hungarian
Article has been reviewed by editor: Podkrepilov Maxim
Share with friends:
Previous
Laguna 2: Doors, locks and windows
Next

Adjusting the hood position
Fuel filler cap — removal and installation
Rear door — adjustment
Front door — adjustment
Lock drive and tailgate lock
Removal and installation the roof hatch
Removal and installation the sunroof drive electric motor
Removal and installation the sliding panel
Removal and installation sunroof trim
Removal and installation the windshield
Other articles on other Renault models

➽ Luggage compartment door Renault Espace III (1996-2002)
➽ Luggage compartment Renault Duster 1 (2009-2017)
➽ Interior and luggage compartment lighting lamps Renault Megan 2 (2002-2009, petrol)
➽ Removal and installation the luggage compartment light Renault Symbol 1 (1999-2008, petrol)
➽ Scheme 2d: Interior lighting — warning buzzer for lights on,… Renault Clio 1 (1990-1998)
Link to this article in different formats
Reviews and comments of visitors
No comments yet


Add two numbers 38 + 42


Laguna 2 (2001-2007) 
  • General information
  • User manual
  • Maintenance
  • Power unit
  • Engine repair
  • Cooling system
  • Fuel system
  • Fuel injection (petrol)
  • Power system (petrol)
  • Fuel injection (diesel)
  • Fuel system (diesel)
  • Exhaust system
  • Transmission
  • Clutch
  • Mechanical gearbox
  • Automatic gearbox
  • Drive shafts
  • Chassis, running gear
  • Wheels and tires
  • Car suspension
  • Steering
  • Brake system
  • Body and interior
  • Exterior (external elements)
  • Doors, locks and windows
  • Electrical equipment
  • Power devices
  • Equipment and devices
  • Headlights and lighting
  • Breakers and switches
  • Safety system
  • Electrical circuits
RenaultBook.ru © 2018–2026 | Mobile version | News and articles | Sitemap: EN BG BY UA RS HR RO PL SK HU | Administration | Site search | Bookmark
Duster 1 (2009-2017) | Fluence 1 (2009-2020, petrol) | Kangoo 1 (1997-2007) | Laguna 2 (2001-2007) | Logan 1 (2004-2012, petrol) | Logan 2 (2012-2020) | Megane 1 (1995-2002) | Megan 2 (2002-2009, petrol) | Sandero 1 (2007-2012, petrol) | Scenic 1 (1996-2003) | Symbol 1 (1999-2008, petrol) | Symbol 2 (2008-2013, petrol) | Renault 19 (1988-1996) | Espace I and II (1984-1996) | Espace III (1996-2002) | Clio 1 (1990-1998) |
We want your visit to be comfortable 😌 and use cookies 🍪 to do so.