
Fluids are an integral part of the lubrication, cooling, brake and windshield washer systems. Due to the gradual consumption and / or contamination of fluids during normal vehicle operation, they should be replaced periodically. Check out Section "Lubricants and fluids" See the Specifications before adding fluid to any of the listed components.
Whenever checking the fluid level, the vehicle must be on a level surface.
Engine oil
Before starting work
Make sure your vehicle is on level ground.
Check the oil level before starting the engine, or at least 5 minutes after turning off the engine.
The right oil
Modern engines place great demands on oil. Therefore, it is very important to use the correct grade of oil.
Precautions
If you have to add oil frequently, check for leaks. Place a piece of clean paper under the car and in the morning check for oil stains. If there are no leaks, the engine may be burning oil.
Always maintain the level between the top and bottom marks on the dipstick. If the level is too low, severe engine damage can occur. If engine oil is overfilled, the oil seal may fail.
Examination
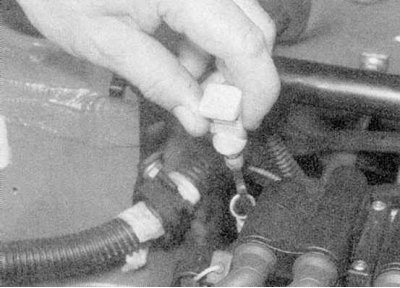
1. The dipstick is located on the right rear of the engine on E7J and K7M gasoline engines and on the front of the engine on 2.0L gasoline and diesel engines. Remove the dipstick (refer to accompanying illustration).
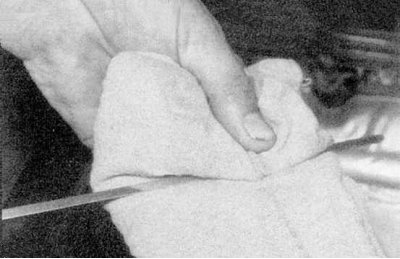
2. Using a clean rag or paper towel, wipe all oil off the dipstick. Insert a clean dipstick into the tube as far as possible, then remove it again (refer to accompanying illustration).
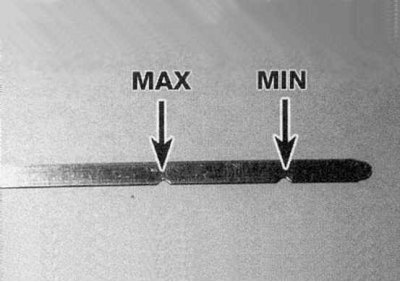
3. The oil level at the end of the dipstick should be between the upper mark "MAX" and bottom mark ("MIN") (refer to accompanying illustration).
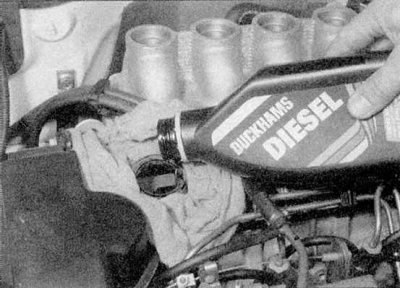
4. Oil is poured through the filler neck. Unscrew the cap and bring the oil level to normal; use a funnel to avoid spillage. Add oil slowly, do not overfill (refer to accompanying illustration).
Coolant
Warning! Do not attempt to remove the expansion tank pressure cap if the engine is still warm or you may be scalded. Do not leave containers of coolant open as it is poisonous.
Precautions
Regular addition of coolant should not be required. If frequent refueling is required, there is probably a leak. Check radiator, all hoses and connector surfaces, correct as necessary.
It is important that the antifreeze in the cooling system is filled all year round, and not just for the winter. Do not top up with clean water as the antifreeze concentration will be reduced.
Examination
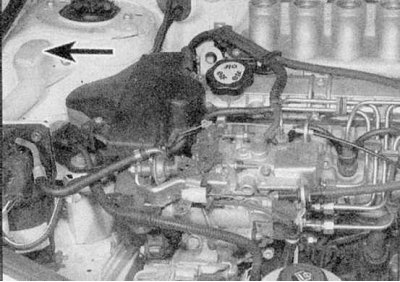
1. Coolant level changes with engine temperature. On a cold engine, the coolant level should be between the marks "MIN" And "MAX" (refer to accompanying illustration).
2. If it is necessary to top up, wait until the engine has cooled down. Slowly unscrew the cap of the expansion tank, releasing pressure in the cooling system, remove it (refer to accompanying illustration).
3. Add a mixture of water and antifreeze to the expansion tank until the coolant level is between the marks. Install the cover and tighten it securely (refer to accompanying illustration).
Power Steering Fluid
Before starting work
Park your car on level ground.
Set the front wheels straight.
Check the fluid level with the engine off.
Attention! The need for frequent refilling indicates a leak that should be repaired immediately.
Examination
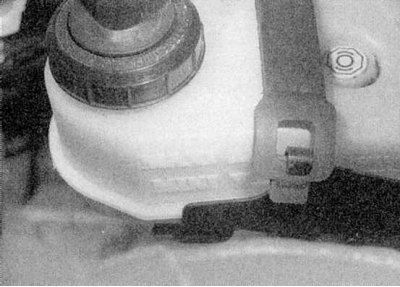
1. The power steering hydraulic reservoir is located on the right side of the radiator. Check the fluid level with the engine off. Tags "MAX" And "MIN" printed on the side of the tank (refer to accompanying illustration).
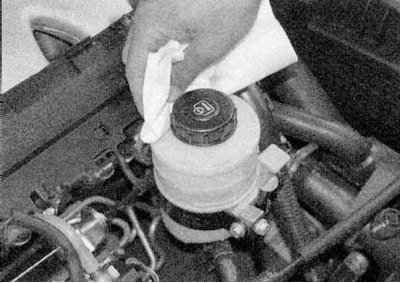
2. The fluid level must be between the marks "MIN" And "MAX". If refilling is necessary, wipe the area around the cap to keep dirt out of the reservoir (refer to accompanying illustration).
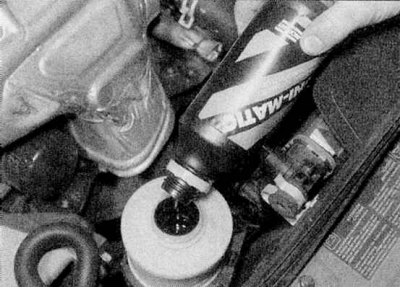
3. Add liquid level to the mark "MAX", using the type of liquid indicated in the Specifications (do not spill), then install and tighten the filler cap (refer to accompanying illustration).
Brake fluid
Warning! Brake fluid can damage your eyes and painted surfaces, so use extreme caution when handling.
Attention! Do not use fluid that has been left open for some time, as it will absorb moisture from the air, resulting in loss of braking performance. If frequent refueling is required, this indicates a leak in the system, which must be immediately identified and repaired.
Attention! If a leak is suspected, the vehicle must not be driven until the brake system has been checked. Never take a chance when the brakes fail.
Examination
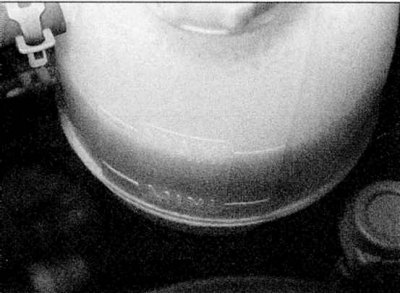
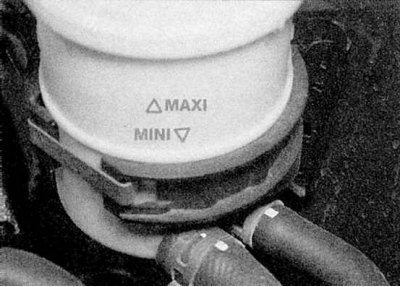
1. Tags "MAX" And "MIN" are marked on the side of the tank, which is located in the rear left corner of the engine compartment. The fluid level must be between the two marks (refer to accompanying illustration).
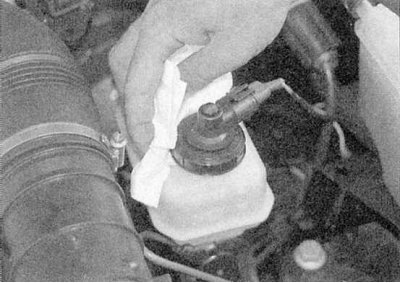
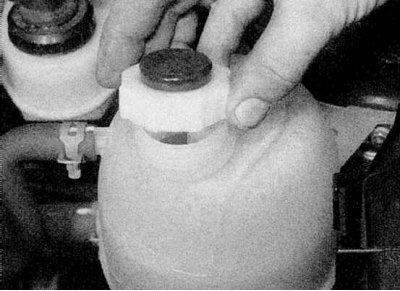
2. If refilling is necessary, wipe the area around the filler cap with a clean rag and disconnect the wires from the fluid level sensor. Inspect the reservoir - if the fluid is dirty, it needs to be replaced (contact the head Brake system) (refer to accompanying illustration).
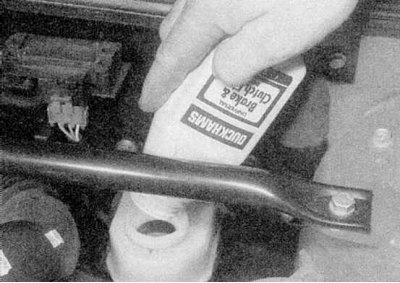
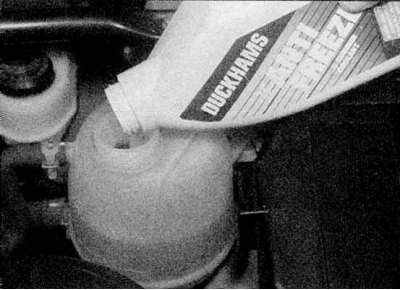
3. Carefully add liquid, being careful not to spill any. Use only the specified fluid, mixing fluids of different types will damage the system. After refueling, install the cap, wipe up spilled liquid (refer to accompanying illustration).
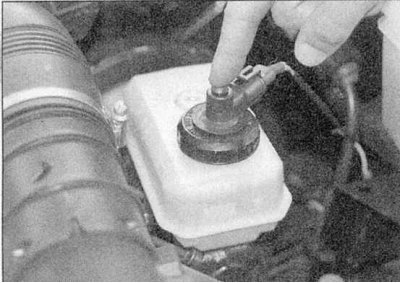
4. When checking the fluid level, you can check the operation of the low fluid level indicator lamp. Turn the ignition on and have an assistant press the test button on the top of the brake fluid reservoir cap. When the button is pressed, the test lamp should come on - if it does not, the switch, wiring or lamp is faulty (refer to accompanying illustration).
Washer fluid
Windshield washer fluid additives not only contain cleaning additives, they also prevent the washer system from freezing. Do not top up with plain water as the washer fluid will dissolve too much and freeze in cold weather. Do not use antifreeze in the washer system, it may damage the paintwork.
Examination
1. The windshield/tailgate/headlight washer fluid reservoir is located on the right side of the engine compartment. If refueling is required, open the lid (refer to accompanying illustration).
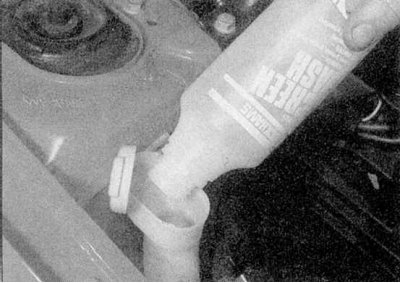
2. Add windshield washer fluid diluted in the quantities recommended on the bottle (refer to accompanying illustration).