
Note. The following procedure only applies to F8Q 620 engines. On F9Q engines, the cold start system is controlled by the injection ECU.
Examination
1. To check the operation of the system, start the engine (cold) and listen to the nature of his work, detonation or stiffness should disappear after a time of 30 seconds to 2 minutes 45 seconds. This indicates that the system is working correctly.
2. If you suspect that the system is not working, check for voltage on the supply wire of the valve winding with the starter turned on and within 5-6 seconds after starting the engine (power supply to the winding is controlled by the preheating system unit).
3. If power is present but the system is not working, the solenoid valve is probably defective and should be replaced.
Removing
F8Q engine
Note. Be careful not to allow dirt to enter the fuel pump. When installing, use a new sealing washer.
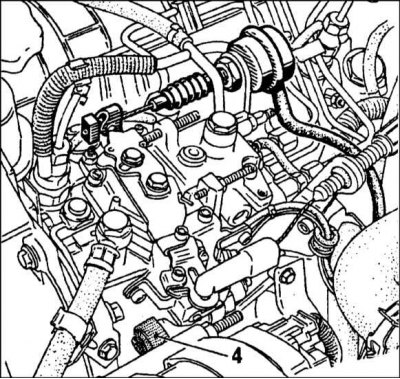
1a. Electromagnet (4) cold start injection advance - Bosch injection pump
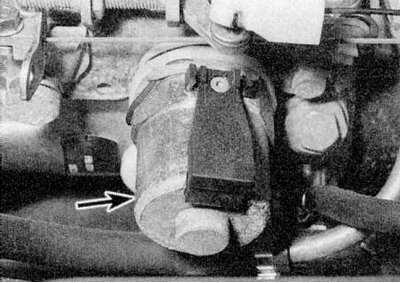
1b. Cold start injection advance solenoid - Lucas injection pump
1c. Disconnect the ground cable from the battery (contact the head Engine electrical equipment for Scenic models), then disconnect the valve coil wiring harness.
Attention! If the car radio in your car is coded, make sure you know the code before disconnecting the battery.
2. Unscrew the solenoid valve from the pump and remove the washer. Work very carefully to prevent dirt from entering the pump.
F9Q engine
1. Loosen the high pressure pipe bolts on the fuel pump and fuel injectors. Remove tubes. To prevent dirt from penetrating the block, cover the ends of the nozzles cut off from a rubber glove (clean!) fingers.
2. Disconnect the two electrical connectors from the pump.
3. Remove the right pump-to-motor plate.
4. Remove the steel plate. This plate is held in place by the hydraulic head bolt.
5. Clean the injection timing correction solenoid valve to the pump, then remove the valve.
Installation
F8Q engine
1. Install in reverse order, use a new sealing washer.
F9Q engine
1. Install in reverse order, use a new O-ring. Observe the tightening torques of the hydraulic head bolt and valve bolts.