
Note. The hoses should only be disconnected after the engine has cooled down to avoid burns from hot steam and splashes.
1. Carry out the inspection described in Chapter Maintenance, and locate the damaged hose.
2. Drain the cooling system. If the coolant cannot be replaced, collect it in a clean container.
3. Loosen the hose clamps. On the described models, three types of clamps are used: worm, spring and coupling. Tie-down clamps are disposable and should be replaced with standard worm-type clamps when removed. Slide the clamps along the hose away from the connections.
4. Carefully remove the hose. New hoses are relatively easy to remove; on an old car, they may have stuck to the pipes.
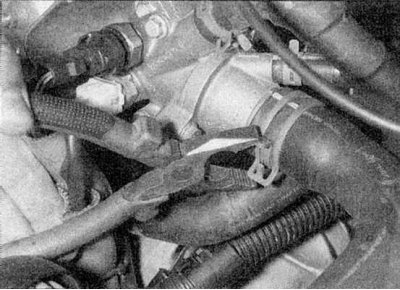
5. If you cannot remove the hose, try to free it by turning the end on the nozzle. Gently pry off the end of the hose with a blunt tool (e.g. with a flathead screwdriver), being careful not to damage the fittings or hoses. Remember that the radiator inlet is fragile; do not use excessive force when trying to remove the hose. As a last resort, cut the hose, then cut the stuck end lengthwise into two pieces. Although the hoses are quite expensive, they are still cheaper than a new radiator.
6. When installing the hose, first fit the clamps on the hose, then place the hose in its working position.
7. Make sure the hose is routed correctly, then slide the clamps onto the ends and tighten them.
8. Fill the cooling system.
9. Carefully check the system for leaks.