
Note. A new thermostat o-ring will be required during installation.
Removing
1. Disconnect the ground cable from the battery (on Scenic models, refer to Chapter Engine electrical equipment).
2. Drain the liquid from the cooling system. The thermostat is installed in a casing, on the left end of the cylinder head.
3. Where necessary, remove the air filter assembly (Chapter Power and exhaust systems), then release the adjacent electrical wiring and hoses from the mounting brackets and move them away from the thermostat housing for easier access.
4. Disconnect the cooling system hoses from the thermostat housing cover (refer to section Separation and replacement of hoses of the cooling system).
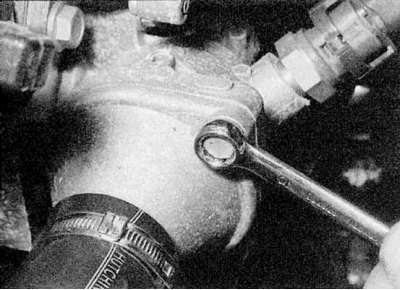
5a. Remove nuts/bolts.
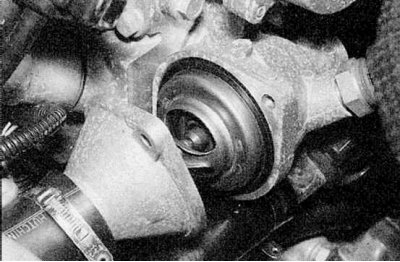
5b. Carefully remove the thermostat housing/cover (refer to illustrations). Where available, remove the casing gasket - it must be replaced.
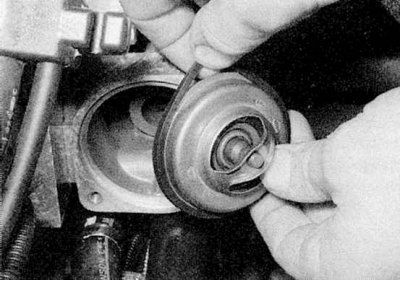
6. Remove the thermostat from the housing and remove the O-ring (refer to accompanying illustration).
Examination
1. Hang the thermostat on a piece of wire in a container of cold water and immerse the thermometer in the container. Make sure the thermostat is not touching the sides of the container. Bring the water to a boil - the thermostat should open. If it is not, replace it.
2. Compare the thermostat opening temperature with the data given in Specifications. The operating temperature is also indicated on the thermostat.
3. A thermostat that does not close after the water has cooled should also be replaced.
Installation
1. Install in reverse order, paying attention to the following:
a) Install a new o-ring and make sure the thermostat is oriented correctly (spring in casing). Casing gasket (where available) must also be replaced.
b) Finally, fill the cooling system.