



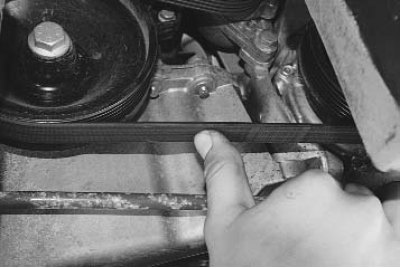
1. Check whether the accessory drive belt is broken. If it is broken, replace the belt (see "Replacing auxiliary drive belts") and adjust its tension (see "Checking the tension of the auxiliary drive belt").
2. If the belt is intact, check and, if necessary, adjust its tension (see "Checking the tension of the auxiliary drive belt").
Note. The manufacturer recommends checking the tension of the accessory drive belt using a special strain gauge tester. In this case, the tension is measured in conventional units. If you do not have a tester, use the "thumb rule" by pressing on the belt branch with your thumb and determining the deflection with a ruler. According to this universal rule, if the distance between the pulley centers is 180–280 mm, the deflection should be approximately 6 mm, and if the distance is 300–400 mm, the deflection should be 13 mm.
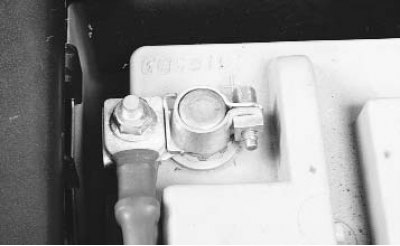
3. If the warning light still lights up after tensioning the belt, check the wires connected to the positive terminal...
Note: The protective cap of the terminal has been removed for clarity.
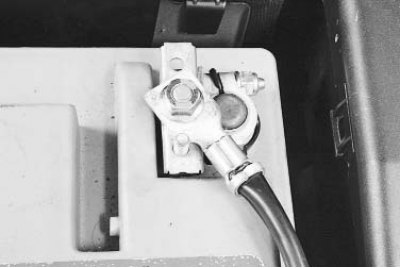
4. ...and the "mass" terminals of the battery...
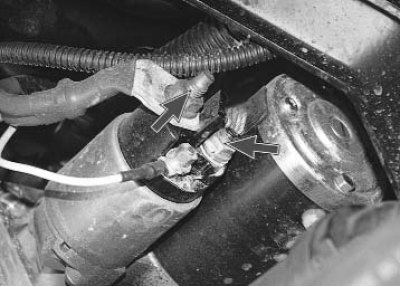
5. ...to the starter...
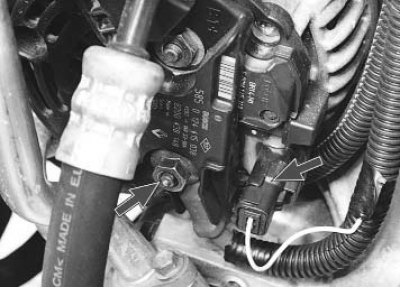
6. ...and the generator. The wires may be torn, broken inside the insulation, or have oxidized or unreliable contacts. Fix the problem and start the engine. If charging current appears, you can continue driving.
If after the measures taken the charging lamp continues to light with the engine running, then the possible cause of the malfunction lies in the generator itself. There may be several reasons and it is better to eliminate them in a car service or garage, and you can only hope that the energy reserve in the battery is enough to get to them.
Note: To reduce current consumption when driving a car with a faulty generator, if possible, turn off the radio, unnecessary lighting devices, heater fan, rear window heating, etc.