
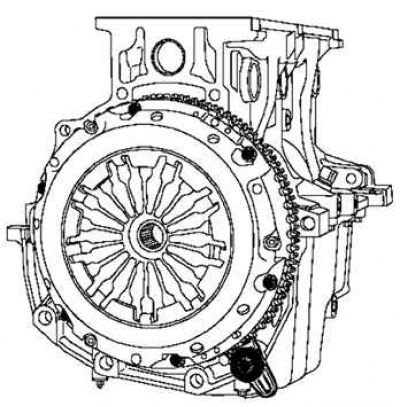
Pic. 2.136. Removal of a casing and a conducted disk of coupling
Remove cover and clutch disc (pic. 2.136).
Remove flywheel.
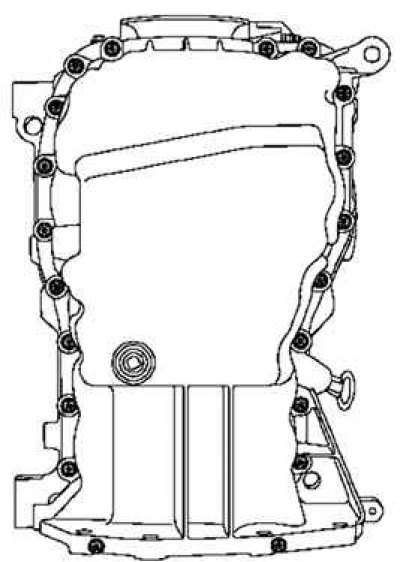
Pic. 2.137. Removing the engine tray
Remove the engine tray (pic. 2.137).
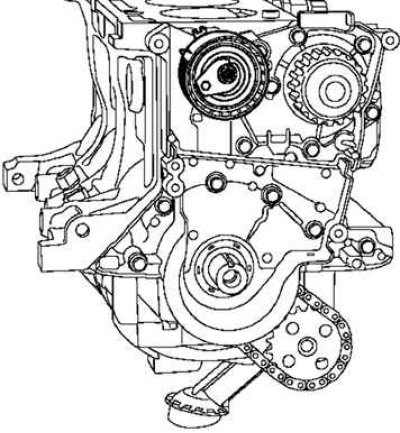
Pic. 2.138. Removing the timing belt tensioner
Remove the timing belt tensioner (pic. 2.138).
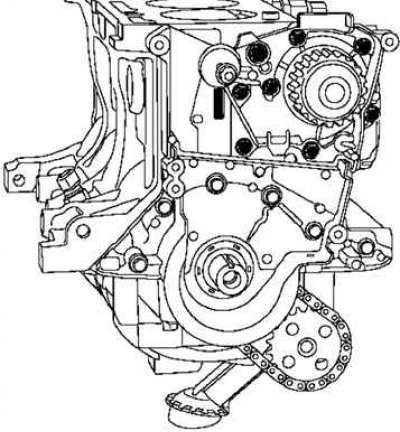
Pic. 2.139. Removing the water pump
Remove the water pump (pic. 2.139).
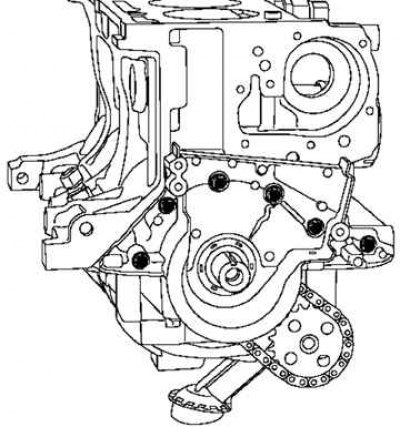
Pic. 2.140. Removing the engine block front cover
Remove the engine block front cover (pic. 2.140).
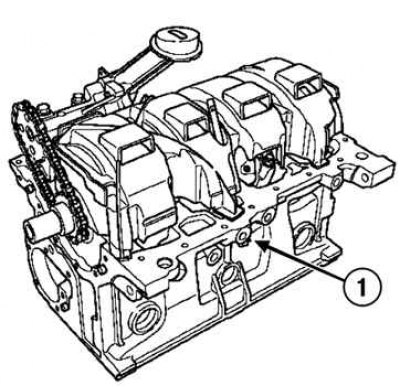
Pic. 2.141. Removing the oil level sensor and oil softener: 1 - oil level sensor
Remove the oil level sensor and oil separator (pic. 2.141).
Remove the oil pump and oil pump drive chain.
Attention! Do not use a center punch or engraver to mark the cap against the bottom head as this may cause the connecting rod to break. Use an indelible pencil.
Loosen the nuts securing the connecting rod caps and remove the pistons and connecting rods as an assembly.
Note. Be sure to mark the main bearing shells relative to the crankshaft bearings, as bearings of different classes can be installed on the bearings.
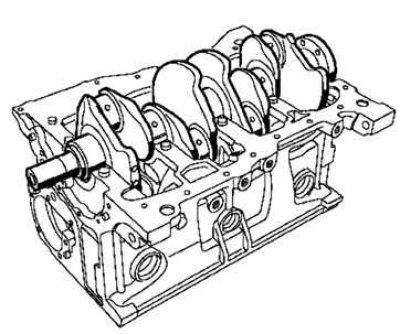
Pic. 2.142. Removing the crankshaft main bearing caps
Remove the crankshaft bearing caps (bearing caps are numbered from 1 to 5) (pic. 2.142).
Remove the crankshaft.
Cleaning the bottom of the engine
Clear:
- cylinder block;
- crankshaft;
- engine tray;
- front cover of the engine block;
- crankshaft bearing caps.