



Bleeding the hydraulic drive of the service brake system is necessary to remove air, which significantly reduces the efficiency of braking. Air can get into the hydraulic drive due to depressurization of the system during repairs, replacement of individual units or brake fluid. The presence of air in the drive is indicated by an increased travel of the brake pedal and its "softness". Before removing air, check the tightness of all brake drive units and their connections.
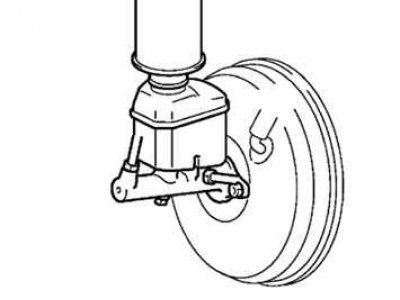
Fig. 6.5. Filling with fresh brake fluid
During the process of bleeding the brake system, the fluid level should not fall below the middle of the hydraulic reservoir of the working brake system.
Bleed the brakes in the following sequence:
- 1 - rear right brake working cylinder;
- 2 - rear left brake slave cylinder;
- 3 - Front right brake caliper;
- 4 - front left brake caliper.
Raise the car.
Disconnect the brake pipes from the master cylinder.
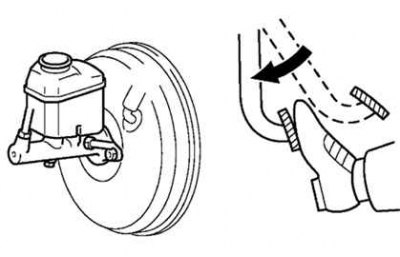
Fig. 6.6. Press the brake pedal smoothly
Gently press the brake pedal and hold it (Fig. 6.6).
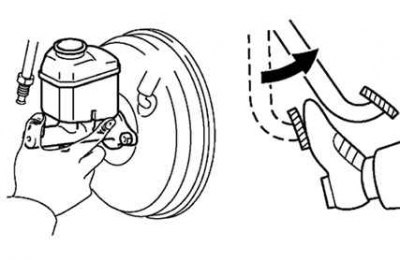
Fig. 6.7. Release the brake pedal
Plug the outlet holes of the brake cylinder with your fingers and release the brake pedal (Fig. 6.7).
Repeat the operations three to four times.
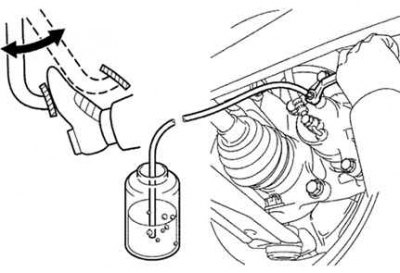
Fig. 6.8. Bleeding the brake system
Connect the vinyl tube to the bleed nipple of the wheel brake cylinder (Fig. 6.8).
Note: Start bleeding from the wheel brake cylinder that is furthest from the master cylinder.
Press the brake pedal several times, then, while holding the pedal down, loosen the bleed screw.
When the brake fluid stops coming out, tighten the bleed screw, then release the brake pedal.
Tightening torque: 8.3 Nm.
Repeat bleeding operations until no more air bubbles appear in the escaping brake fluid.
Repeat the bleeding procedure for each wheel.
Check the brake fluid level in the reservoir and top up if necessary.