



Removal and installation the trunk release cable
Removal the trunk release cable
1. Remove the trunk lid/tailgate release lever (1).
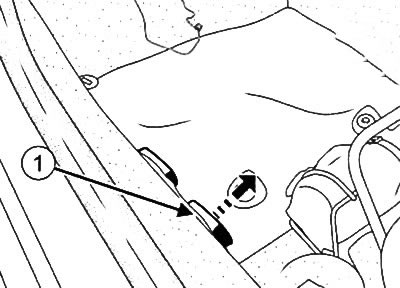
2. Partially remove the left front door seals.
3. Remove the upper trim of the B-pillar of the body (see the corresponding procedure in the section "Salon" below).
4. Remove the lower trim of the B-pillar of the body (see the corresponding procedure in the section "Salon" below).
5. Remove the rear seat base (see the corresponding procedure in the section "Salon" below).
6. Remove the backrest of the rear seat (see the corresponding procedure in the section "Salon" below).
7. Remove the lower pillar trim from the body (see the corresponding procedure in the section "Salon" below).
8. Remove the rear shelf trim.
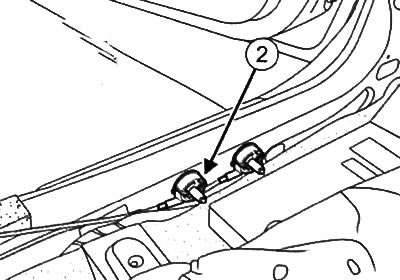
9. Loosen the bolt (2).
10. Loosen the bolt (3).
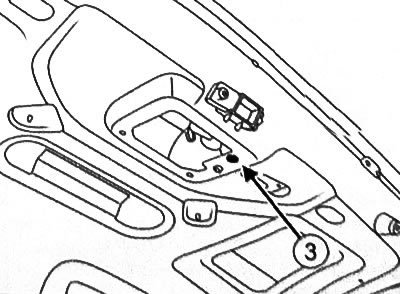
11. Remove the support.
12. Disconnect the drive cable (4) from the locking mechanism (5) in the door/trunk lid.
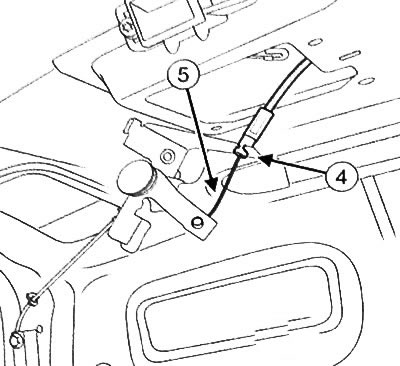
13. Mark the release cable routing in the door/trunk lid.
14. Remove the trunk release drive from the vehicle.
Installing the trunk release cable
Installation is carried out in the reverse order of removal.
After installation, check the functionality of the drive cable.