
- a) Disconnect the ground cable from the battery.
- b) Remember, if the light has just been switched on, the lamp may be extremely hot.
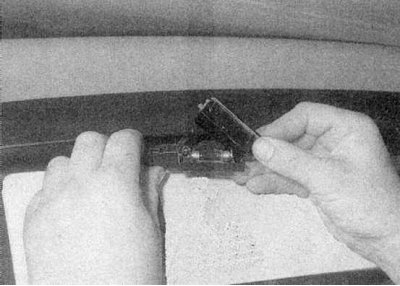
- With) Always check the lamp and holder contacts. Make sure there is good metallic contact between the lamp, power wire and ground. Before installing a new lamp, remove any corrosion or dirt.
- d) Wherever lamps with bayonet base are installed (talk to Specifications), make sure the spade contacts are securely attached to the lamp.
- e) Always install a new rated wattage lamp. And that she be clean; this is especially true for headlight bulbs.
Farah
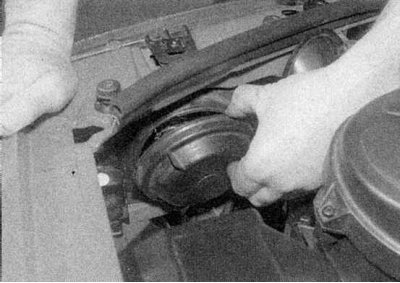
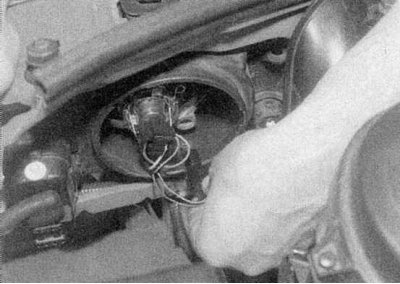
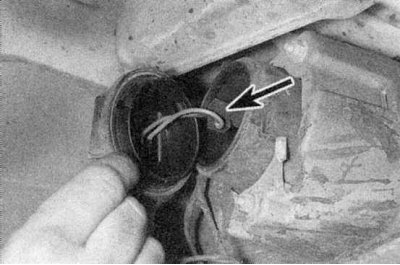
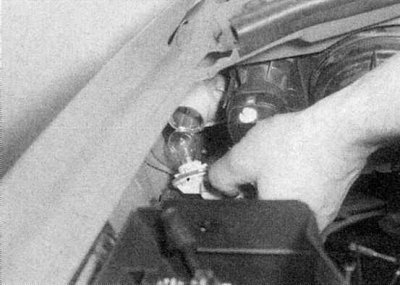
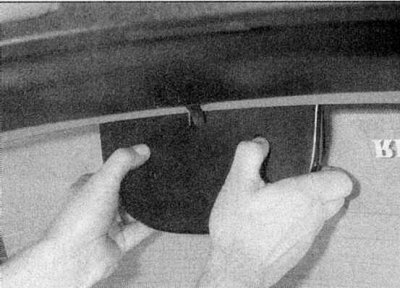
1. Remove the cover from the back of the headlight unit; if a round cover is installed, turn it 90°, and if a rectangular cover is installed, release the fixing bracket (refer to accompanying illustration).
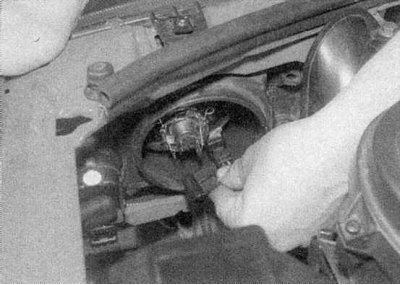
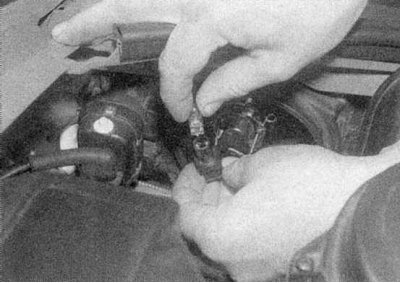
2. Disconnect the wiring connector from the back of the lamp (refer to accompanying illustration).
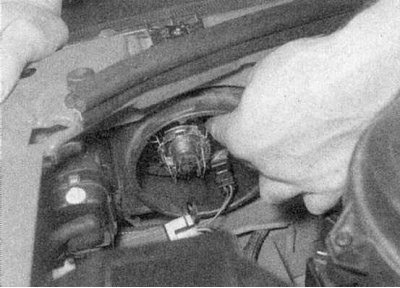
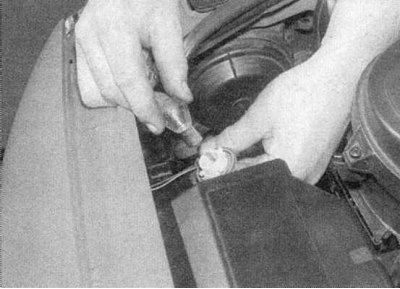
3a. Unhook and release the ends of the lamp mounting bracket.
3b. Take it off (refer to illustrations).
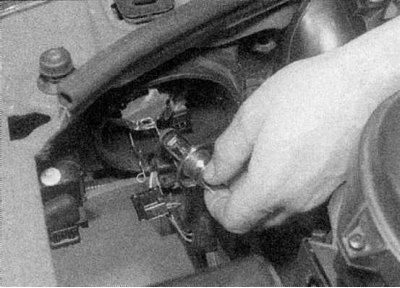
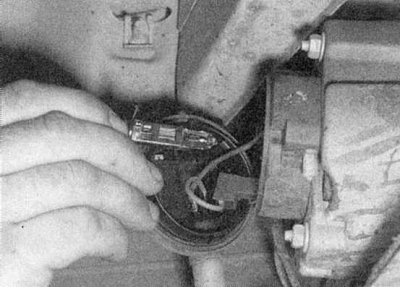
4. When installing a new bulb, use a cloth to avoid touching the glass bulb with your fingers; Moisture from the air and grease from the skin can cause this type of lamp to darken and fail quickly. If you accidentally touch the lamp bulb, wipe it with a cloth dampened with pure methyl alcohol.
5. Install a new lamp. Make sure that the locking tabs are correctly placed in the chuck slots. Fix the lamp with a spring clip.
6. Connect the wiring connector and install the cover.
Front position lamp
1. Remove the cover from the back of the headlight unit (refer to paragraph 2 above).
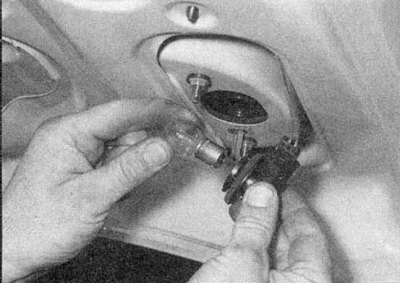
2a. Rotate the marker lamp holder and remove it from the side lamp.
2b. Pull the lamp out of the holder (refer to illustrations).
3. Install in the reverse order of removal.
Anti-fog headlight
Hatchback, sedan and Scenic models
1. Remove the fog lamp as described in Section Removal and installation of blocks of external lanterns.
2. Rotate the cover and remove it from the rear of the lamp assembly. Unhook and release the ends of the lamp mounting bracket, then remove it.
3. When installing a new lamp, use a cloth to avoid touching the glass bulb with your fingers, moisture from the air and grease may cause this type of lamp to darken and fail. If you accidentally touch the lamp bulb, wipe it with a cloth dampened with pure methyl alcohol.
4. Install a new lamp. In the meantime, keep an eye on it. that the locking tabs are correctly placed in the chuck slots. Fix the lamp with a spring clip.
5. Connect the wiring connector and install the cover.
6. Install the fog lamp as described in Section Removal and installation of blocks of external lanterns.
Coupe models
1. For easier access, apply the handbrake, then jack up the front of the vehicle and place it on axle stands.
2. Rotate the cover and remove it from the back of the lamp unit (refer to accompanying illustration).
3. Disconnect the wiring connector, then release the mounting bracket and remove the lamp (refer to accompanying illustration).
4. Install in reverse order.
Front turn signal
1a. Rotate the lamp holder counterclockwise and remove it from the back of the lamp assembly.
1b. Press the lamp and turn it counterclockwise (refer to illustrations).
2. Install in reverse order.
Front side turn signal
1. Gently wring out the canopy assembly and remove it from the fender (refer to accompanying illustration).
2a. Turn the lamp holder counterclockwise and remove it from the lamp.
2b. Pull the lamp out of the holder (refer to illustrations).
3. Install in reverse order.
Rear light unit
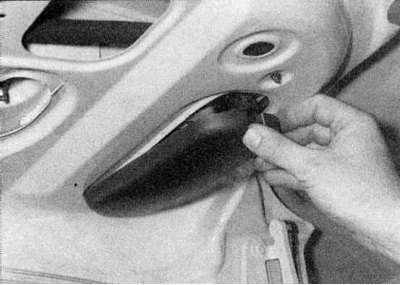
1. On Hatchback and Coupe models, in the interior of the luggage compartment, unscrew the top fixing nut and turn the cover (refer to accompanying illustration).
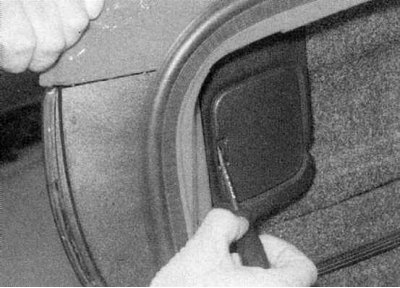
2. On Sedan and Scenic models, remove the cover from the back of the light assembly (refer to accompanying illustration). On Scenic models, the cover is located inside the wheel arch liner trim panel.
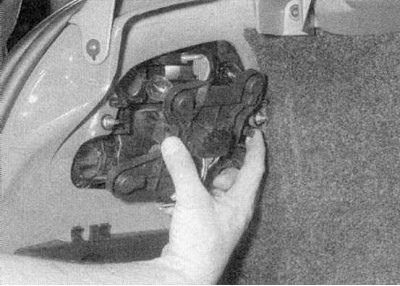
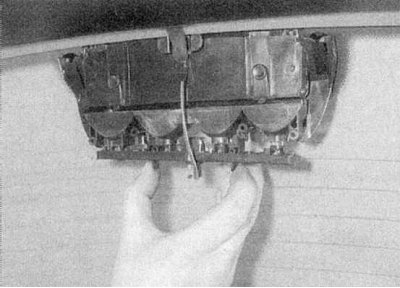
3. Release the mounting brackets and remove the lamp holder assembly from the back of the lamp assembly (refer to accompanying illustration).
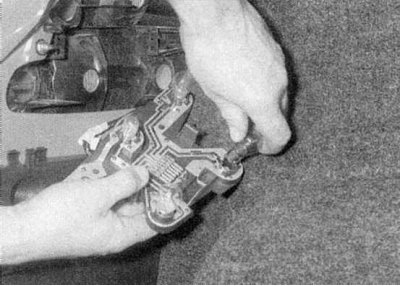
4. Press the corresponding lamp and turn it counterclockwise (refer to accompanying illustration).
5. Installation is carried out in the reverse order.
Rear light installed in the trunk lid
Coupe models
1. Open the trunk lid, then detach the cover at the back of the lamp (refer to accompanying illustration).
2. Rotate the lamp holder and remove it from the rear of the lamp assembly. Press the lamp and turn it counterclockwise (refer to accompanying illustration).
3. Installation is carried out in the reverse order.
Sedan models
1. Open the trunk lid, then detach the lid at the rear of the lamp.
2. Rotate the lamp holder and remove it from the rear of the lamp assembly. Press the lamp and turn it counterclockwise.
3. Installation is carried out in the reverse order.
Dcenic Models
1. Open the lift-up tailgate and remove the cover in the tailgate trim panel.
2. Remove the appropriate holder, then remove the bulb by pressing and turning it counterclockwise.
3. Installation is carried out in the reverse order.
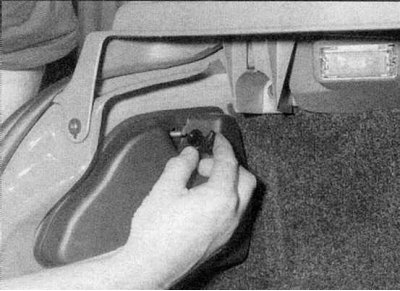
Additional brake light
1. On Hatchback models, open the tailgate, then press the mounting brackets and remove the cover from the back of the light unit (refer to accompanying illustration).
2. On Coupe models, open the trunk lid to access the rear of the light assembly.
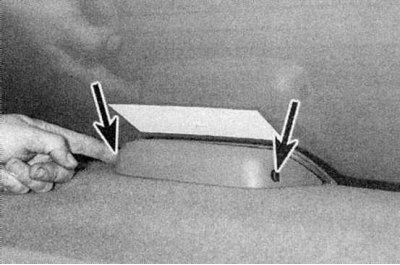
3. On Sedan models, while working in the cabin, press the mounting brackets and remove the cover from the back of the lamp unit (refer to accompanying illustration).
4. On Scenic models, open the tailgate and remove the two plugs in the holes behind the light assembly. Insert a screwdriver into each hole, release the light assembly from the outside of the tailgate.
5a. On all models, release the rocker brackets and remove the lamp holder from the rear of the lamp assembly.
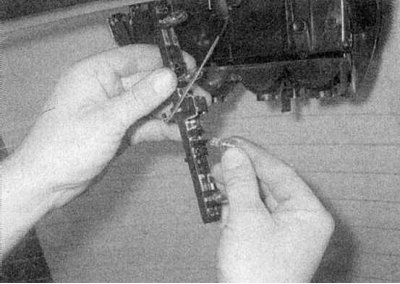
5b. Pull the corresponding lamp out of the holder (refer to illustrations).
6. Installation is carried out in the reverse order.
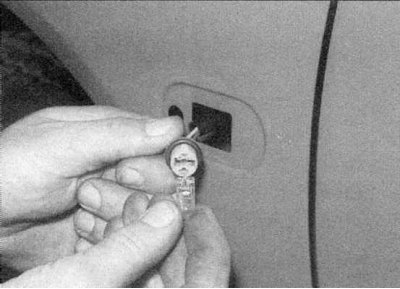
License plate light
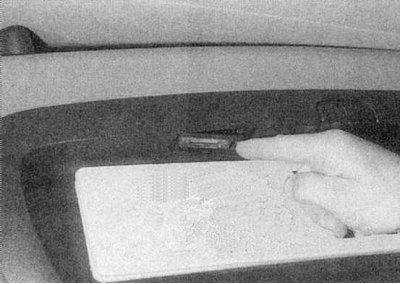
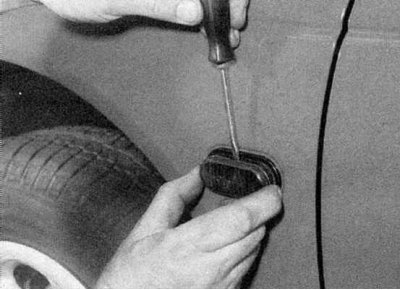
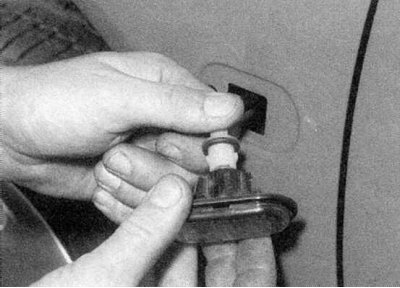
1a. Gently pry out the lamp assembly with a screwdriver.
1b. Detach the cover (where available) and pull the bulb out of the contacts (refer to illustrations).
2. Install in the reverse order of removal.