
Note. For clarity, the replacement of lamps is shown on the removed headlamp.
1. Open the hood.
2. Disconnect the wire from the terminal «minus» battery...
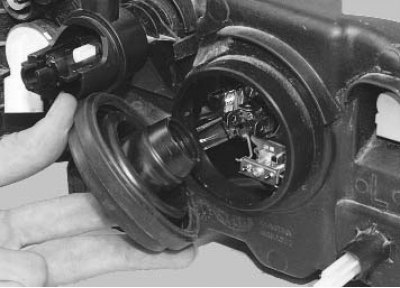
3.... and remove the headlight cover.
Note. Replacing left headlight bulbs. The lamps in the right headlight are located symmetrically, they are replaced in the same way.
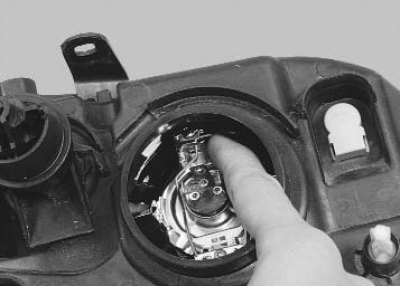
4. Remove the spring clip from the hooks on the reflector...
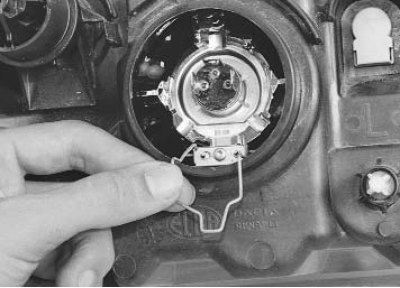
5....pull out the latch...
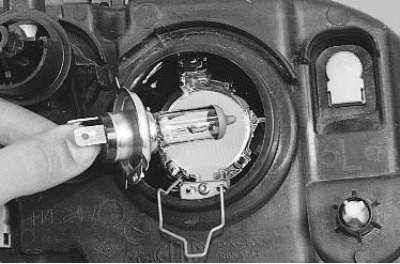
6.... and remove the headlight bulb.
Attention! Do not touch the lamp bulb with your fingers, as the halogen lamp gets very hot and grease stains will cause the bulb to darken. Handle the bulb by the bulb only with clean gloves or a clean cloth. If there are still grease stains on the lamp, remove them with alcohol.
7. Insert a new lamp into the reflector and fix it with a spring holder.
8. Replace the cover.
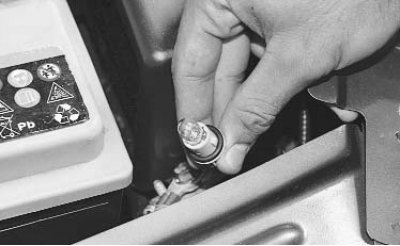
9. Turn the side light bulb holder clockwise (for the right block headlight - counterclockwise) and remove it from the headlight.
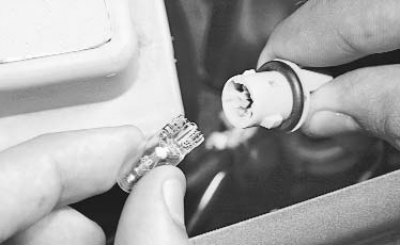
10. Remove the socketless lamp from the socket.
11. Insert a new lamp into the socket and replace the socket.
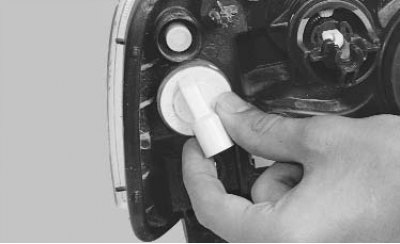
12. Turn the turn signal bulb socket counterclockwise (for the right block headlight - clockwise)...
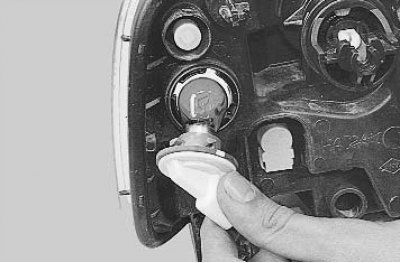
13.... and remove it from the headlight.
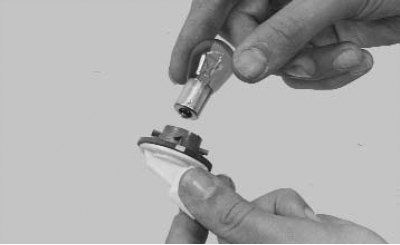
14. Turn the bulb counterclockwise and remove from the socket.
15. Install the new bulb in the socket and the socket in the headlamp.
To replace the lamp side turn signal lamp perform the following operations.
1. Disconnect the wire from the terminal «minus» battery.
2. Remove the side turn signal lamp (see «Replacement of a lateral lantern of the index of turn»).
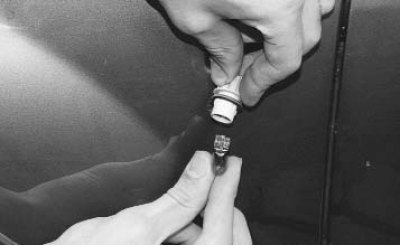
3. Remove the bulb from the socket.
4. Insert a new lamp into the socket, and the socket into the pointer body.
5. Establish a lateral lantern of indexes of turn in an order, the return to removal.
To replace any lamps in the rear perform the following operations.
1. Disconnect the wire from the terminal «minus» battery.
2. Remove the tail light (see «Rear light replacement»).
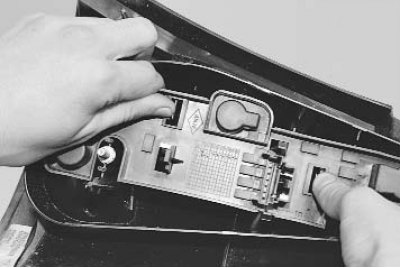
3. Press the tabs with your fingers...
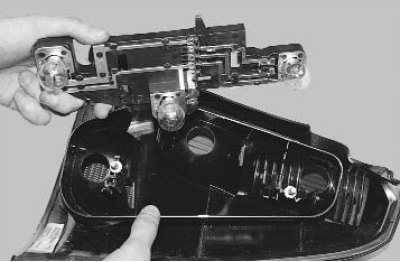
4.... and remove the rear cover of the lamp assembly with lamp holders.
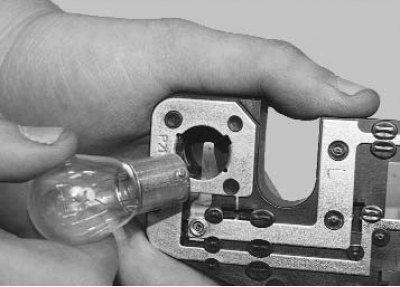
5. Push in the bulb to be replaced, turn it counterclockwise and remove it from the socket.
6. When installing a new lamp, the protrusions on the lamp must fit into the slots on the socket. Then fix the lamp in the socket by turning it until it stops (at 90°) clockwise.
7. Install the parts in the reverse order of removal.
For replacement lamps in the license plate light perform the following operations.
1. Disconnect the wire from the terminal «minus» battery.
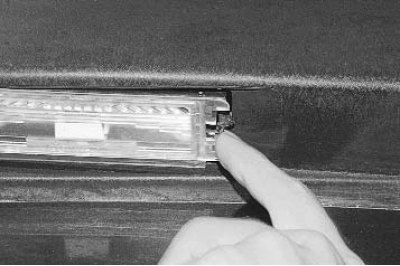
2. Press the tab and remove the license plate light from the hole in the rear bumper.
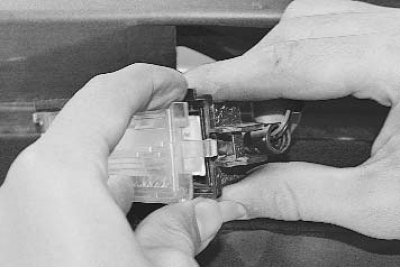
3. Wring out a clamp and remove a diffuser of a lantern.
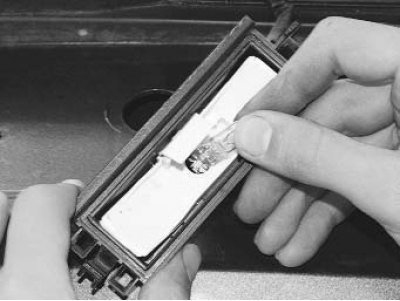
4. Remove the baseless lamp from the socket.
5. Install a new lamp.
6. Install the parts in the reverse order of removal.
For replacement lamps in the additional brake light perform the following operations.
1. Disconnect the wire from the terminal «minus» battery.
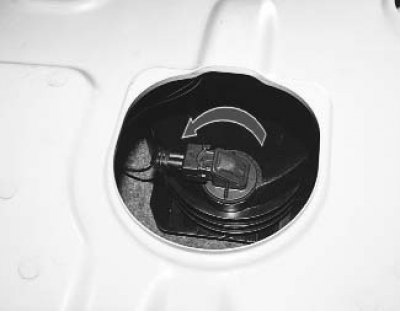
2. Turn the auxiliary brake light bulb socket counterclockwise...
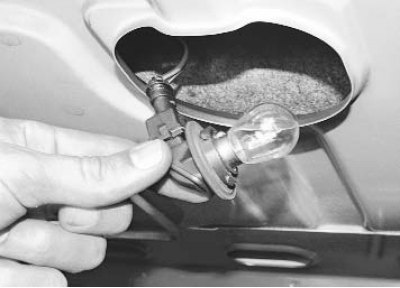
3....and remove it.
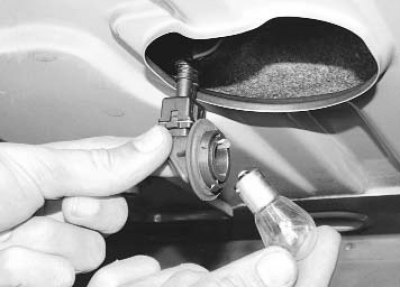
4. Press the bulb, turn it counterclockwise and remove it from the socket.
5. Install the parts in the reverse order of removal.
Note. One of the projections on the lamp socket is wider than the others. When installing, orient the cartridge so that it fits into the wider slot and turn the cartridge clockwise until it stops.
For replacement lamps in the dome light perform the following operations.
1. Disconnect the wire from the terminal «minus» battery.
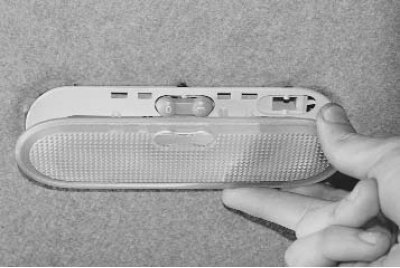
2. Remove, having overcome the force of the clamps, the diffuser of the ceiling lamp for interior lighting.
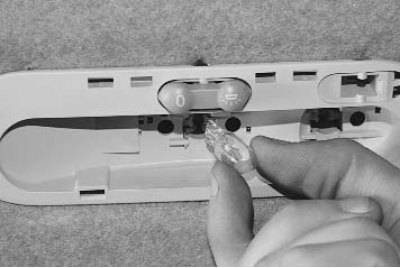
3. Remove the bulb from the socket.
4. Insert a new lamp.
5. Install the diffuser of the ceiling.
For replacement lamps in the trunk light perform the following operations.
1. Disconnect the wire from the terminal «minus» battery.
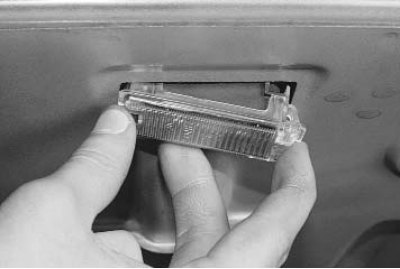
2. Wring out a clamp and take a plafond from an aperture in a body of the car.
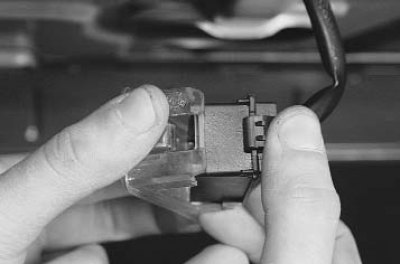
3. Press the latch and remove the diffuser of the ceiling.
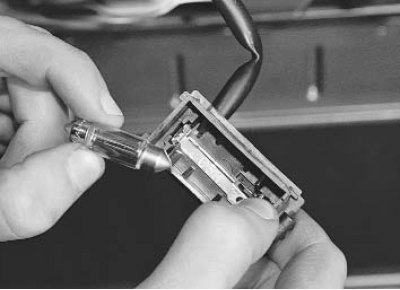
4. Wring out spring contact and take a lamp.
5. Insert a new lamp into the ceiling.
6. Install the parts in the reverse order of removal.
For replacement cigarette lighter lamps perform the following operations.
1. Remove the cigarette lighter socket and remove the light guide (see «Removal and installation of the cigarette lighter cartridge»).
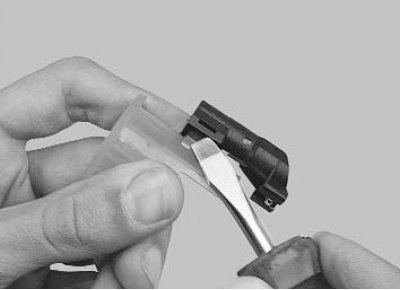
2. Using a screwdriver, disconnect the housing of the cigarette lighter cartridge backlight from the light guide.
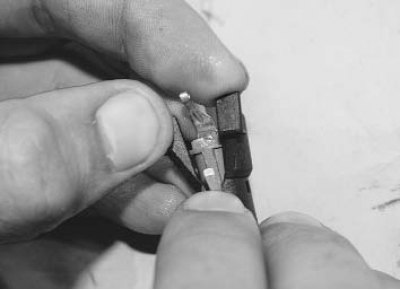
3. Opening the edges of the case, slide...
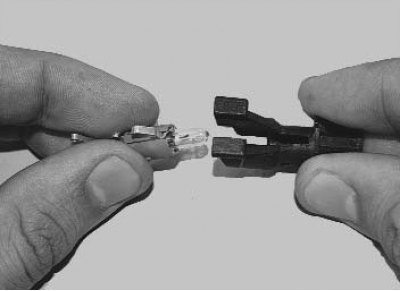
4.... and remove the backlight bulb holder.
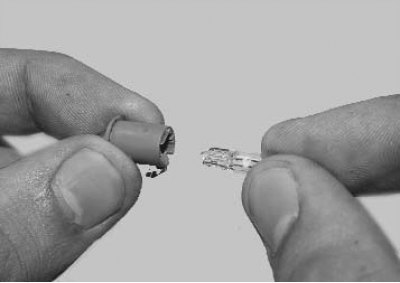
5. Remove the bulb from the socket and replace it.
6. Install the parts in the reverse order of removal.