



Contents: General description 🠛 Headlight bulbs 🠛 Front side light 🠛 Front direction indicator 🠛 Side repeater of the front turn…🠛 Front fog light 🠛 Rear light assembly 🠛 Upper brake light 🠛 License plate light bulbs 🠛
General description
1. Whenever replacing lamps, please follow the following points.
- Disconnect the negative cable from the battery.
- Remember that if the flashlight has been turned off recently, the bulb will be very hot.
- Always check the contacts of the lamp and/or holder (where available). Remove any corrosion or dirt from them.
- The new lamp must be clean and of the same wattage as the old one; this is especially true for headlight bulbs.
Headlight bulbs
Removal
2. Working in the engine compartment, squeeze the clips and remove the plastic cover from the back of the headlight.
3. Disconnect the wiring from the rear lamp (see illustration).
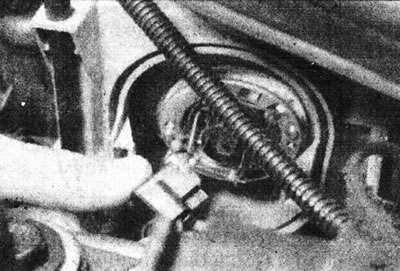
7.3. Disconnect the electrical wiring from the headlight bulb.
4. Release the lamp spring clip. Grasp the bulb by the contacts and carefully remove it from the headlight unit (see illustration).
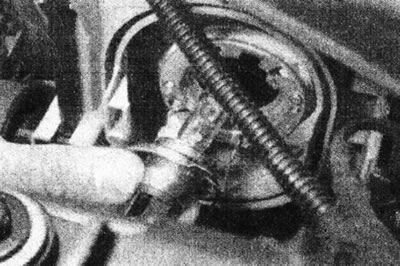
7.4 Remove the bulb from the headlight.
Installation
5. Before installing a new lamp, wipe it with a cloth.
6. Install in reverse order. Please note that the headlight trim is installed with the slot for the electrical wiring facing down.
Front side light
Removal
7. Working in the engine compartment, squeeze the clips and remove the plastic cover from the back of the headlight.
8. Disconnect the electrical wiring from the parking light socket.
9. Turn the socket counterclockwise and remove it from the headlight (see illustration).
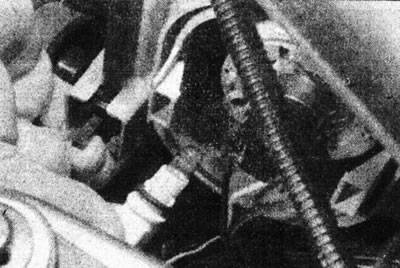
7.9. Remove the parking light socket.
10. The lamp is simply pulled out of the socket (see illustration).
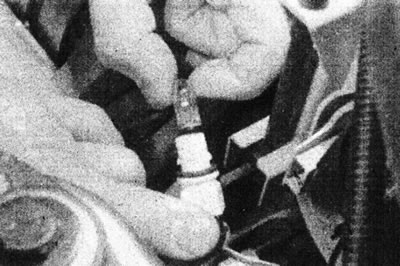
7.10. Remove the parking light bulb from the socket.
Installation
11. Install in reverse order, paying attention to the following.
12. Check the condition of the rubber seal on the back of the cartridge and whether it is installed correctly.
13. Install the headlight trim with the slot for the electrical wiring facing down.
Front direction indicator
Removal
14. If the socket is accessible from the engine compartment, turn it counterclockwise a quarter turn, then remove it (see illustration).
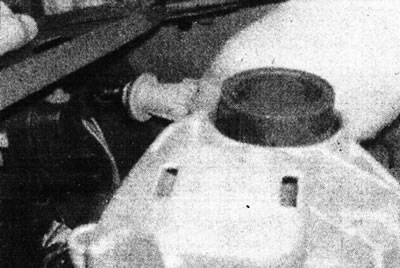
7.14 Remove the front turn signal bulb - model "Phase 3".
15. Otherwise, remove the light assembly as described in Chapter 9, then turn the socket counterclockwise and remove it (see illustration).
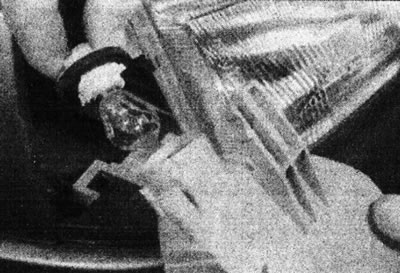
7.15 Remove the front turn signal bulb - model "Phase 1".
16. The lamp is simply inserted into the socket.
Installation
17. Install in reverse order.
Side repeater of the front turn signal
Removal
18. Carefully remove the light from the trim plate on the front fender, or from the fender panel (see illustration).
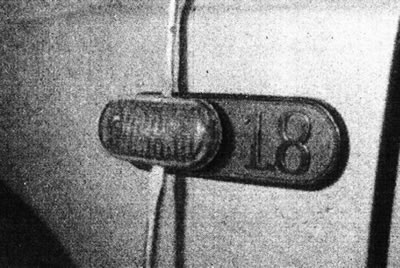
7.18. Separate the side turn signal repeater...
19. Turn the cartridge counterclockwise and remove it from the flashlight (see illustration).
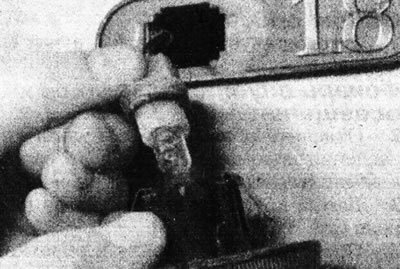
7.19. ...remove the cartridge...
20. The lamp is simply inserted into the socket (see illustration).
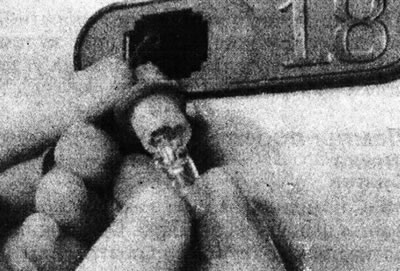
7.20. ...and remove the lamp.
Installation
21. Install in reverse order.
Front fog light
Removal
22. Unscrew the two mounting screws and remove the headlight from the front bumper (see illustration).
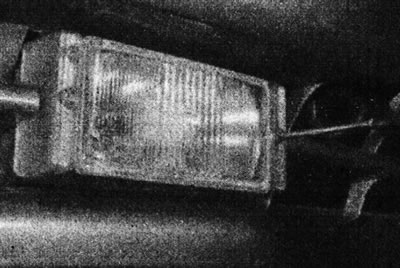
7.22. Unscrew the screws securing the front fog light.
23. Disconnect the electrical wiring (see illustration).
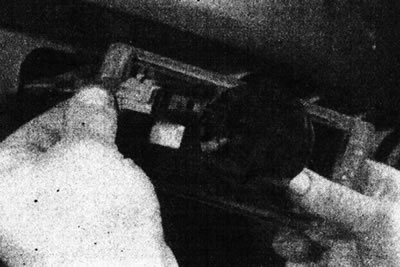
7.23. Disconnect the wiring from the fog light.
24. Turn the plastic cover counterclockwise and remove it from the back of the light.
25. Disconnect the wiring from the rear lamp.
26. Release the spring clip, then grasp the bulb by the contacts and carefully remove it from the flashlight (see illustration).
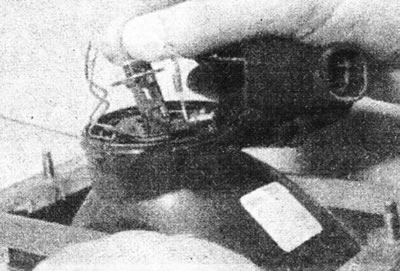
7.26. Remove the bulb from the front fog light.
Installation
27. Before installing a new lamp, wipe it with a cloth.
28. Install in reverse order.
Rear light assembly
Removal
29. Open the trunk lid and unscrew the rear light assembly mounting nut (see illustration).
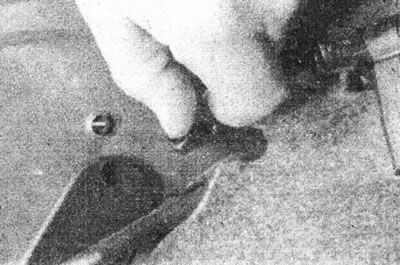
7.29. Unscrew the rear light assembly mounting nut.
30. Tilt the headlight assembly and remove it. Disconnect the electrical wiring.
31. Compress the retaining clips and remove the bulb holder from the rear of the light assembly (see illustrations).
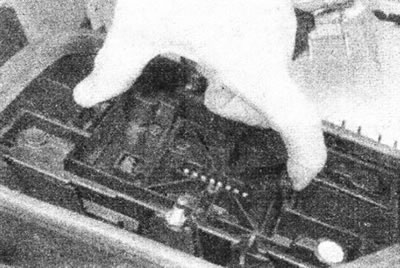
7.31a. Tighten the mounting brackets...
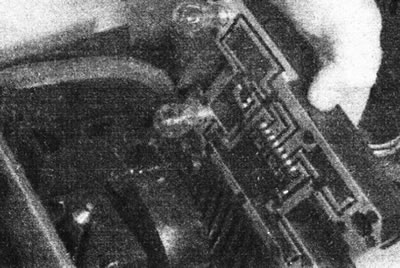
7.31b....and remove the bulb holder from the rear light assembly.
32. The lamp is simply pulled out of the holder.
Installation
33. Install in reverse order.
Upper brake light
Removal
34. Open the tailgate and push the trim away from the tailgate trim panel (see illustration).
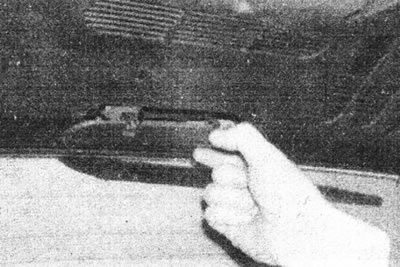
7.34. Remove the upper brake light cover from the tailgate trim panel.
35. Press the two retaining clips and separate the bulb holder from the headlight assembly (see illustration).
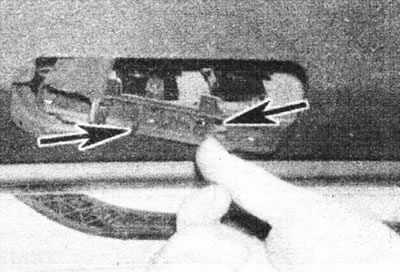
7.35. Press on the fastening brackets (marked with arrows) and release the cartridge.
36. Three lamps simply pull out of the holder (see illustration).
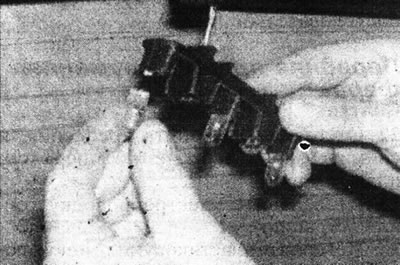
7.36. Push the lamp into the socket.
Installation
37. Install in reverse order, but be careful not to damage the lamps when installing them into the socket.
License plate light bulbs
Removal
38. Using a screwdriver, carefully pry the light out of the bumper. Disconnect the electrical wiring (see illustration).
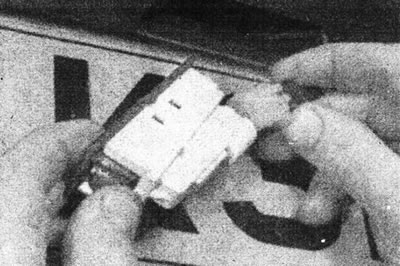
7.38. Remove the license plate light and disconnect the wiring.
39. Release the clamps and separate the diffuser from the lamp (see illustration).
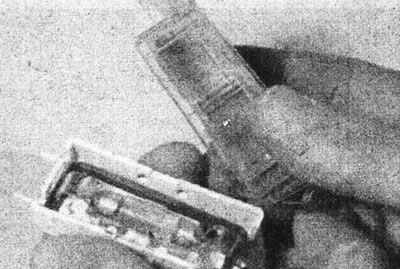
7.39. Remove the diffuser to gain access to the lamp.
40. Remove the lamp.
Installation
41. Install in reverse order. Make sure the rubber seal is installed correctly.