



Contents: General description 🠛 Interior lighting lantern 🠛 Flashlight for reading maps 🠛 Glove compartment light 🠛 Trunk light 🠛 Cigarette lighter illumination lamp 🠛 Ashtray light 🠛 Clock backlight lamp 🠛
General description
1. Be guided Chapter 7, paragraph 1.
Interior lighting lantern
2. Remove the trim from the sunroof control panel to gain access to the lamp (see illustration).
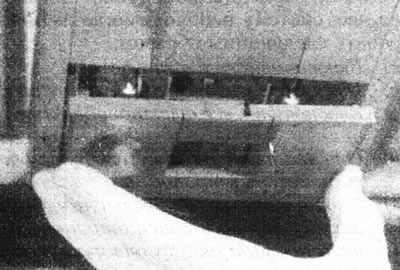
8.2. Remove the interior light trim...
[Original publication on the portal www.RENAULTBOOK.ru]
3. The lamp is simply pulled out of the socket (see illustration).
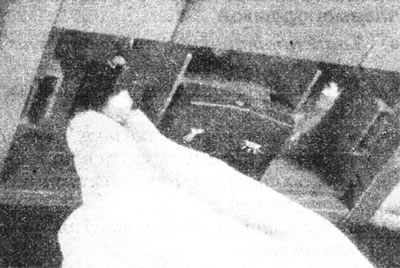
8.3. ...to gain access to the lamp.
4. Install in reverse order.
Flashlight for reading maps
5. Proceed as described above for the interior light.
Glove compartment light
6. Press the flashlight away from the glove compartment (see illustration).
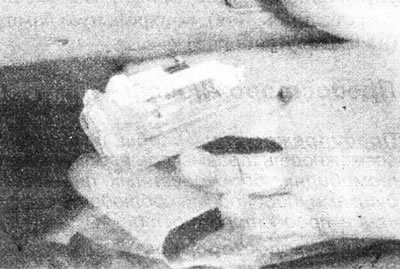
8.6. Remove the glove compartment light.
7. The lamp is simply pulled out of the socket.
8. Install in reverse order.
Trunk light
9. The procedure is similar to that described above for the glove compartment light.
Cigarette lighter illumination lamp
10. Remove the ashtray and cover from the center console. Push the cigarette lighter mounting plate out of the center console (see illustration).
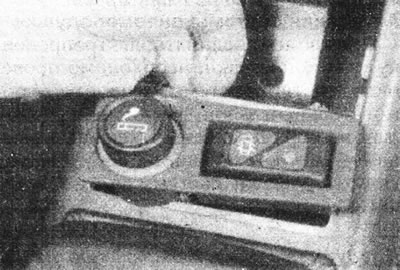
8.10. Push the cigarette lighter mounting plate out of the center console...
11. Disconnect the wiring from the cigarette lighter and from the switches installed in the panel (see illustration).
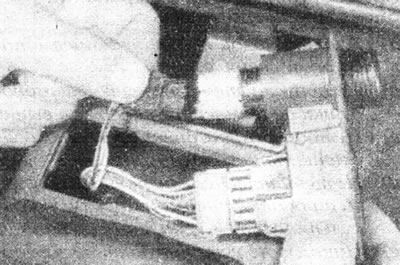
8.11. ...and disconnect the connectors.
12. Remove the plastic lamp cover on the back of the cigarette lighter (see illustration).
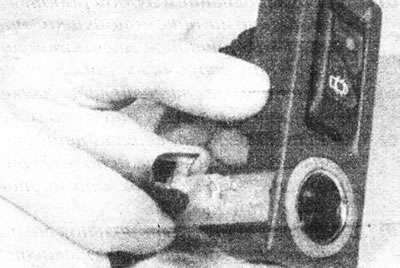
8.12. Remove the plastic cover to gain access to the lamp.
13. Using a small screwdriver, insert it through the back of the socket and push the bulb out.
14. Push the new bulb into the socket, then assemble and install the cigarette lighter in the reverse order of removal.
Ashtray light
15. The ashtray and cigarette lighter are illuminated by one common lamp. See points 10-14.
Clock backlight lamp
16. Remove the watch.
17. Turn the cartridge counterclockwise and remove it from the back of the watch.
18. The lamp is mounted in the socket.
19. Install in reverse order.