
Removing
Door lock activator
1. Remove the door lock assembly as described in Section Removal and installation of the door handle and lock components.
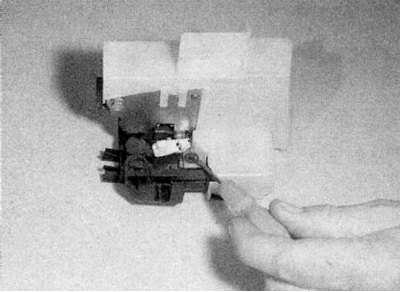
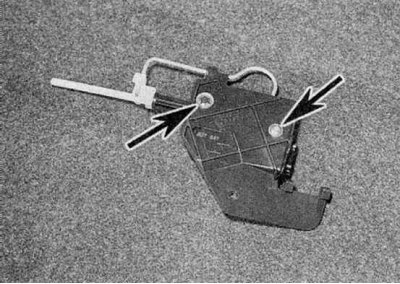
2a. Gently pry out the mounting bracket.
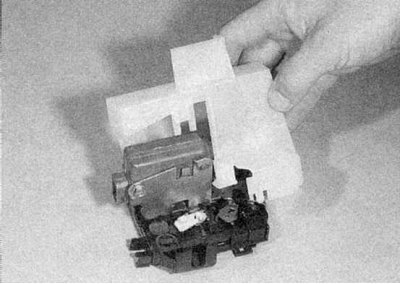
2b. Detach the plastic cover and remove it from the lock (refer to illustrations).
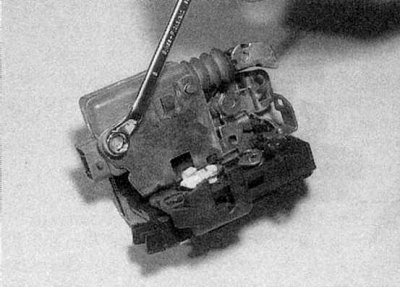
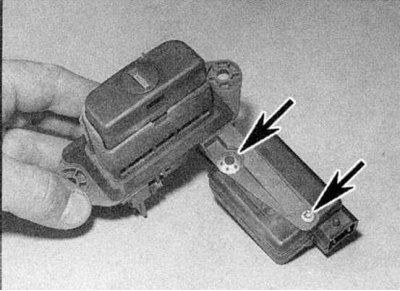
3a. Loosen the fixing screw.
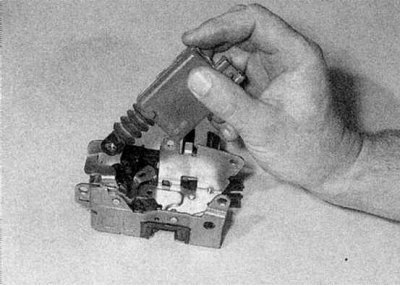
3b. Separate the activator from the lock assembly (refer to illustrations).
Rear Door Lock Actuator - Hatchback and Scenic Models
1. Remove the lock button assembly as described in Section Removal and installation of components of the lock of a back door.
2. Remove the mounting screw and bracket, then separate the activator from the mounting bracket.
Tailgate Lock Actuator - Coupe Models
1. Remove the lock button assembly as described in Section Removal and installation of trunk lid lock components.
2. Remove the mounting screw and bracket, then separate the activator from the mounting bracket (refer to accompanying illustration).
Tailgate Lock Actuator - Sedan Models
1. Open the trunk lid and remove the lock cover.
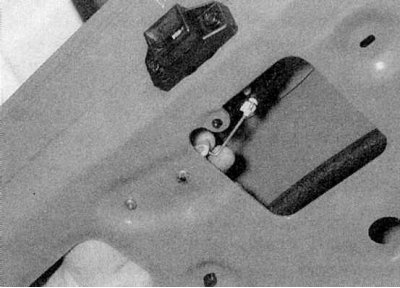
2. Release the mounting bracket and separate the rod from the activator (refer to accompanying illustration).

3a. Remove the mounting screw and bracket.
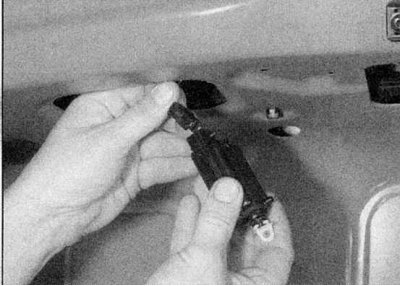
3b. Remove the activator from the trunk lid by disconnecting the wiring connector (refer to illustrations).
Fuel filler cap activator
1. To gain access to the activator, wring out the mounting brackets with a screwdriver and bend the side panel of the luggage compartment trim.
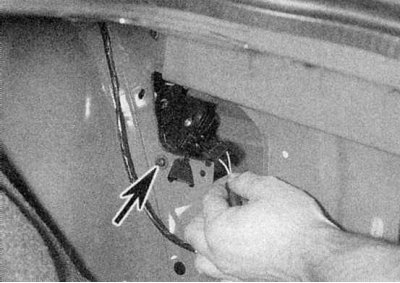
2. Disconnect the wiring connector, then unscrew the screw securing the motor bracket to the body (refer to accompanying illustration).

3a. Carefully detach the mounting bracket and remove the motor assembly from the vehicle.
3b. Remove the screw and bracket, then detach the bracket from the motor (refer to illustrations).
Single Lock Remote Receiver
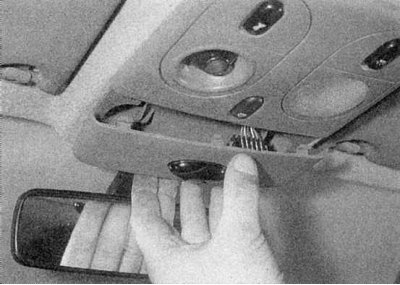
1. Gently remove the front panel from the overhead console (refer to accompanying illustration).
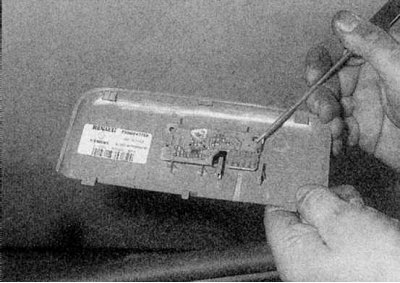
2. Disconnect the wiring connector, then carefully remove the single lock printed circuit board and remove it from the panel (refer to accompanying illustration).
Installation
1. Install in reverse order.