
Removing
Interior door lock handle
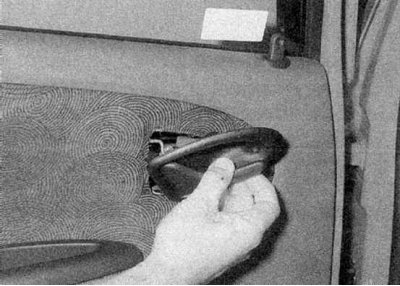
1. Remove the fastening screw securing the handle to the door, then separate the handle assembly from the rod and remove it from the vehicle (refer to accompanying illustration).
External door lock handle
1. Remove the door trim panel as described in Section Removal and installation of the door trim panel.
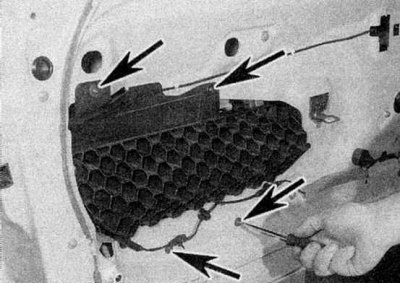
2a. Remove the shock absorber from the door.

2b. On Coupe and Scenic models, the panel is fixed with screws, and on all others - with brackets - refer to the illustrations).
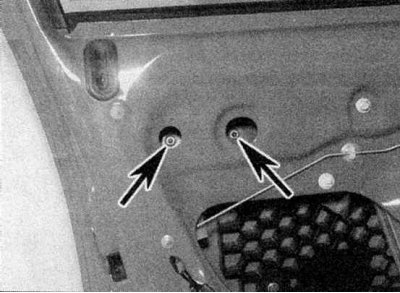
3a. Loosen the fixing nuts.
4b. Remove the outer handle from the door.
Front door lock cylinder
1. Remove the door trim panel as described in Section Removal and installation of the door trim panel.
2. Remove the impact panel from the door. On Coupe and Scenic models, the panel is fixed with screws, and on all others - with brackets.
3a. Loosen the fixing screws (Hatchback and Sedan).
3b. Remove the anti-theft pad (Hatchback and Sedan) from the assembly of the castle (refer to illustrations).
3c. Loosen the fixing screws (coupe).
3d. Remove anti-theft bracket (coupe) from the assembly of the castle (refer to illustrations).

4a. Release the mounting bracket by turning it 90°.
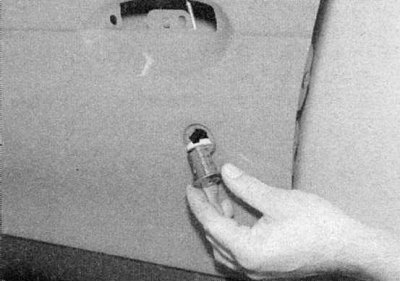
4b. Then remove the lock cylinder and bracket from the door (refer to illustrations).
Assembling the front door lock
1. Remove the lock cylinder as described earlier in this Section.

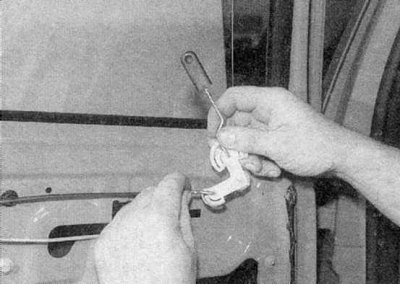
2. Separate the lock assembly rod from the outer handle, then release the inner handle rod from the rail on the door (refer to accompanying illustration).

3a. Loosen the lock screws.
3b. Remove the lock assembly from the door by disconnecting the wiring connector from the single lock activator (where available) (refer to illustrations).
Exterior tailgate handle
1. Remove the door trim panel as described in Section Removal and installation of the door trim panel.
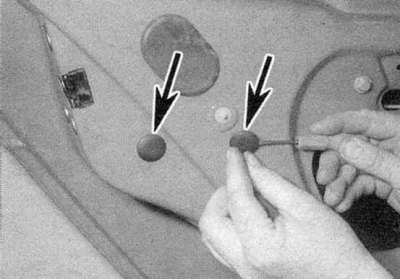
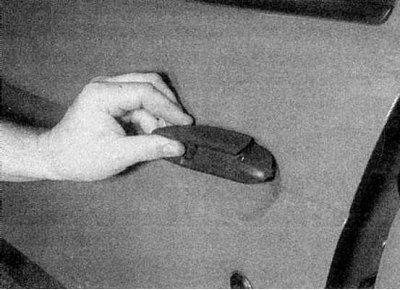
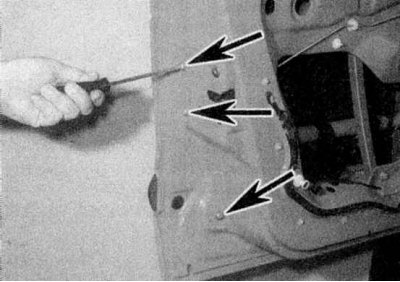
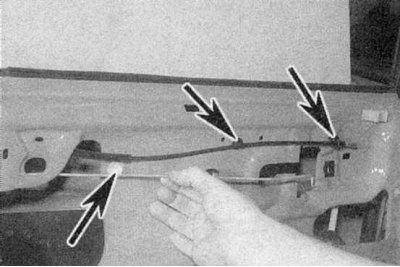
2. Press the rubber shells off the door with a screwdriver to gain access to the fixing nuts (refer to accompanying illustration).
3. Separate draft from the handle, then turn away fixing nuts from remove the handle from a door.
Rear door lock assembly
1. Remove the outer handle as described above.
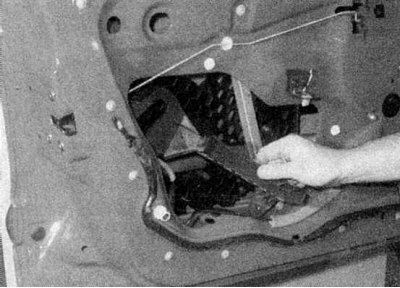
2. Disconnect the inner button of the lock from the door, then release the rod from the button and remove the assembly from the door (refer to accompanying illustration).
3. Remove glass of a back door as it is described in Section Removal and installation of glass of a door window and power window.
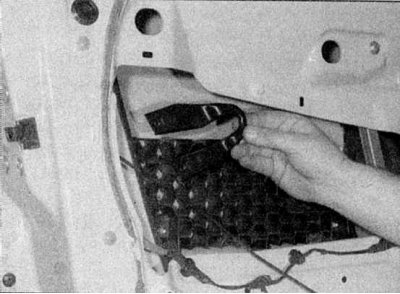
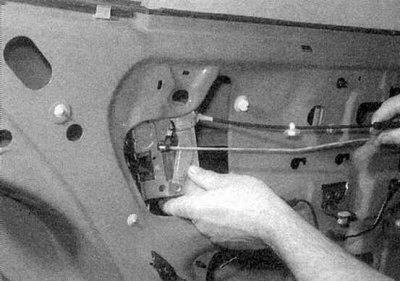
4. Release the inner handle rod from the guides and separate the cable/rod brackets from the door (refer to accompanying illustration).
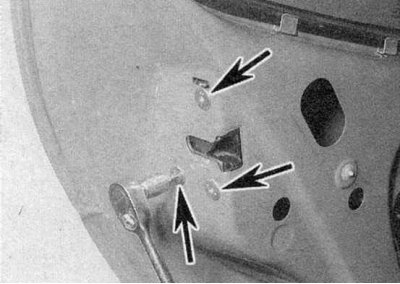
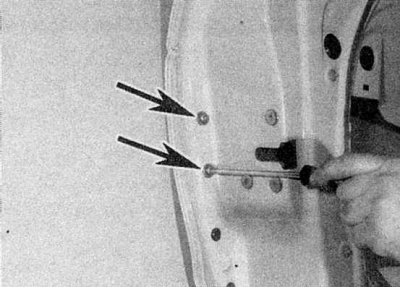
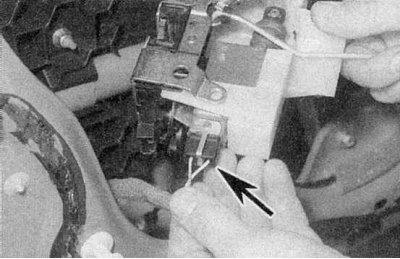
5a. Loosen the fixing screws.
5b. Remove the lock assembly from the door by disconnecting the wiring connector (shown by arrow) from the single lock activator (where available) (refer to illustrations).
Installation
1. Install in reverse order. Before installing the trim panel, check the operation of the lock and handles.