
Removing
1. Remove the door trim (see chapter 8). Make sure the glass is completely closed.
Lock cylinders
2. Remove the lock cylinder clamp. On stage 3 vehicles, first remove the protective cap and then the bracket using a wire hook (see illustration).
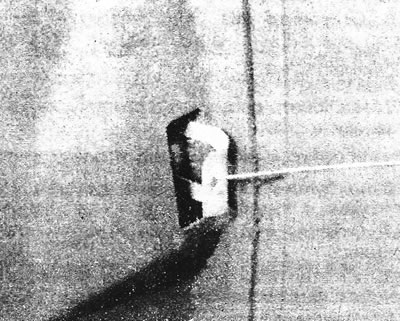
15.2 Removing the lock cylinder
3. Disconnect the control rod and remove the lock cylinder.
External door handles
4. On Stage 1 and Stage 2 vehicles: Remove the two handle fixing screws. Disconnect the control rod from the side of the door handle and remove those handle.
5. In cars of the 3rd stage of production: disconnect the draft at the place of its fastening with the door latch. Loosen the nut and remove the handle bracket (see illustration). Remove the handle and control rod.
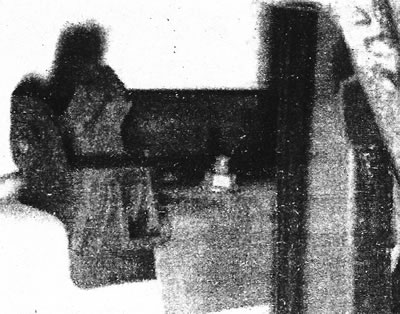
15.5 Loosen the nut and remove the handle bracket
Latches
6. Disconnect the cylinder of the lock and draft of the door handle from a latch.
7. Remove 3 bolts and lower the latch into the door cavity (see illustration).
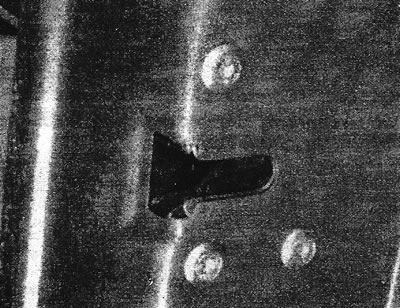
15.7 Door latch bolts
8. Disconnect an electric socket of the central lock and operating draft of the internal handle of a door. Remove the latch.
9. If necessary, you can remove the central locking motor; to do this, unscrew the bolt of its fastening.
Installation
10. Installation is carried out in the reverse order. Before installing the door trim, check the operation of the latch, lock and rods.