
Removing
Cars of the 1st and 2nd stages of production
1. Disconnect the wire «masses» from the battery.
2. Disconnect the triangular mounting of the rear-view mirror.
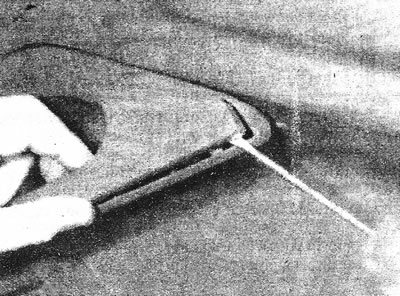
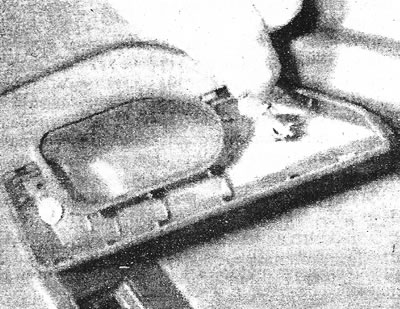
3. Carefully remove the glass sealing brush from the top of the casing (see illustration).
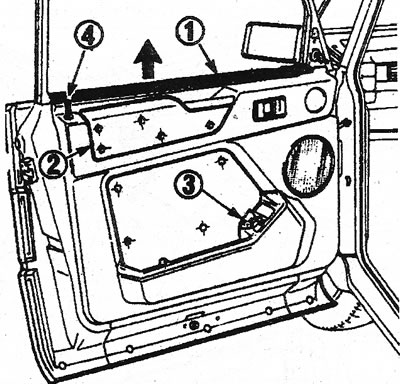
7.3 Sealing brush for door glass, upper trim panel (2), switch (3) and lock button (4)
4. Remove a frame of the internal handle of a door.
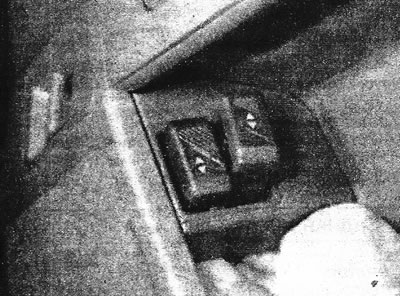
5. Remove the power window switches by disconnecting the wires from them.
6. Disconnect a wire from an external rear-view mirror.
7. Turn away the button of locking of a door.
8. Remove the 4 screws securing the trim (see illustration).
7.8 Skin fastening screw (5), door handle screw (6) and buttons (7)
9. Turn away screws of fastening of a door handle.
10. Remove a plastic element of the top panel of a covering and remove a covering of a door, having removed if necessary buttons of fastening.
11. Remove draft of the lock of a door, disconnect a wire from the loudspeaker and remove a covering.
12. If the casing was removed only for the purpose of access to the internal elements of the door, turn the plastic casing element with the sticky side to the metal and straighten it over the entire plane of the door.
Cars of the 3rd stage of production
13. Disconnect the wire «masses» from the battery.
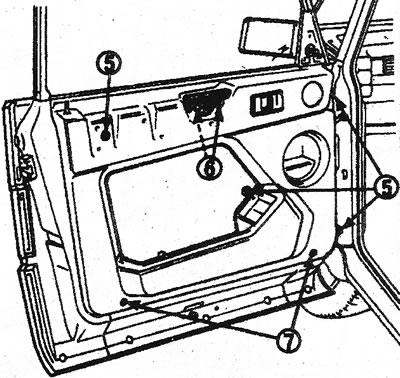
14. Remove the power window switches by disconnecting the wires from them (see illustration).
7.14 Removing the power window switches
15. Carefully remove the frame of the inner door handle and unscrew the two bolts from the inside (see illustrations).
7.15а Remove the frame of the inner door handle..
7.15b...and remove the two screws underneath
16. Remove the two lower screws securing the trim (see illustration).
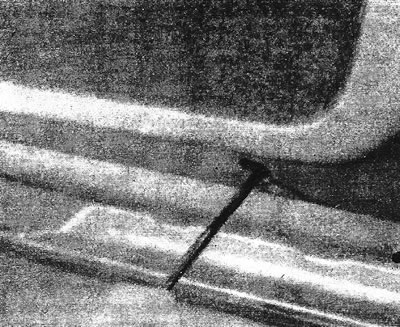
7.16 Loosening the bottom screw fixing the casing
17. Remove a part of a covering from a corner of glass.
18. Remove the door trim by removing the additional fastening buttons.
19. Remove draft of the lock of a door, disconnect a wire from the loudspeaker and remove a covering.
20. If the casing was removed only for the purpose of access to the internal elements of the door, turn the plastic casing element with the sticky side to the metal and straighten it over the entire plane of the door.
Installation
21. Installation is carried out in the reverse order.