



Contents: Removal 🠛 Installation 🠛
Removal
Trunk lid - coupe models
1. Open the trunk lid and disconnect the ground cable from the battery.
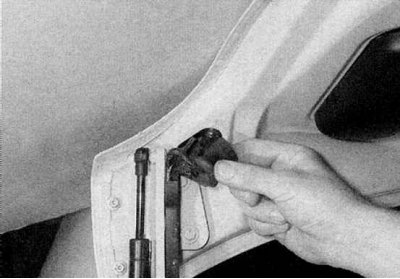
2. Disconnect the wiring harness connectors of the electrical components of the trunk lid. Mark the connectors to avoid confusion during subsequent installation and tie a piece of twine to the end of the wiring harness. Remove the sealing ring from the left side of the trunk lid and remove the wiring harness (refer to the accompanying illustration). When the end of the wiring appears, untie the twine and leave it in this position.
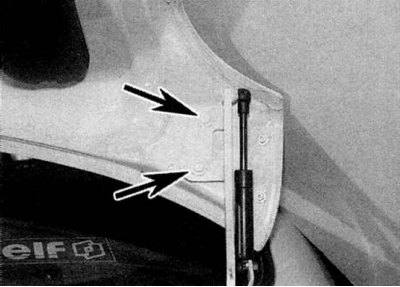
3. Outline each hinge with a marker, then remove the hinge mounting bolts and remove the trunk lid from the vehicle (refer to the accompanying illustration).
4. Inspect the hinges for wear or damage and replace them if necessary.
Trunk lid - sedan models
1. Lift the rear seat cushions and fold down the seatback.
2. Remove the additional brake light as described in Chapter On-board electrical equipment. On models equipped with rear speakers, remove the speaker grilles.
3. Use a screwdriver to gently pry up the fastening clips securing the front edge of the document shelf, then slide the trim panel forward and separate it from the shelf.
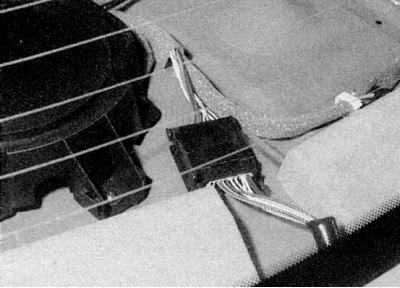
4. Disconnect the electrical wiring connector that is secured with staples to the left side of the shelf and release the electrical wiring from the mounting staples (refer to the accompanying illustration).
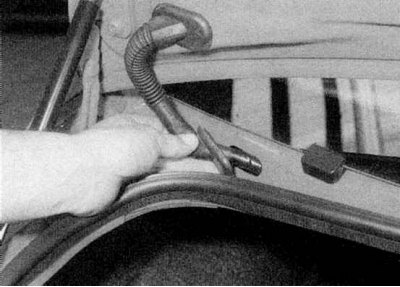
5. Open the trunk lid and remove the wiring harness sealing ring from the body. Remove the wiring (refer to the accompanying illustration).
6. Outline each hinge with a marker, then remove the hinge mounting bolts and remove the trunk lid from the vehicle.
7. Inspect the hinges for wear or replace them if necessary.
Support
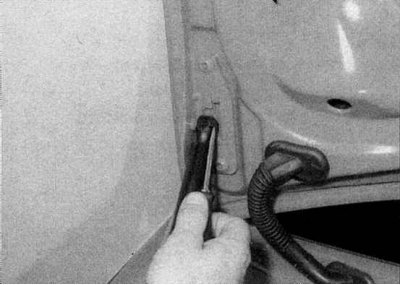
1. Using a small flat-head screwdriver, carefully lift the retaining clip and separate the support from the ball joint (refer to the accompanying illustration).
Installation
Trunk lid
1. Install in reverse order. Align the hinges with the marks made before removal.
2. Finally, close the trunk lid and check its alignment with the surrounding panels.
Support
1. Perform installation in reverse order.