
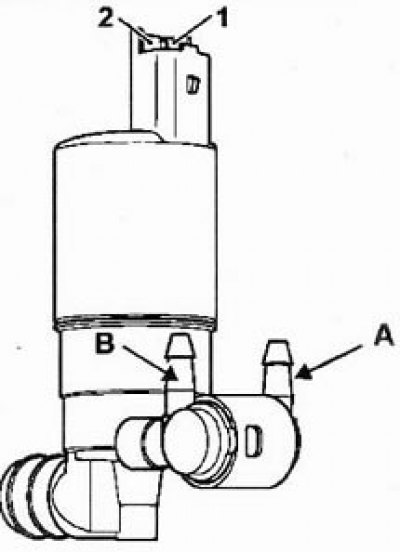
On models without a rear window washer, +12 V is supplied to the terminal "2", terminal "1" grounded.
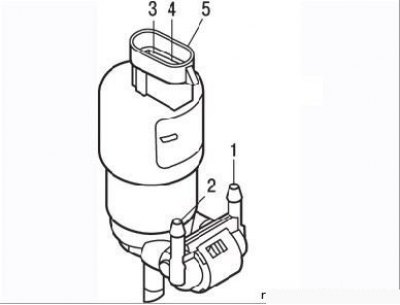
Figure 8.49. Washer motor: 1 - black tip for supplying fluid to the windshield; 2 - white tip for supplying liquid to the rear window; 3, 4 – contacts; 5 - pin connector
The car is equipped with a windshield washer with an electric pump (Figure 8.49) bidirectional action with the possibility of supplying liquid from the reservoir to the washer of either the windshield or the rear window, depending on the voltage on the two pins of connector 5.
Removal and installation of the windshield washer reservoir
- disconnect the wire from the negative terminal of the battery;
- remove the wiper arms;
- remove the windshield trim (see section «Body»);
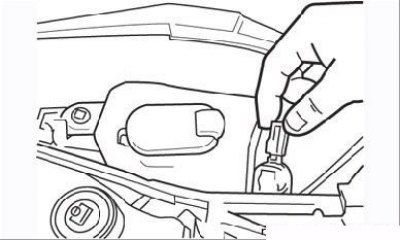
Figure 8.50. Disconnecting the connector from the washer pump
- disconnect the connector from the electric pump (Figure 8.50);
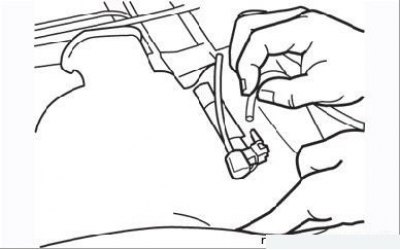
Figure 8.51. Disconnecting the hoses from the windshield washer pump
- unscrew the windshield washer reservoir bolt and lift it so that you can disconnect the hoses from the electric pump (Figure 8.51), by marking their location;
- remove the tank from the engine compartment;
- if necessary, disconnect the electric pump from the tank.
Installation
Installation is carried out in the reverse order of removal, taking into account the notes relating to the installation of the wiper arms (see above).
Windshield washer jets
The direction of the jet of liquid coming out of the nozzles is adjusted using a needle or pin inserted into the atomizer and rotated in the desired direction for optimal liquid hitting the glass.
To remove the windshield nozzle, lift the hood, disconnect the hose from the nozzle and gently squeeze it out, being careful not to damage the paint.
To remove the tailgate nozzle, the top panel of the door must be removed (see subsection «Additional brake light»). Disconnect the hose and gently squeeze the nozzle out, being careful not to damage the door paint.
Install the injectors in the reverse order of removal.