
Note. When replacing the clutch release bearing due to noise, check the condition of the drive plate pressure spring petals. In case of severe wear of the ends of the petals at the points of contact with the bearing, replace the drive disk assembly.
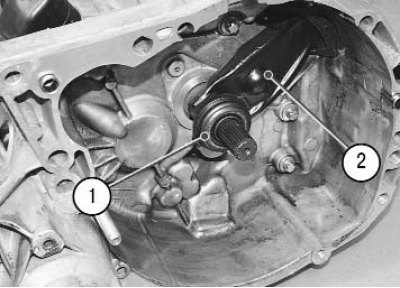
The bearing 1 of the clutch release assembly with the clutch is mounted on the guide sleeve and connected to the fork 2 of the clutch release. The fork with its trunnions is inserted all the way into the blind grooves of the bearing coupling and rests on a ball bearing screwed into the clutch housing. The fork is fixed in a certain position by its corrugated rubber boot inserted into the window of the clutch housing.
1. Remove the gearbox (see «Removal and installation of a transmission»), unless it was removed to repair the clutch.
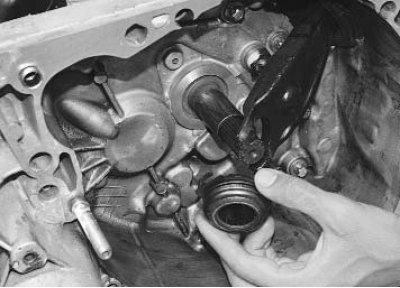
2. Moving the clutch release bearing along the guide forward, remove the fork from the grooves of its clutch and remove the bearing.
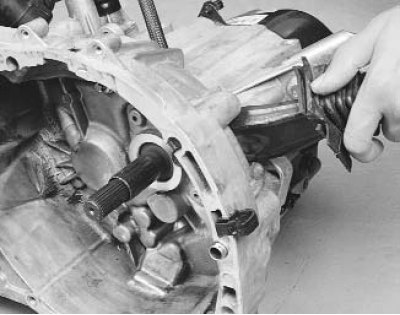
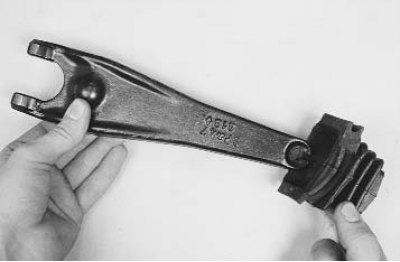
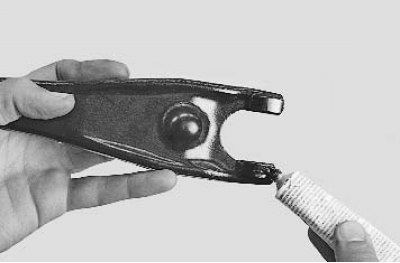
3. If it is necessary to replace the clutch release fork, remove its dirt cover from the hole in the clutch housing and remove the clutch release fork from the ball joint.
4. If necessary, remove the dirt cover from the plug.
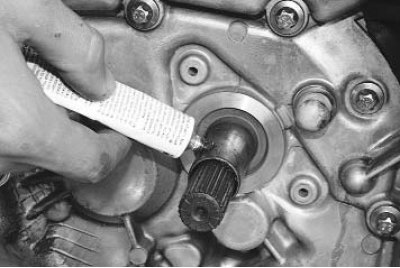
5. Lubricate the outer surface of the guide bushing with a thin layer of refractory grease...
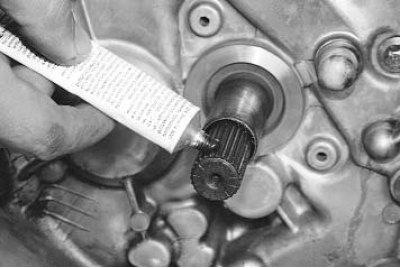
6.... splines of the input shaft of the gearbox...
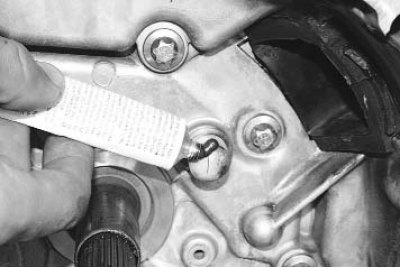
7.... the ball joint of the clutch release fork...
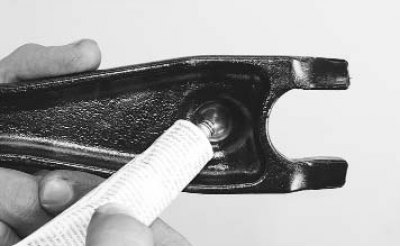
8.... fork surfaces in contact with the ball joint...
9.... and with a clutch release bearing.
10. Install the clutch release fork and a new bearing assembly with the clutch (making sure that its rotation is smooth and noiseless and that there are no backlashes) in reverse order of removal.
Attention! Additional fixation of the release fork on the bearing coupling and ball joint is not provided. Therefore, after installing the fork and bearing (and even more so after installing the gearbox) do not turn the fork in a vertical plane, as this may cause it to disengage from the grooves of the coupling.