
Required special tools and fixtures
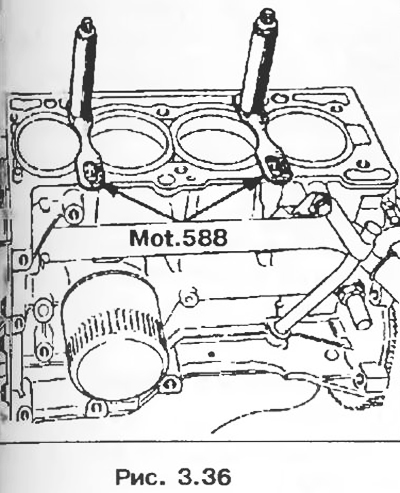
- Mot. 588 Cylinder liner retainer.
- Mot. 591-02 Magnetic base pointer for angular bolt tightening.
- Mot. 591-04 Angle wrench.
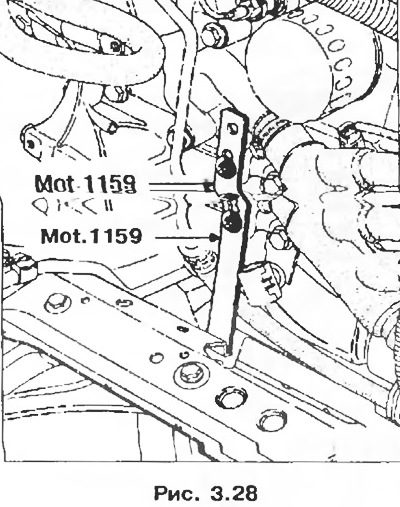
- Mot. 1159 Device for supporting the engine on the subframe.
- Mot. 1202 Pliers for flexible clamps.
- Mot. 1273 Belt tension gauge.
- Mot. 1311-06 Fuel line removal tool.
- Engine maintenance tool.
- Nozzle «Torx» at 55.
Tightening torques, Nm
- Nut of fastening of a tension roller: 50.
- Crankshaft pulley bolt: 20 + 68°± 6°.
- Bolt of the top bracket of the suspension bracket of the engine: 62.
- Nut of the upper bracket of fastening of the pendulum suspension of the engine: 44.
- Wheel bolts: 90.
Removing
1. Place the vehicle on a two post lift.
2. Disconnect the battery.
3. Remove:
- engine hood;
- timing belt drive.
4. Drain the cooling system by disconnecting the outlet hose on the radiator.
5. Install tool Mot. between subframe and cylinder block. 1159.

6. Fit the bracket of tool Mot. 1159 to the coolant hose mounting on the cylinder block, then remove the engine support.
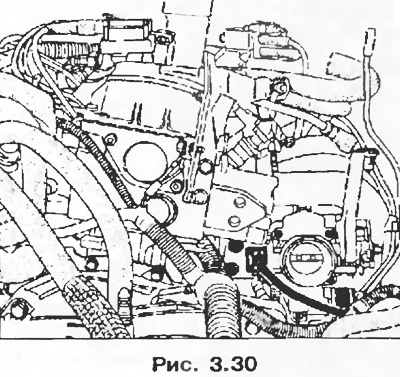
7. Remove:
- connector, as well as a tube with an absolute pressure sensor;
- idle speed controller stepper motor connector.
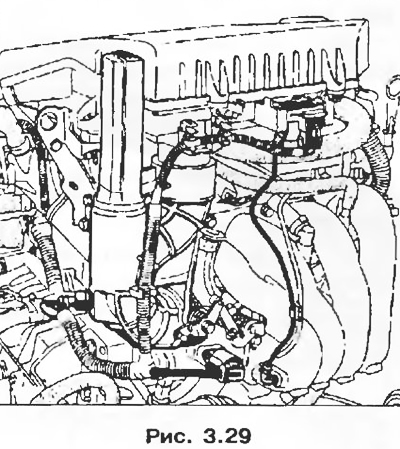
8. Remove:
- air filter cover;
- air filter;
- throttle position potentiometer connector;
- throttle cable;
- air inlet by disconnecting the air temperature sensor connector.
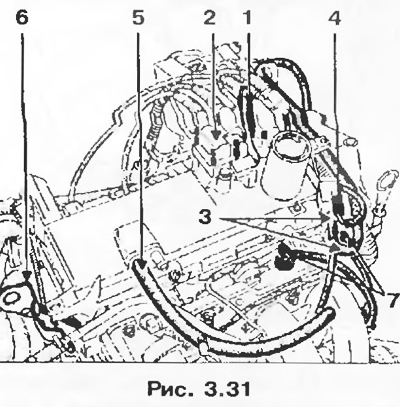
9. Remove:
- ignition coil connectors, as well as connector 1;
- ignition coil 2;
- hoses 3, as well as connector 4;
- hose 5;
- lifting eye 6;
- fuel supply and return lines 7 using tool Mot. 1311-06;
- injector connectors;
- cylinder head cover.
10. Remove the sensor connectors and hoses from the thermostat housing.
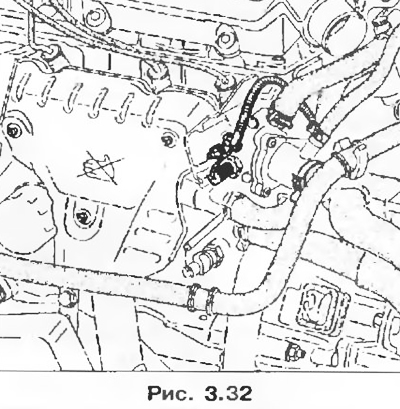
11. Remove:
- heat shield and exhaust pipe mufflers;
- generator;
- power steering pump mounting bolt and move the pump aside.
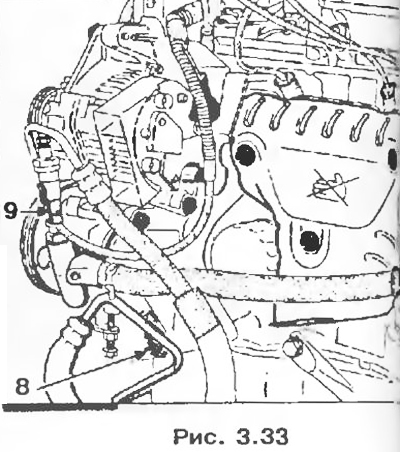
12. Remove:
- nut 10;
- bolt 11 of the bracket and unscrew the nut 12;
- bolt 13 for fastening the guide tube of the oil dipstick.
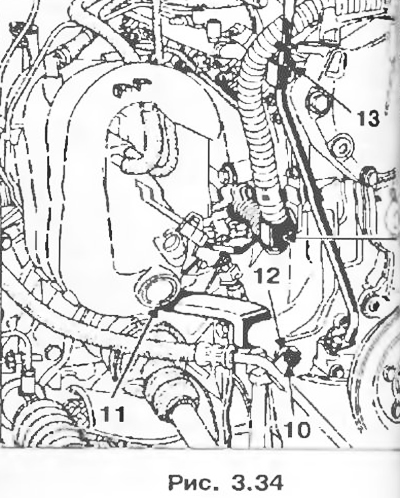
13. Disconnect from the holder an electric plait.
14. Remove the cylinder block catch bolts, with the exception of bolt F, the tightening of which should only be loosened, then over the block head around this bolt.
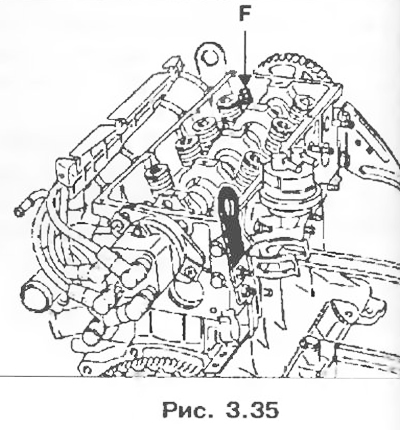
15. Remove the cylinder head.
16. Fit the cylinder liner retainers Mot. 588.
Cleaning and checking
Attention! It is not allowed to clean the mating surfaces of aluminum parts with a tool with a sharp edge. Use Decapjoint to dissolve adhering gasket residue.
1. Apply the compound to the surface to be cleaned. Wait for about ten minutes, then remove any adhesive residue with a wooden spatula. This operation is recommended to be performed with gloves.
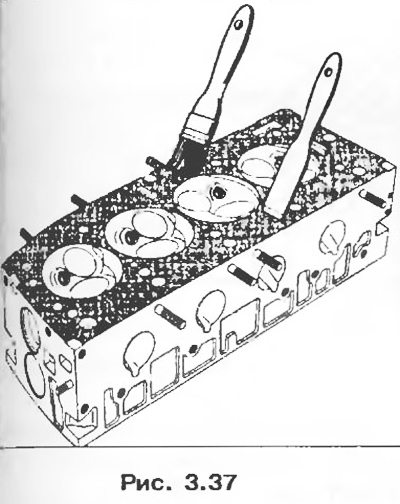
Attention! This operation must be carried out carefully to avoid foreign particles entering the system of channels for supplying pressurized oil to the camshaft (channels are located in the cylinder block and cylinder head).
Failure to do so may result in blockage of the rocker jets and cause rapid wear of the cams and rocker bearing surfaces.
2. Check the deformation of the mating surface. The maximum allowable flatness is 0.05 mm.
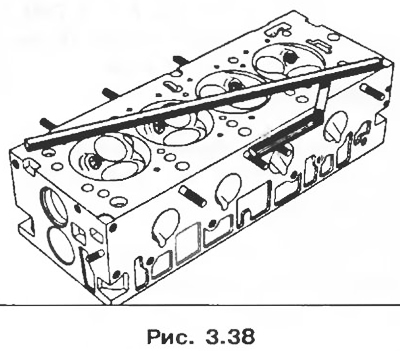
Attention! Grinding of mating surfaces of the cylinder head is not allowed.
3. Check up absence of cracks of a head of the block of cylinders.
Installation
1. Remove the cylinder liner retainers Mot. 588.
2. Make sure that the centering sleeve A is present.
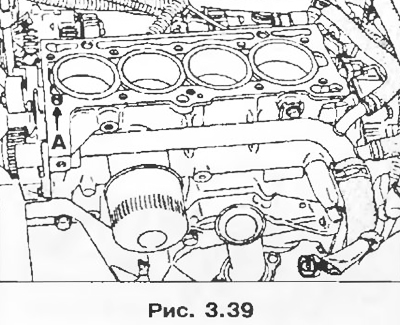
3. Place the cylinder head gasket neatly.
4. Lubricate the threads and bottom of the bolt heads with engine oil.
Install the cylinder head (intake manifold short bolts).
5. Tighten the cylinder head bolts (see chapter «Maintenance»).
6. Install the timing belt.
7. Install heat shields.
8. Install in the reverse order of removal.
9. Fill with coolant and bleed air from the cooling system (see chapter «Maintenance»).
10. If necessary, adjust the clearances in the valve drive mechanism (see chapter «Maintenance»).