



C series engines
Note: A new gasket will be required during installation.
Removal
2. Disconnect the negative cable from the battery, then drain the coolant from the cooling system (see Section 1).
3. Remove the alternator drive belt (the same Section).
4. Unscrew the bolt securing the generator control lever to the water pump housing. Remove the bolt and move the lever away.
5. Loosen the clamps and disconnect the hoses from the pump.
6. Disconnect the wire from the temperature sensor located on the pump (at the top).
7. Loosen and remove the bolts securing the water pump to the cylinder head. To access the bolt behind the pulley, insert a socket with an extension rod through the hole in the pulley (see illustration).
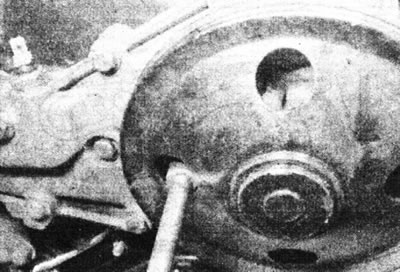
9.7. One of the pump bolts can be accessed through a hole in the pulley - C series engine.
8. Remove the pump from the cylinder head (see illustration).
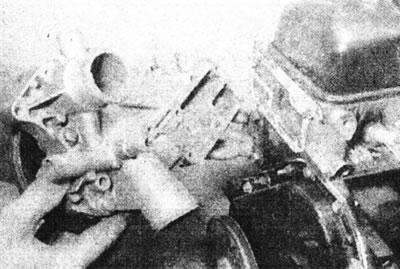
9.8 Remove the water pump - C series engine.
If this doesn't work, tap it with a mallet. Remove the gasket.
Installation
9. Install in reverse order, using a new gasket. Fill and bleed the cooling system as described in Section 1.
D-series engines
Note: Suitable sealant will be required during installation - see text.
Removal
10. Disconnect the negative cable from the battery, then drain the coolant from the cooling system (see Section 1).
11. Apply the handbrake, then jack up the front of the car and place it on axle stands.
12. Remove the toothed drive belt (see Section 2B). Loosen and remove the upper generator mounting bolt and loosen its lower bolt.
13. On models with power steering, proceed as follows:
- Where necessary, remove the power steering pump pulley (see Chapter 23 Section 10).
- Remove the two bolts securing the power steering hydraulic pipes to the cylinder block.
- Remove the bolts securing the power steering pump to the bracket, then move the pump and power steering pipes to the side. Tie the pump to the body to avoid deformation of the tubes.
- Remove the power steering pump bracket from the engine.
14. Disconnect the cooling system hoses from the water pump and, where applicable, unscrew the bolt securing the pump tube to the generator bracket.
15. Unscrew the nut and washer and remove the timing belt tensioner pulley to gain access to one of the water pump mounting bolts (see illustration).
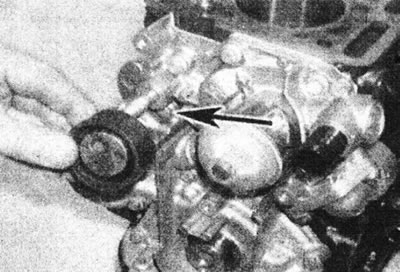
9.15. Remove the timing belt tensioner pulley to gain access to one of the pump mounting bolts (marked with an arrow) - D series engine.
16. Remove the water pump from the cylinder block. If the pump does not come off, tap it with a mallet.
Installation
17. Thoroughly clean all sealant from the mating surfaces of the water pump and cylinder block.
18. If the elbow was removed from the pump, apply a thin bead of Loctite 518 to the mating surface of the elbow with the pump. If the plastic tube was removed from the elbow, replace the O-ring (the tube is simply inserted into the nozzle and the O-ring seal serves as the only insulator). Apply a bead of Rhodorseal 5661 sealant to the water pump mating surfaces (see illustrations).
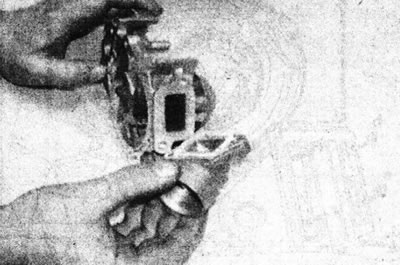
9.18a. Apply a bead of sealant to the mating surface of the elbow joint - D-series engine.
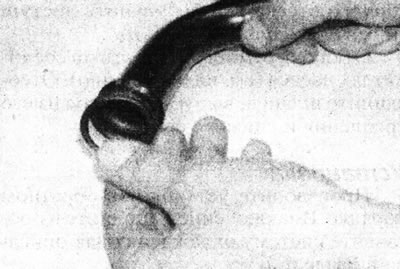
9.18b. Replace the O-ring...
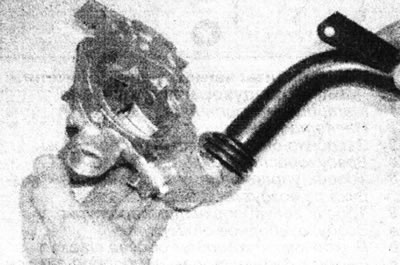
9.18s...then push the plastic tube into the elbow - D series engine.
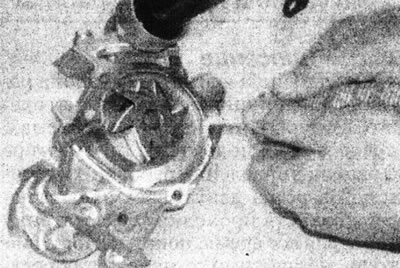
9.18d. Apply a bead of sealant to the water pump mating surface - D series engine.
19. Install the pump onto the mounting pins in the cylinder block, then insert the bolts and tighten them securely.
20. Next, install in the reverse order of removal, paying attention to the following:
- Install and tension the timing belt (see Section 2B).
- Finally, fill the cooling system as described in Section 1.
E series engines
Note: A suitable sealant will be required during installation.
Removal
21. Disconnect the negative cable from the battery, then drain the coolant from the cooling system (see Section 1).
22. Remove the toothed drive belt (Section 2C).
23. Remove the water pump from the cylinder block (see illustrations).
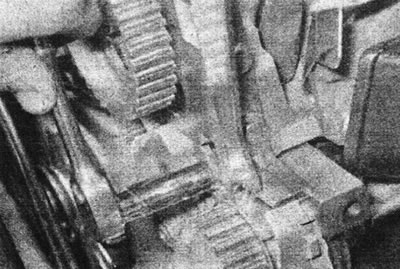
9.23a. Unscrew the mounting bolts...
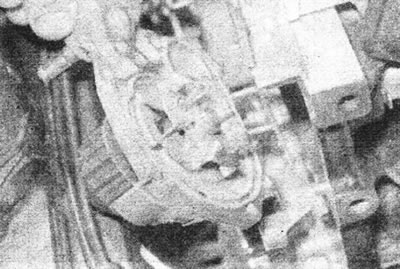
9.23b.... and remove the water pump - E series engine.
If the pump does not come off, tap it with a mallet.
Installation
24. Clean the mating surfaces of the water pump and cylinder block, then apply a 0.6 - 1.0 mm wide bead of sealant around the inside perimeter of the pump sealing surface (see illustration).
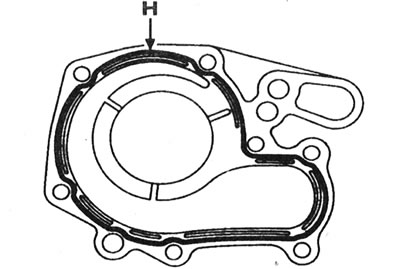
9.24 When installing the water pump, apply a bead of sealant (H) - E series engines.
25. Install the water pump onto the cylinder block, then insert the bolts and tighten them evenly.
26. Install the timing belt (see Section 2C). Finally, fill and bleed the cooling system as described in Section 1.
F-series engines
Note: A new gasket will be required during installation.
Removal
27. Disconnect the negative cable from the battery, then drain the coolant from the cooling system (see Section 1).
28. Remove the alternator drive belt (Section 1) and the generator itself (Section 5A). To improve access, remove the right headlight (see Chapter 7, Section 12).
29. Unscrew the three bolts and remove the water pump pulley (see illustration).
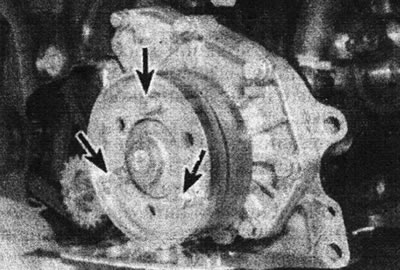
9.29. Water pump pulley mounting bolts (marked with arrows) - F series engine.
30. Unscrew the bolts securing the water pump to the cylinder block and remove the pump (see illustration).
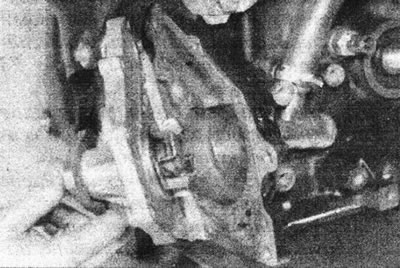
9.30 Remove the water pump - F series engine.
If this doesn't work, tap it with a mallet. Remove the gasket.
Installation
31. Install in reverse order, using a new gasket. Install the alternator drive belt. Fill and bleed the cooling system as described in Section 1.