



Control panel and its backlight lamp
Removal
1. Disconnect the negative cable from the battery, then remove the car radio.
2. Remove the car radio cover, which is secured with four screws.
3. Remove the two screws securing the heater control panel and remove the panel (see illustrations).
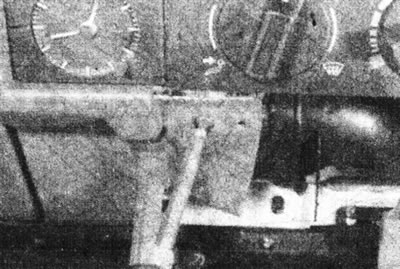
14.3a. Remove the mounting screws...
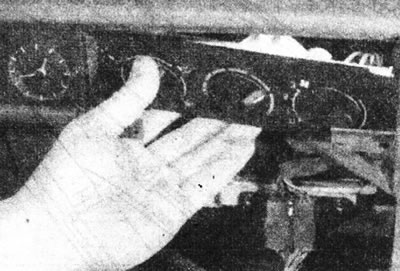
14.3b.... and remove the heater control panel.
4. If the reason for removing the panel is to replace a lamp, this can be done without further dismantling (see illustrations).
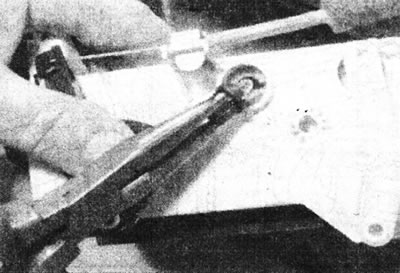
14.4a. To replace the backlight bulb, release its socket by turning it a quarter turn with pliers...
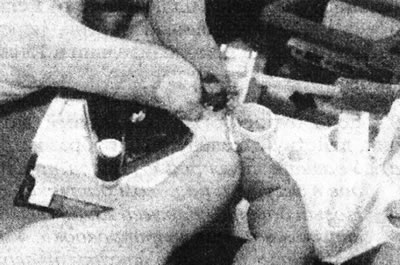
14.4b... then separate the lamp from the socket.
To remove the panel completely, disconnect the multi-pin connectors and cables.
Installation
5. Install in reverse order. Make sure the controls operate over their full range.
Control cables
Removal
6. Remove the control panel as described above.
7. Remove the two screws securing the air duct panel to the air distributor assembly. Remove the air duct panel to access the cables.
8. Remove the cable mounting brackets. Disconnect each cable from its lever by turning the cable 90° (see illustrations).
(This article is taken from the website RENAULTBOOK.ru)
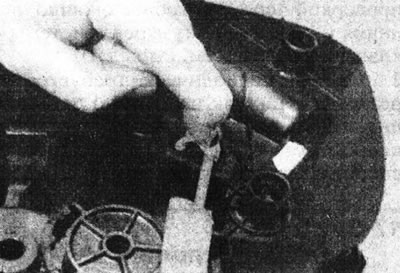
14.8a. Remove the heater control cable retaining bracket...
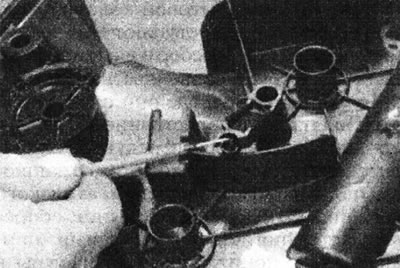
14.8b.... and separate the cable from the lever.
Remove the return spring from the temperature control lever.
9. Remove the cables. Please note that they are different lengths; the longer cable controls the temperature control valve.
Installation
10. Before installation, place the damper levers on the air distributor in the "cold" position and the "ventilation" position (see illustration).
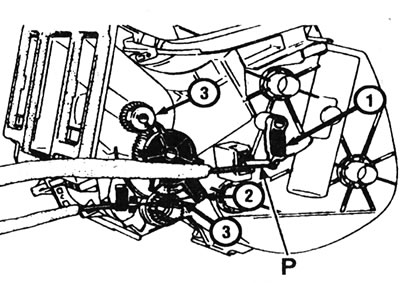
14.10. Correct position of the damper levers on the air distributor when installing the cables: 1 - Temperature control valve; 2 - Air distribution damper; 3 - Mechanism alignment marks; R - Spring.
Turn the controls on the control panel counterclockwise until they stop, so that they also reach the appropriate position.
11. Connect the cables and return spring. Install the cable clamps and check the operation of the adjusters.
12. Install the air duct panel and control panel.