



Contents: C-series engine 🠛 D-series engine 🠛 E-series engines 🠛 F3P engines - models without power…🠛 F3P engines - models with power…🠛 F3P engines - models with air…🠛 F7P engines (with 16 valves) 🠛 Installation 🠛
C-series engine
Removal
1. Open the hood and disconnect the wiring from the battery (start with the negative).
2. Remove the alternator drive belt.
3. Disconnect the electrical wiring from the generator.
4. Unscrew and remove the generator tensioner nut (installed on top of the generator). Note the location of the washers and spacers.
5. Remove the tensioner bolt.
6. Loosen and remove the generator mounting nut and bolt (installed at the bottom of the generator), then carefully remove the generator from the engine.
Installation
7. Install in reverse order. Install and tension the drive belt.
D-series engine
Removal
8. Disconnect the wiring from the battery (start with the negative).
9. If necessary, remove the hood as described in Section 11.
10. Where fitted, remove the power steering pump drive belt, then loosen the drive belt and remove it from the alternator pulley.
11. Disconnect the electrical wiring from the generator (see illustration).
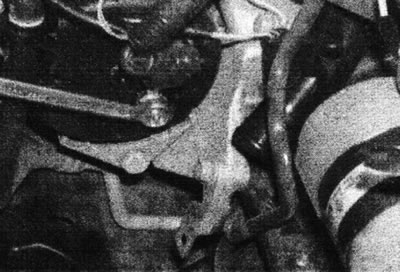
5.11 Remove the wiring harness retaining nut from the rear of the generator - D-series engine.
12. Remove the upper generator mounting bolt (see illustration).
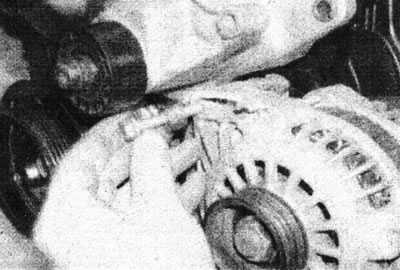
5.12. Unscrew the upper generator mounting bolt...
13. Remove the lower bolt, then remove the generator from the engine compartment (see illustration).
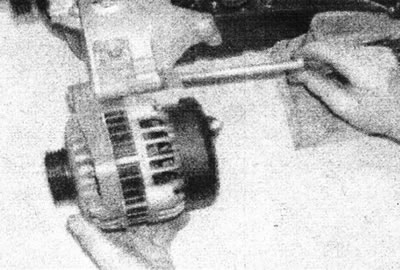
5.13. ...and the lower tie bolt, then remove the generator - D-series engine.
Installation
14. Install in reverse order. Install and tension the drive belt.
E-series engines
Removal
15. Proceed as described in points 1 - 3 inclusive.
16. Unscrew the generator tensioner nut (top) and remove the washer.
17. Working through the wheel arch, loosen the alternator mounting nut (bottom). Note the location of the washers and spacers.
18. Remove the through bolt, then remove the generator together with the shield from the engine.
Installation
19. Install in reverse order, paying attention to the following.
- Before installing the generator mounting and adjustment bolts, make sure the shield is in place.
- Reinstall the washers and spacers as noted prior to removal.
- Install and tension the drive belt.
F3P engines - models without power steering or air conditioning
Removal
20. Proceed as described in points 1 - 3 inclusive.
21. Unscrew the bolt securing the generator to the adjusting bar. Note the location of the washers and spacers.
22. Unscrew the remaining generator mounting nut. Note the location of the washers and spacers.
23. Remove the through bolt, then carefully remove the generator from the engine.
Installation
24. Install in reverse order. Install and tension the drive belt.
F3P engines - models with power steering and without air conditioning
Removal
25. Proceed as described in points 1 - 3 inclusive.
26. Loosen and remove the nut securing the generator to the mounting post. Note the location of the washers and spacers.
27. Loosen and remove the nut securing the generator to the generator bracket/power steering pump. Note the location of the washers and spacers.
28. Remove the through bolt, then carefully remove the generator from the engine.
Installation
29. Install in reverse order. Install and tension the drive belt.
F3P engines - models with air conditioning
Removal
30. Disconnect the wiring from the battery (start with the negative).
31. Remove the radiator grille panel and hood as described in Section 11.
32. Loosen the drive belt and remove it from the generator pulley.
33. Disconnect the electrical wiring from the generator.
34. Remove the nuts and bolts securing the air conditioning compressor and alternator to the bracket, then remove the bracket.
35. Unscrew the generator lower mount nut, then remove the bolt. Note the location of the washers and spacers.
36. Carefully remove the generator through the headlight niche.
Installation
37. Install in reverse order. Install and tension the drive belt, then install the hood.
F7P engines (with 16 valves)
Removal
38. Disconnect the wiring from the battery (start with the negative).
39. Remove the radiator grille panel and hood as described in Section 11.
40. Loosen the fastening brackets and lift the upper radiator shroud flap.
41. Loosen the drive belt and remove it from the generator pulley.
42. Disconnect the electrical wiring from the generator (see illustration).
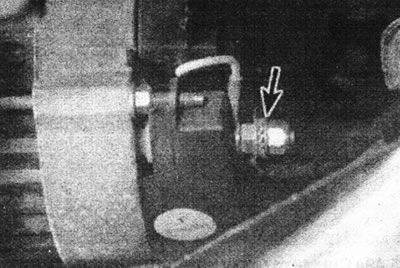
5.42. Main terminal of the generator (marked with an arrow) - F7P engine (with 16 valves).
43. Disconnect the vacuum hose of the pressure sensor from the intake manifold (see Section 4C) (see illustration).
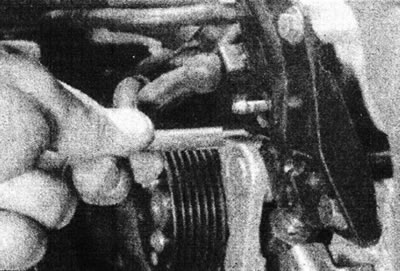
5.43. Disconnect the vacuum hose of the pressure sensor from the intake manifold - F7P engine (with 16 valves).
44. Loosen the generator lower mounting nut.
45. Remove the bolt securing the alternator mounting plate to the power steering pump/idler pulley bracket (where available). Don't drop the nut (see illustration).
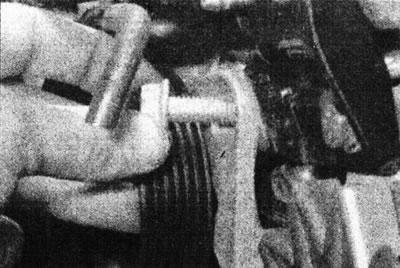
5.45 Remove the bolt securing the alternator mounting plate to the power steering pump bracket - F7P engine (with 16 valves).
46. Remove the bolt securing the generator to the mounting plate (see illustration).
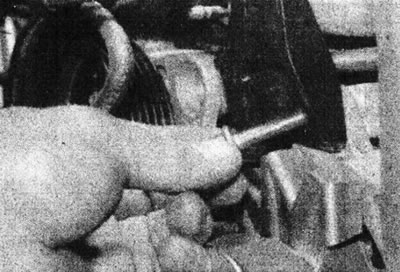
5.46 Remove the bolt securing the generator to the mounting plate - F7P engine(with 16 valves).
47. Remove the two bolts and the mounting plate from the intake manifold (see illustration).
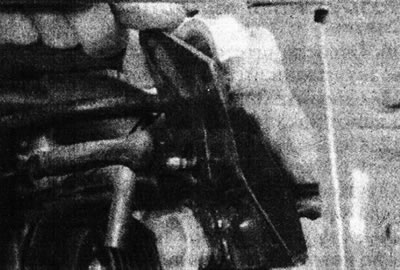
5.47. Remove the generator mounting plate - F7P engine (with 16 valves).
48. Unscrew the mounting bolt and remove the upper generator bracket (see illustrations).
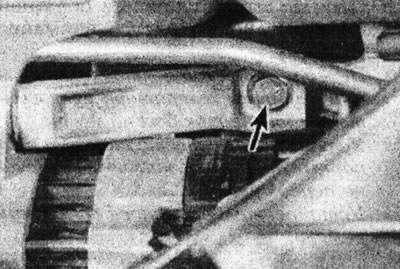
5.48a. Unscrew the mounting bolt (marked with an arrow)...
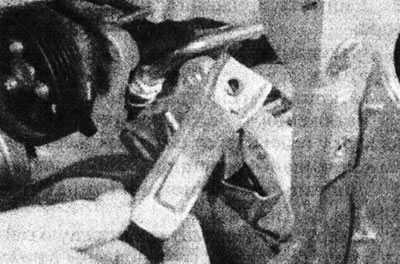
5.48b....and remove the upper generator bracket - F7P engine (with 16 valves).
49. Remove the generator lower mount nut and take out the tie bolt. Note the location of the lock plate under the bolt head (see illustrations).
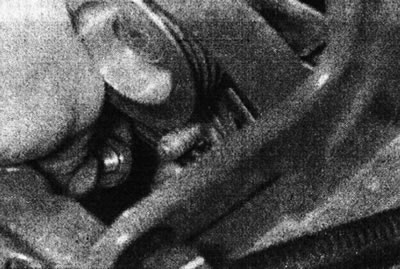
5.49a. Remove the generator lower mounting nut...
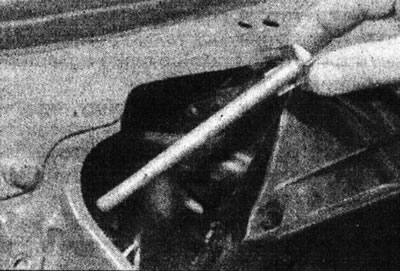
5.49b....then remove the tie bolt - F7P engine (with 16 valves).
50. Carefully remove the generator through the headlight niche (see illustration).
View the original on the specified resource (RENAULTBOOK)
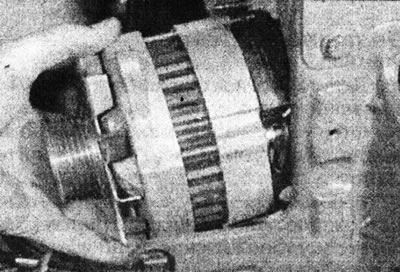
5.50. Remove the generator through the headlight niche - 1764 cm³ engine (F7P).
Installation
51. Install in reverse order, paying attention to the following.
- Make sure the lock plate under the tie bolt head is properly engaged with the rear of the generator.
- When installing the alternator mounting plate, it is recommended to secure the nut to the hole for the mounting plate bolt to the power steering pump (or intermediate pulley) using adhesive tape.
- Install and tension the drive belt.
- Install the hood as described in Section 11.