



Warning: If the timing belt breaks while the engine is running, serious damage may occur. Replace the belt with the one specified in Specifications in Section 1 periodically, or more often if you have any doubts about its condition.
Note: If the belt has been removed, the manufacturer recommends replacing it with a new one.
Removal
1. Disconnect the negative cable from the battery.
2. To facilitate access, remove the hood as described in Section 11.
3. Remove the crankshaft pulley as described in Chapter 5.
4. Temporarily install the crankshaft pulley bolt and rotate the crankshaft until piston No. 1 is at TDC as described in Chapter 3.
5. Carefully place the jack under the pan (placing a large wooden block between them), to support the engine.
6. Remove the right upper engine mount bracket and the lower mount bracket/timing belt cover, see Chapter 17.
7. Remove the two plastic outer timing belt covers, see Chapter 6.
8. Loosen the timing belt tensioner nut and use pliers to turn the tensioner pulley (see illustration).
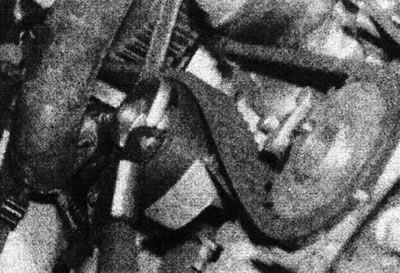
7.8. Loosen the timing belt tensioner nut and use pliers to turn the tensioner pulley.
Remove the timing belt from the sprockets. Do not turn the crankshaft or camshaft without the belt.
Inspection
9. Carefully inspect the timing belt for signs of uneven wear, cracks or grease contamination and replace it if there is any doubt as to its condition. If the engine needs to be overhauled and its mileage is more than 65,000 km, it is recommended to replace the belt after each removal, regardless of its condition. Please note that manufacturers recommend replacing the belt every 112,000 km.
10. If oil leaks are found, identify the cause of the leak and repair it, then clean all engine components that have come into contact with oil.
Installation and adjustment
11. Make sure that the timing marks on the camshaft and crankshaft sprockets are aligned with the corresponding marks on the valve cover and oil pump flange (see Chapter 3).
12. Install the timing belt onto the camshaft and crankshaft sprockets and around the water pump pulley, making sure the front run of the belt is tight, i.e. all the slack should be on the tensioner pulley side, then pass the belt around the tensioner pulley. Align the two marks on the belt with the timing marks on the camshaft and crankshaft sprockets. Make sure the belt teeth are correctly positioned on the sprockets and that the timing marks remain aligned (see Chapter 3) (see illustrations).
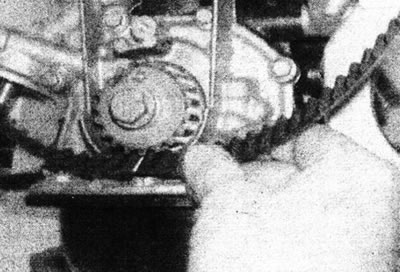
7.12a. Align the marks on the belt with the timing marks on the crankshaft sprocket...
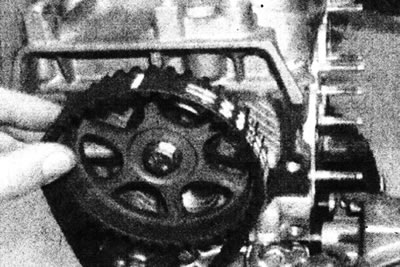
7.12b...and the camshaft sprocket.
13. To tension the belt, Renault recommends using special tool #1273. Alternatively, the following method can be used to approximately tension the belt, but in this case, it is strongly recommended to have the tension checked by a Renault dealer as soon as possible.
14. Insert pliers into the two holes in the tensioner pulley and, by turning the mechanism, tighten the belt so that with moderate force it only turns 45° on the run between the coolant pump pulley and the crankshaft sprocket.
15. Holding the tensioning mechanism with pliers, tighten the mechanism bolt with the tightening force specified Specifications (see illustration).
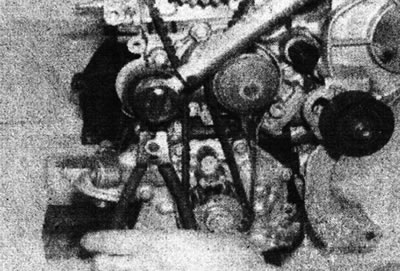
7.15. While holding the tensioning mechanism, tighten the bolt to the specified tightening torque Specifications.
16. Temporarily install the crankshaft pulley bolt, then rotate the crankshaft clockwise two full turns, and make sure that the timing marks remain aligned (see Chapter 3). Have the belt tension checked by a Renault dealer as soon as possible.
17. Install the two outer plastic timing belt covers.
18. Install the lower engine mount bracket/timing belt cover and the upper engine mount bracket, see Chapter 17.
19. Carefully remove the jack and wooden block from under the pallet.
20. Install the crankshaft pulley as described in Chapter 5.
21. Install the hood as described in Section 11.
22. Connect the negative cable to the battery.