



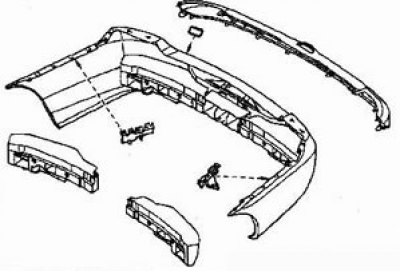
Removal
- disconnect the negative battery cable;
- for ease of operation, place the vehicle on a lift or lift its rear end and place supports under the body. Remove the rear wheels;
1. Remove the two top clips (A).
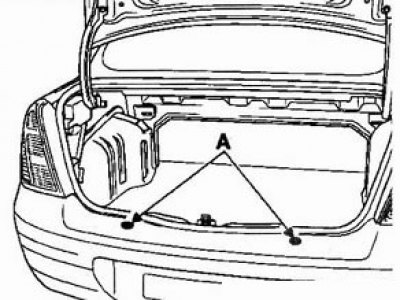
A - Upper clips of the rear bumper
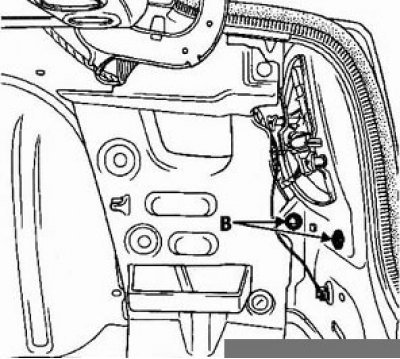
2. Unscrew the two lower bolts (B).
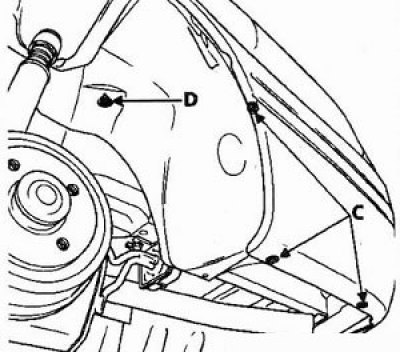
3. Remove the three bolts (C) and nut (D) of the rear mudguard.
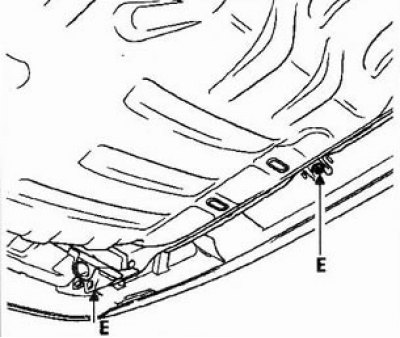
4. Remove the bolts (E) of the lower end panel.
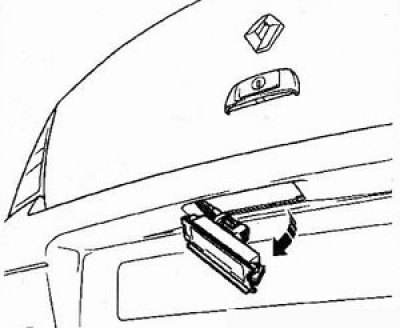
5. Using a screwdriver, remove the license plate light and disconnect the wiring connector.
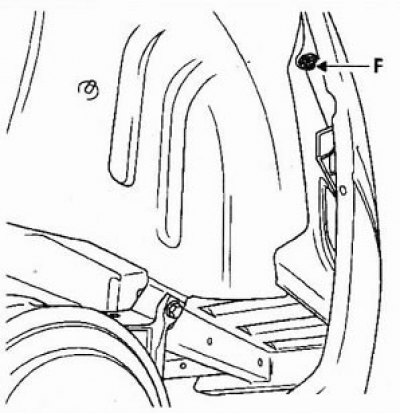
6. Loosen the side bolts (F) securing the bumper. Slide the bumper back until the side guides are released. It is best to do this operation with two people.
Removal the rear bumper - Type 2 (Clio)
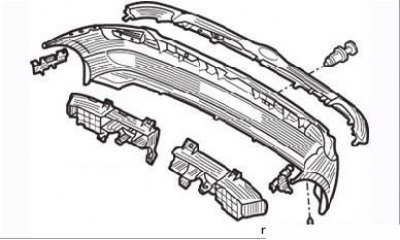
Rear bumper elements
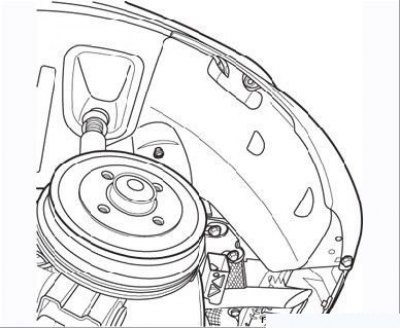
Figure 9.12. Rear wheel mudguard
- remove the mudguards in the rear wheel arches by unscrewing the three fastening elements (Figure 9.12);
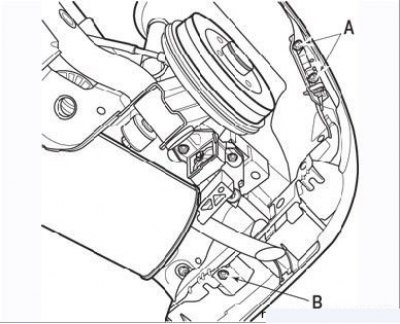
Figure 9.13. Rear bumper mounting: A – side mounting bolts; B – lower mounting bolts
- unscrew the side bumper mounting bolts and the lower bumper mounting bolts (Figure 9.13);
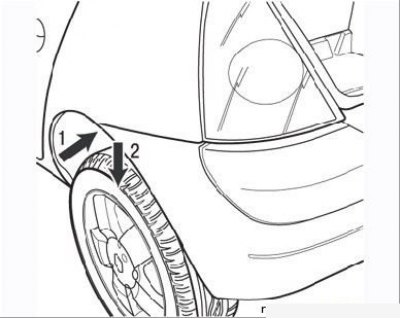
Figure 9.14. Disconnecting the bumper corner (arrow 1) and the direction of its rotation (arrow 2)
- detach the corner of the bumper and tilt it down (Figure 9.14);
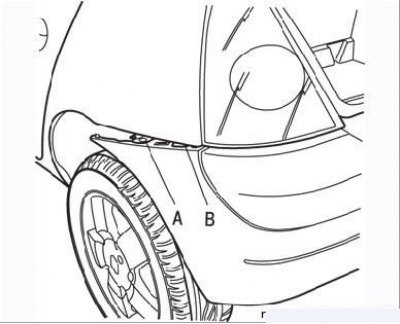
Figure 9.15. Disconnecting the fasteners A and B of the rear bumper
- protect the rear fender paintwork from damage with a cloth or adhesive tape and use a flat-head screwdriver to release the clips (Figure 9.15);
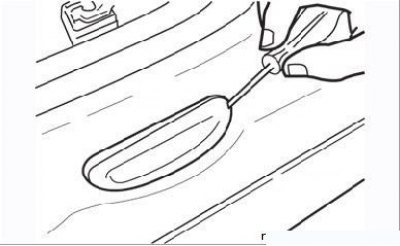
Figure 9.16. Removing the rear license plate light
- disconnect the license plate light connector and remove the light (Figure 9.16);
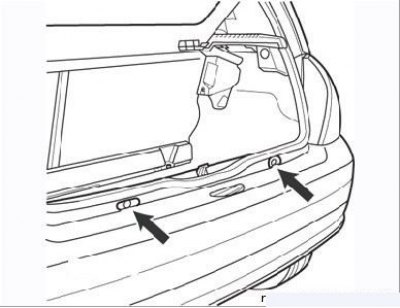
- remove the two holders (Figure 9.17) and detach the rear bumper with the help of an assistant.
Installation
Installation is carried out in the reverse order of removal.