
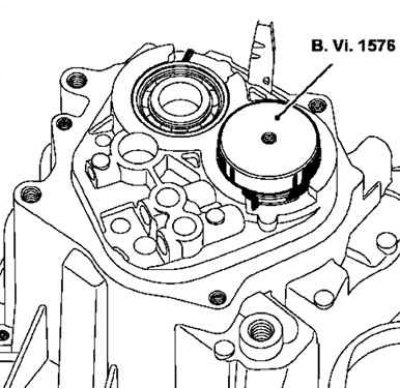
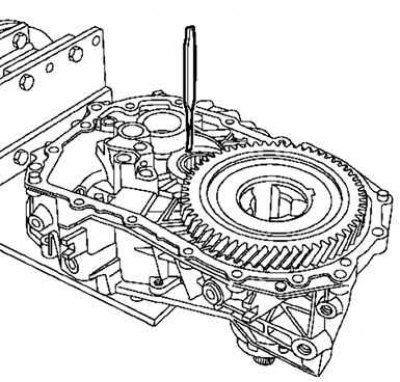
Pic. 3.70. Pushing the bearing into the crankcase
Spread the circlips with appropriate pliers and press the bearing into the crankcase using the tool (B.Vi.1576) (pic. 3.70).
Installation
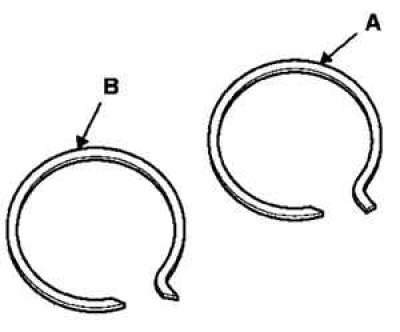
Pic. 3.71. New spring rings
Install new circlips in their seats (pic. 3.71).
Note. There are two types of snap rings: input shaft A and output shaft B.
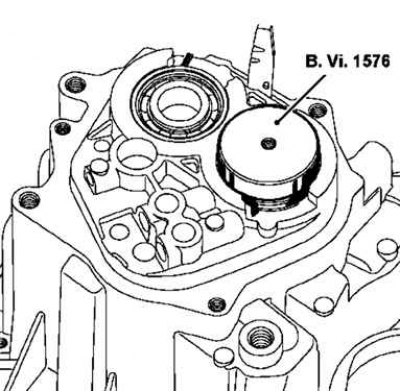
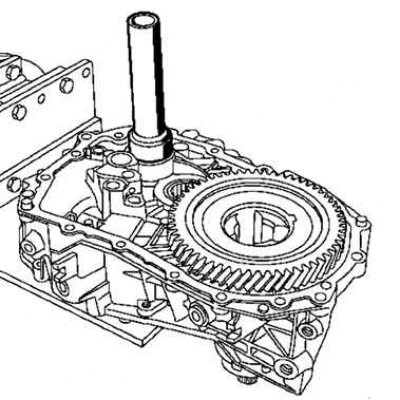
Pic. 3.72. Installing a new bearing
Install bearings with tool (B.Vi.1576) (pic. 3.72).
Insert the bearing fixture with a hammer.
Replacing bearings on the clutch housing side
Cut off the plastic capsule located in the center of the bearing at the base.
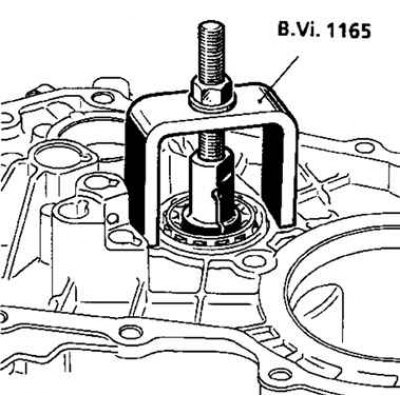
Pic. 3.73. Removing the bearing from the clutch housing
Install fixture (B.Vi.1165) and remove the bearing (pic. 3.73).
Installing the bearings on the clutch housing side
Install the deflector and then press in the bearing, aligning it with the inside of the crankcase.
Pic. 3.74. Bearing caulking
Chisel the bearing (pic. 3.74).

Pic. 3.75. Removing the centering bearing
Remove the input shaft centering bearing using a 38 mm bushing (pic. 3.75).
Pic. 3.76. Centering bearing installation
Install the center bearing with the tool (B.Vi.1601) (pic. 3.76).