
Removing
1. Remove lanterns of the index of turns as it is described in the Head Onboard electrical equipment.
2. Loosen the fastening screw in the center of the grille and remove the connecting plate (refer to accompanying illustration).

3a. Remove the screws securing the left side of the grille.
3b. Using a flathead screwdriver, release the lower mounting brackets, then slide the left side of the grille forward and remove it from the vehicle (refer to illustrations). Repeat this procedure with the right side of the grid.
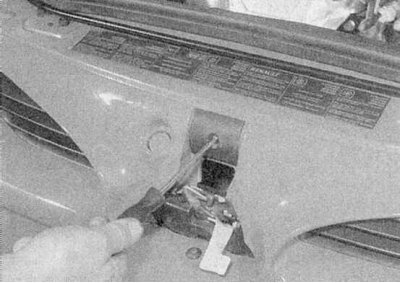
4. Disconnect the protective covers of the lock assembly, then use a marker to apply adjustment marks to the lock and crossbar (refer to accompanying illustration).
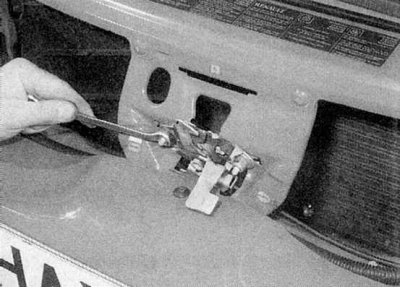
5a. Loosen the fixing nuts
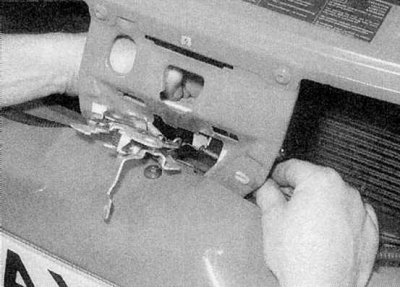
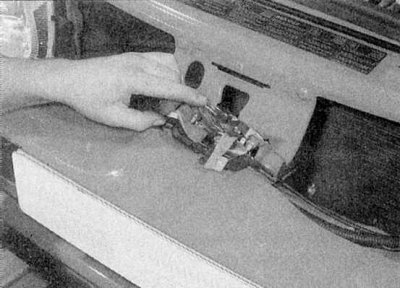
5b. Remove the lock mounting plate from the back of the crossbar, freeing it from the cable attachment.
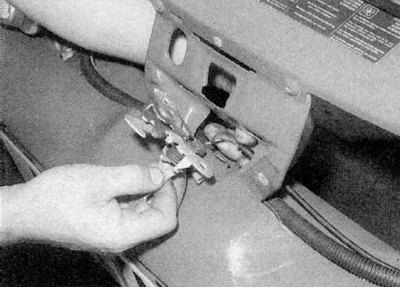
5c. Separate the lock assembly from the cable and remove it from the vehicle (refer to illustrations).
Installation
1. Install in reverse order. Before installing grille panels, check the operation of the lock and lubricate it with multipurpose grease.