
Note. Before replacing a light bulb, check the associated electrical circuit and fuse. Remember: if the lamp has just been lit, it may be too hot. Do not touch the glass bottle of the pump with bare hands. Grease marks on the lamp lead to darkening of the bulb and rapid failure of the pump. Be sure to replace failed lamps with lamps of the same type. Wipe off grease stains that occur due to carelessness with a clean, lint-free cloth or alcohol.
Headlight bulb
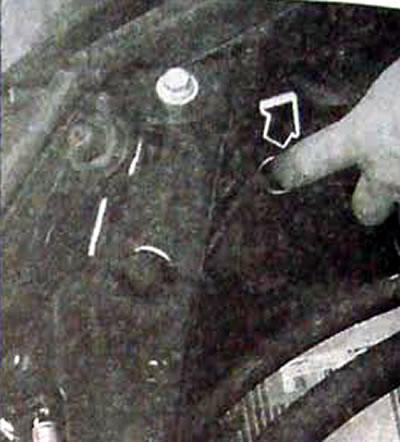
- Open the hood and press on the two tongues. Remove the plastic cover from the back of the headlight.
- Disconnect the electrical connector from the lamp.
- Release the spring clamp securing the lamp.
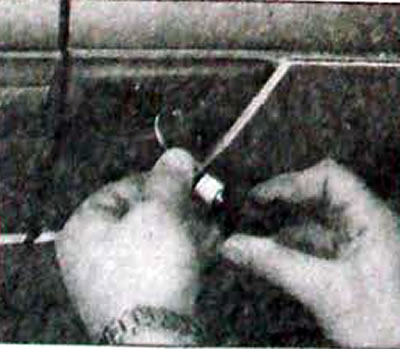
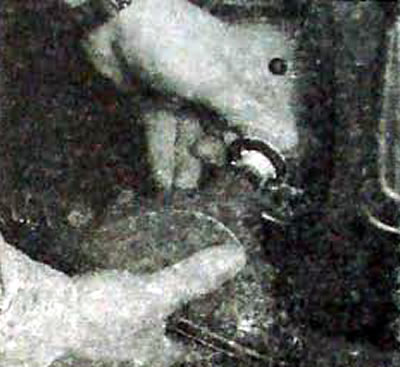
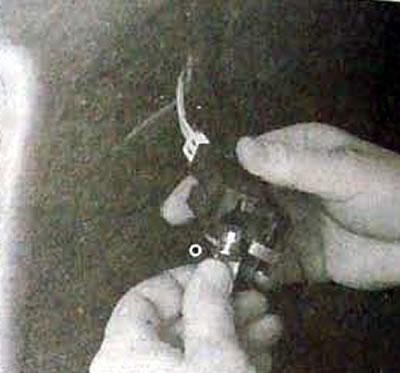
- Use the socket to remove the lamp from the headlight.
- Install a new lamp in the reverse order of removal, aligning the tabs on the lamp base with the recesses on the headlight. Secure the lamp with a spring clip and install the plastic cover on the back of the headlight.

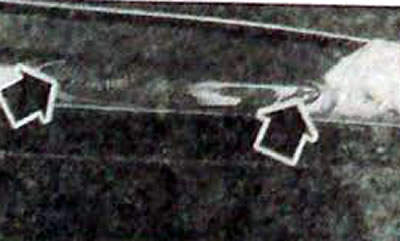
Location of the mounting tabs for the plastic headlight cover
Side light lamp
- Open the hood and press on the two tongues. Remove the plastic cover from the back of the headlight.
- Turn the lamp socket a quarter turn and remove it.
- Remove the lamp from the socket and install a new lamp.
Front turn signal lamp
- Open the hood.
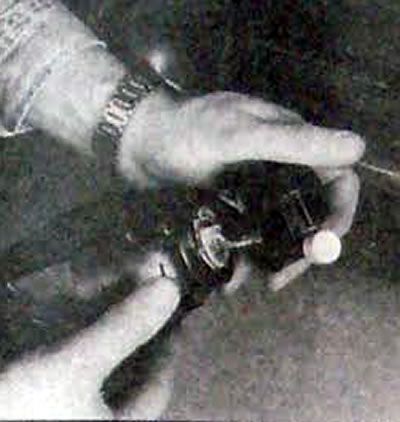
- Pull the ring to release the front turn signal spring
- Pull the turn signal forward.
- Disconnect the electrical connector from the lamp
- Turn the bulb socket one quarter turn and remove it from the front turn signal housing.
- Replace the lamp and install the turn signal in the reverse order of removal. To install the turn signal correctly, insert the two turn signal clips into the headlight guides.
- Pull the ring to install the front turn signal mounting spring.
Removing the front turn signal

When installing the turn signal, insert the two turn signal clips into the headlight guides.
Side turn signal lamp
- Using a flathead screwdriver, remove the side turn signal.
- Turn the lamp socket one quarter of a turn and remove it from the side turn signal housing.
- Replace the lamp and install the turn signal in the reverse order of removal.
Removing the lamp socket from the side turn signal
Front fog lamp
- To access the fog lamp bulb, you must remove the headlight.
- Unscrew the cover securing screw located at the top right and remove the cover.
- Remove the headlight mounting screw.
- Pull the fog lamp forward.
- Release the lock and remove the cover from the headlight.
- Disconnect the two electrical connectors from the lamp.
- Release the spring clamp securing the lamp.
- Use the socket to remove the lamp from the headlight
- Install a new lamp in the reverse order of removal.
- Secure the lamp with a spring clip and install the plastic cover on the back of the headlight.
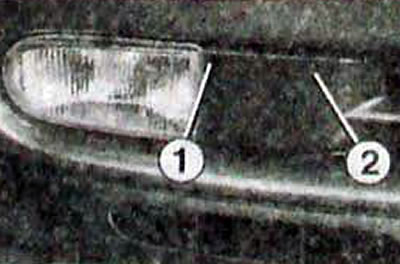
Front fog lamp: 1. screw for adjusting the direction of the light flux; 2. screw securing the cover

Location of the front fog lamp mounting screw
Removing the front fog lamp and headlight cover
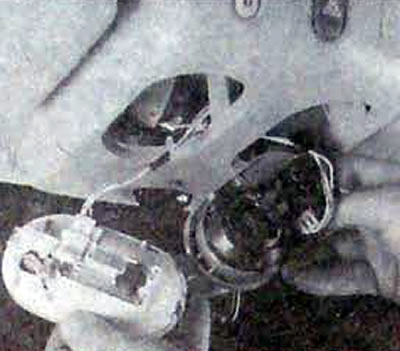
Tail lamps
- Open the trunk.
- Using the key found in the set of on-board documents, unscrew the two screws securing the rear light and remove the light from the car
- Press the top lock and remove the lamp holder from the lamp.
The lamp holder is located in the following order (top down).
- turn indicator;
- side lighting/brake light;
- reverse.
- Remove the burnt out lamp and replace it.
- Installation is carried out in the reverse order of removal.
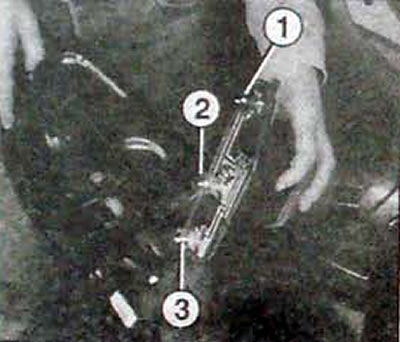
Location of the taillight lamps on the lamp holder: 1. turn signal lamp; 2. side light/brake light; 3. reverse lamp
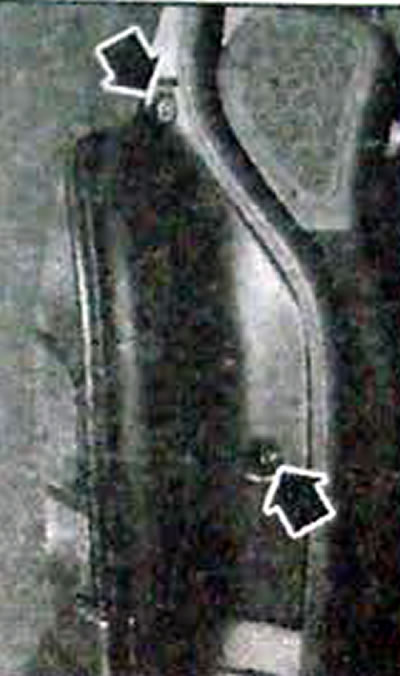
Location of the rear light mounting screws
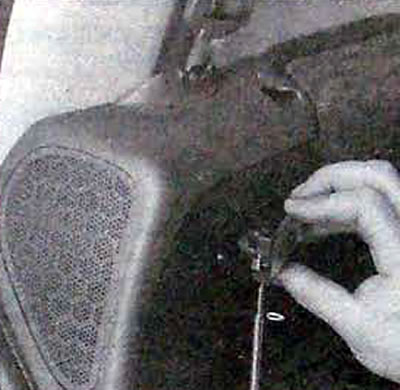
Fog lamp
- Using the key found in the set of on-board documents, unscrew the screw securing the fog lamp and remove the lamp from the car.
- Turn the bulb socket one quarter turn and remove it from the fog light housing.
- Remove the burnt out lamp and replace it.
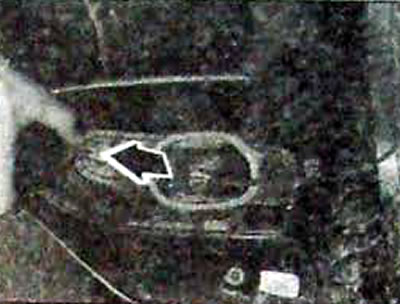
Unscrewing the screw securing the fog lamp
Lamp holder top clamp location
Removing the lamp socket from the rear fog lamp
Central brake lamp
- Using the key found in the set of on-board documents, unscrew the two screws securing the central brake light and remove it from the car.
- Press the two latches located on the edges of the lamp holder and remove it.
- Remove the burnt out lamp and replace it.
- Installation is carried out in the reverse order of removal.
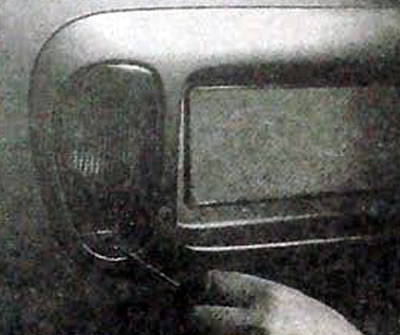
Location of the central brake light mounting screws
Pressing the latches to release the central brake lamp holder
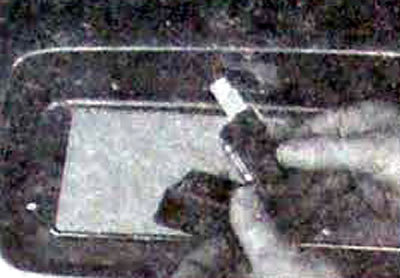
License plate lamp
- Using a thin flat screwdriver inserted into the slot, press the tab and remove the sign illumination lamp.
- Remove the holder, remove the burnt out lamp and replace it.
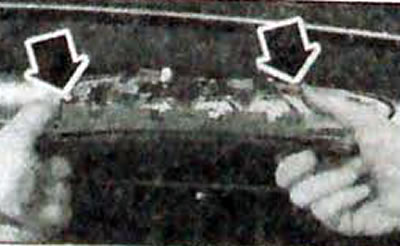
Using a thin flathead screwdriver to remove the license plate light
Removing the holder to access the license plate lamp
Ceiling lamp
- Insert the blade of a screwdriver into the gap between the headliner and the dome light and carefully pry off the dome light.
- Turn the lamp socket one quarter turn and remove it from the lampshade.
- Remove the burnt out lamp.
- Install a new lamp.
- Installation is carried out in sequence. reverse removal, then insert the lampshade into place until it is clearly fixed.
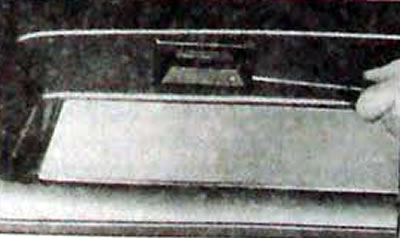
Removing the dome light
Side light bulb
- Insert the blade of a screwdriver into the gap between the headliner and the side light housing and carefully separate the side light.
- Remove the burnt out lamp and replace it.
- Installation is carried out in the reverse order of removal.
Using a screwdriver to remove the side light
Trunk light
- Insert the blade of a thin screwdriver into the gap between the trunk trim and carefully separate the trunk light.
- Turn the bulb one quarter turn and remove it from the trunk light.
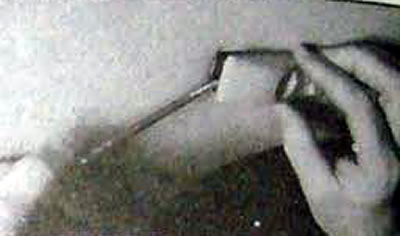
Using a screwdriver to remove the trunk light
Removing the trunk light bulb