
General description
1. The illustrations show installed exhaust systems, including a front section on turbo diesel models, a system with and without a catalyst, and a system on models with a V6 engine. The carburetor model system is not shown. The device of this system is similar to the device of the gasoline injection system, with a pipe with a silencer mounted in the outlet pipe.
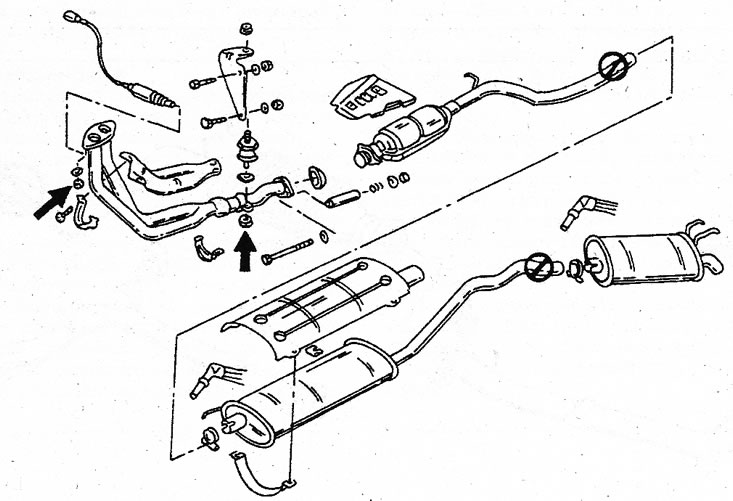
27.1a Exhaust system of a 4-cylinder engine with a gasoline injection system on cars of the second generation
27.1b Exhaust system on V6 models
27.1s Front of the exhaust system on models with a turbocharged diesel engine
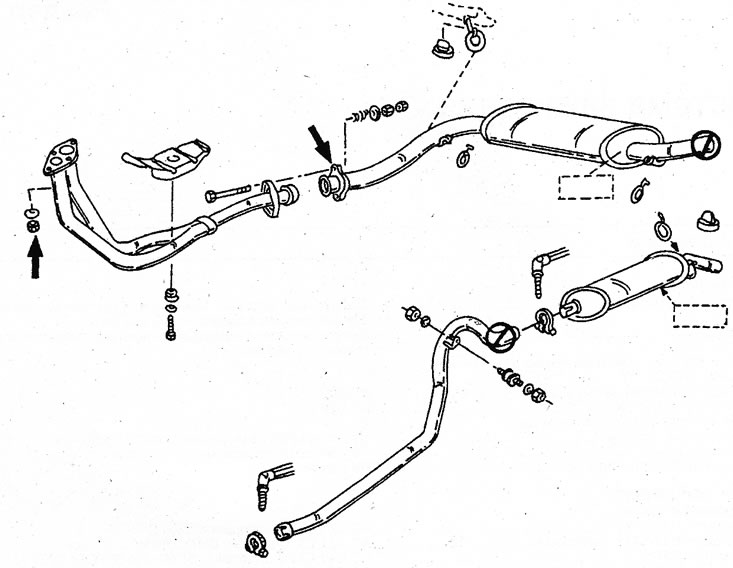
27.1 d Exhaust system on first generation models
Component Replacement
2. To replace the exhaust system, contact an auto repair shop. Please refer to the illustrations as you work. Pay attention to the following points:
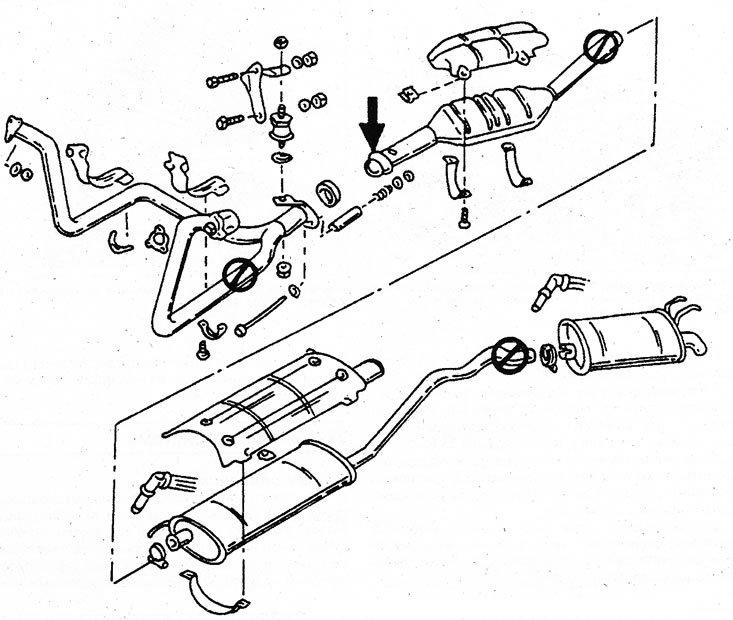
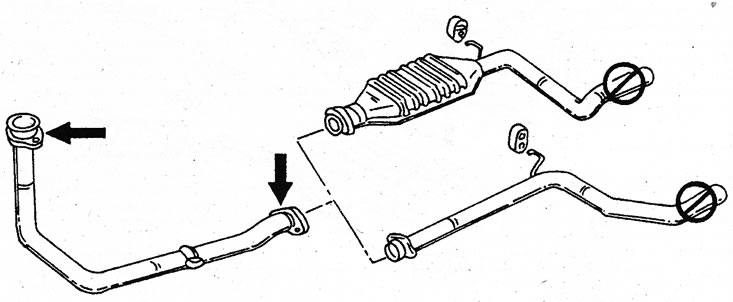
3. To disconnect the front pipe from the exhaust manifold, disassemble the connections marked with black arrows or disassemble the connection between the two pipes.
4. The catalyst has a large flange connection at the front end and is attached with a bracket at the other end. Always change the gasket between the flanges.
5. To remove the catalyst, disconnect the wires of the Lambda sensor, unscrew the sensor and then separate the front pipe and connecting pipe.
6. Also remove the heat shield.
7. Certain symbols in the illustrations show where the parts of the pipe should be separated. However, it is better to entrust this work to a specialist.
8. Always check the rubber hangers after removing the exhaust pipe. The system must be installed in such a way that the hangers are not stressed.
9. Replace all seals every time. Sealant can be used at your discretion.
10. Check up a condition of fastening brackets and bolts. With the brackets removed, they are pushed onto the pipes so that both ends of the bracket capture the same parts of the pipe. Tighten the nuts and bolts with a torque of 20 Nm. Increasing the tightening torque may cause the pipe to deform.
11. Several connections are provided with a spacer on both sides to determine the tension of the installed springs. In this case, tighten the nut until it is positioned against the spacer sleeves.