



Contents: Inspection 🠛 Replacement 🠛
Warning: Brake pads should be changed on both rear wheels at the same time - changing pads on only one wheel will result in uneven braking. Dust generated by brake pad wear may contain asbestos, which is harmful to health. Never blow it out with compressed air and try not to inhale it. DO NOT use mineral solvents to clean brake components. Use only a special cleaner or methyl alcohol.
Inspection
1. Block the front wheels, select reverse (or "P") and release the handbrake. Jack up the rear of the vehicle and support it on axle stands. Remove the rear wheels.
2. Remove the small spring clip from the brake pad mounting plate. Remove the plate from the caliper (see illustrations).
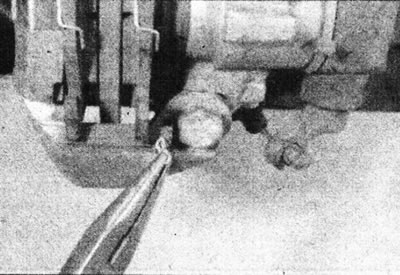
16.2a. To remove the rear brake pads, remove the spring clip...
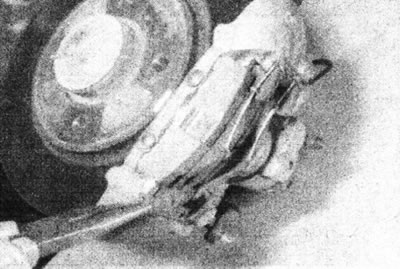
16.2b.... then remove the mounting plate from the caliper.
3. Remove the inner pad from the caliper (using pliers if necessary). Loosen and remove the two outer pad retaining screws, then remove the outer pad from the caliper (see illustrations).
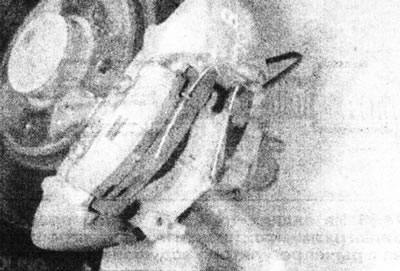
16.3a. Remove the inner shoe...
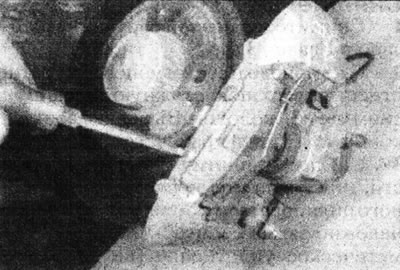
16.3b.... then unscrew the two mounting screws...
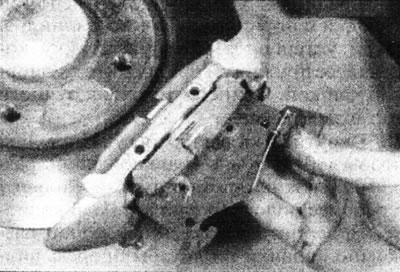
16.3s.... and remove the outer shoe.
Draw the correct location of the brake shoe pressure springs and remove the springs.
4. First, measure the thickness of each brake pad (including metal base). If any of the pads is worn to the minimum thickness specified in the Specifications, all four pads must be replaced. The pads should also be replaced if they are contaminated with oil or grease. If such contamination is detected, or if any of the brake pads are worn unevenly, find and correct the cause.
5. If the brake pads are still serviceable, carefully clean them with a soft wire brush, paying particular attention to the sides and the back of the metal base. Clean the grooves in the brake pad lining and remove any large debris. Clean the inside surface of the caliper/its support bracket.
6. Before installing the pads, make sure that the guide bushings slide smoothly in the caliper and that their rubber boots are not damaged. Clean dust and dirt from the caliper and piston. Inspect the dust seal around the piston for damage and the piston itself for leaks, corrosion, and damage. If the condition of any of these components is in doubt, please refer to Chapter 17.
Replacement
7. If new brake pads need to be installed, push the piston fully into the caliper bore by rotating it clockwise (see illustration).
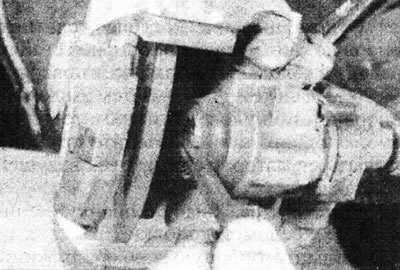
16.7. Push the piston into the cylinder.
Make sure that the brake fluid does not spill over the edge of the master cylinder reservoir (it's better to pump out the excess in advance).
8. Position the caliper piston so that its small groove is facing the bleeder screw (see illustration).
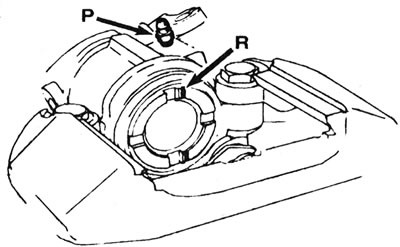
16.8. Before installing the rear brake pads, align the groove on the piston (R) with the bleed nipple (P).
9. Install the pressure springs onto the pads so that when the pads are installed in the caliper, the end of the spring fits into the opposite end of the pad relative to the mounting plate. Brake shoe with a protrusion on the backing plate - internal (see illustration).
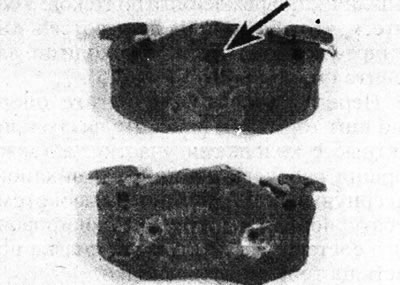
16.9. The inner shoe has a mounting protrusion (marked with an arrow). Please note the location of the pressure springs.
10. Place the outer pad into the caliper. Insert the mounting screws and tighten them securely.
11. Place the inner pad into its working position in the caliper, ensuring that the lug on the pad backing plate aligns with the groove in the piston. Make sure the pressure springs on both shoes are installed correctly.
12. Push the mounting plate into place and install the small spring clip into its inner end. You may need to file a bevel on the edge of the mounting plate to make installation easier
13. Press the brake pedal several times to press the pads against the brake disc. Make sure that the inner pad protrusion fits into the groove of the caliper piston (see illustration).
You can find the original at this link: RenaultBook
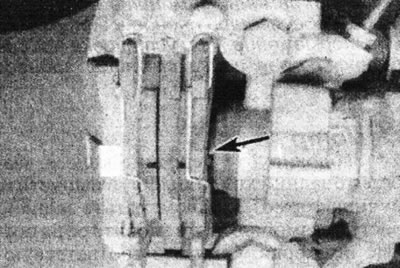
16.13. Make sure that the mounting protrusion of the inner shoe fits into the groove of the piston (marked with an arrow).
14. Repeat the procedure on the second rear brake caliper.
15. Check the adjustment of the handbrake cable (see Section 1), then install the wheels and lower the car to the ground. Tighten the wheel bolts to the specified tightening torque Specifications.
16. Check the brake fluid level.
17. If new pads have been installed, full braking performance will not be achieved until the brake linings have been bedded in. Be prepared for longer braking distances and avoid hard braking for the first 150 km after replacing the pads.