



Contents: Removal 🠛 Installation 🠛
Removal
1. The handbrake cable consists of two parts - right and left, which are connected to the lever assembly by an equalizer. Each of the parts can be removed separately as follows.
2. Block the front wheels, select reverse (or "P") and release the handbrake. Jack up the rear of the vehicle and support it on axle stands.
3. Working under the vehicle, unscrew the nuts securing the exhaust system heat shield to the underbody of the vehicle. Lower the rear of the heat shield to access the handbrake cable length adjustment nuts.
4. Loosen the locknut and cable adjuster nut to create enough slack in the cable to separate the cable from the equalizer.
5. On models with rear drum brakes, remove the brake shoes (see Chapter 14). Using a hammer and punch, carefully tap the cable housing out of the brake backing plate (see illustration).
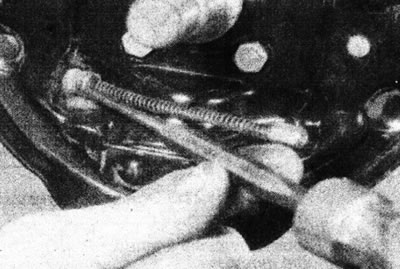
20.5. Knock out the handbrake cable housing from the brake support plate (models with drum rear brakes).
6. On models with rear disc brakes, unhook the cable from the operating lever on the caliper. Using a hammer and punch, tap the cable housing out of its mounting bracket on the caliper (see illustration).
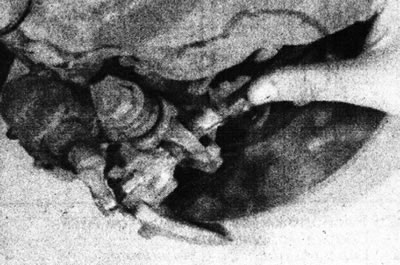
20.6 On models with rear disc brakes, separate the handbrake cable from the caliper.
7. Moving along the cable, remove all bolts and screws and release the cable from the mounting brackets and ties. Remove the cable from under the vehicle.
Installation
8. Install in reverse order. Adjust the handbrake (see Section 1). Please note that on models with rear drum brakes, the cable must be adjusted before installing the brake drum.