
- Center bearing bolt - 30 Nm
- Stabilizer arm nut - 15 Nm
Removing
1. Put the car on a lift.
2. Turn away two lower bolts of fastening of a reception pipe of system of release.
3. Remove the two subframe reinforcements.
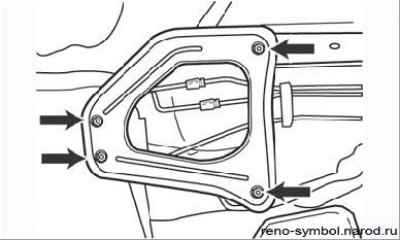
Figure 5.5. Removing the subframe reinforcement
4. Turn away a nut of levers of the stabilizer (at the suspension arm) holding the bolt from turning. Remove the bolt.
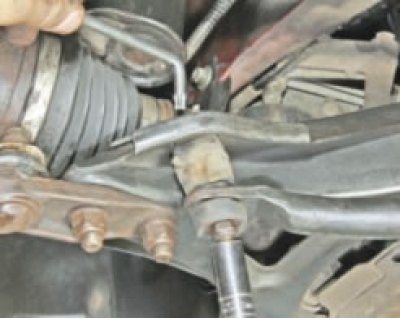
This is how the details of attaching the stabilizer bar to the front suspension arm look like:
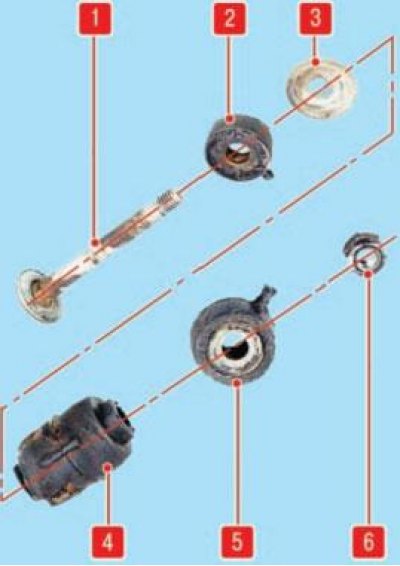
1 - bolt; 2, 5 - silent blocks; 3 - washer; 4 - rubber bushing; 6 - nut
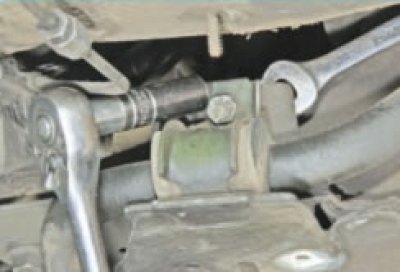
5. Holding from turning, unscrew the bolt of the central bearing (pillows) stabilizer.
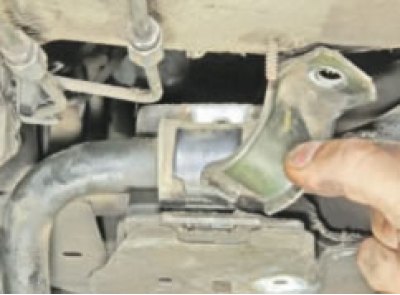
Remove the mounting bracket.
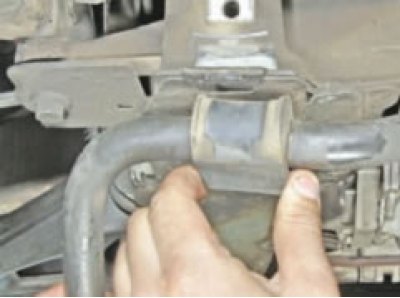
6. And unclenching the stabilizer cushion, remove the stabilizer.
Examination
Check the condition of the bearing and bushings of the stabilizer arms, replace if necessary.
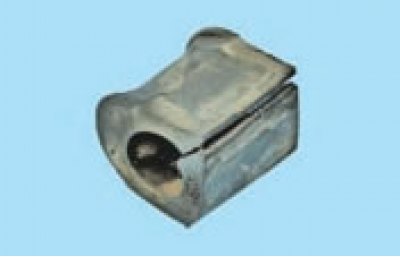
Cracked or worn pads and bushings are replaced. After replacing the cushion, install the stabilizer bar mounting bracket, then proceed to replace the second rubber cushion.
Installation:
- put rubber bushings on the stabilizer bar and install it in place, without finally tightening the clamp fastening bolts;
- fasten the ends of the stabilizer to the suspension arms by setting the rubber bushings according to the marks and not completely tightening the bolts and nuts;
- install the exhaust pipe of the muffler;
- install subframe reinforcements;
- Lower the car onto the wheels and tighten the stabilizer to the specified torque, starting with the clamp bolts.