



Contents: Removal 🠛 Installation 🠛
Removal
- on models with electric windows and central locking, disconnect the wire from the negative terminal of the battery;
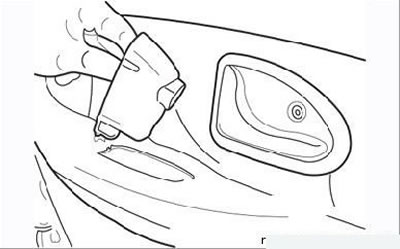
Figure 9.41. Removing the rear door armrest trim
- unscrew the fastening screw and, carefully lifting it, move the armrest handle cover forward to remove it (Figure 9.41);
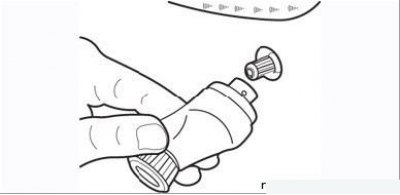
Figure 9.42. Removing the window lift handle from the rear door
- on models with mechanical windows, with the window fully lowered, note the position of the window handle and remove the handle from the axis (Figure 9.42);
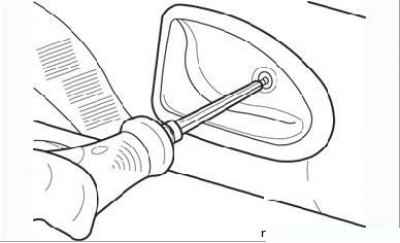
Figure 9.43. Screw for fastening the rear door inner handle trim
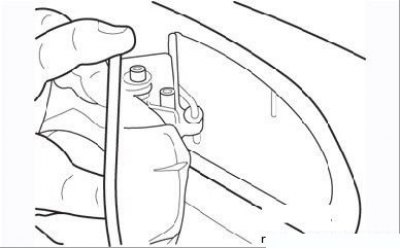
Figure 9.44. Disconnecting the control rod from the inner handle of the rear door
- unscrew the screws securing the inner handle to the door. Remove the handle and disconnect the control rod from the handle (Figure 9.43 and 9.44);
- on models with power windows, disconnect the wiring connectors from the switches;
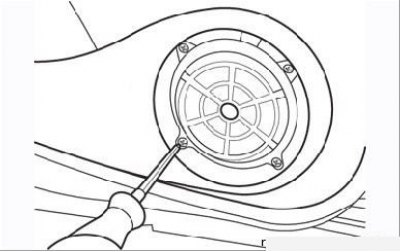
Figure 9.45. Removing the speaker from the rear door
- turn the speaker grille counterclockwise, remove the four screws and remove the speaker from the door, disconnecting the wiring connector (Figure 9.45);
- using a flat fork-shaped tool, carefully pry off the plastic trim clips around the perimeter of the door;
- remove the trim from the door and lift it over the inner window seal to remove it (it is sealed around the perimeter with sealant).
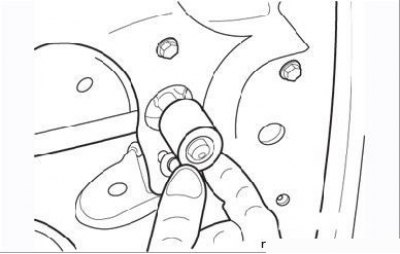
Figure 9.46. Bushing-spacer of the mechanical window lifter handle axis
A spacer is installed under the door panel on the mechanical window lifter axis (Figure 9.46).
Installation
Installation is carried out in the reverse order of removal. Before installation, apply sealant around the perimeter of the trim. Install the spacer bushing on the mechanical window lifter axis.