
Description
The electric heating of the rear window is carried out using a grid of heating threads, applied by screen printing on the inside of the glass.
Turning the heating on or off is done by a switch on the control panel.
The operation of the heating system is permitted when the engine is running, and is limited in time.
Note. The rear window heater is switched on simultaneously with the heater for the outside rear-view mirrors (depending on configuration).
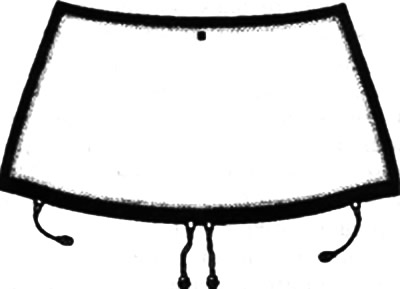
The electrical heating of the windshield is carried out using a grid of heating threads applied by screen printing on the inside of the glass.
Turning the heating on or off is done by a switch on the control panel.
The operation of the heating system is permitted with the engine running and is limited in time.
Repair
Due to accidental breakage of the heating threads of the grid, part of it may become inoperative.
The location of the break can be accurately determined with a voltmeter.
You can restore the damaged area using a varnish for repairing the rear window defroster.
Clean the area to be repaired of dust and grease (best with alcohol or glass cleaner). Wipe with a dry cloth.
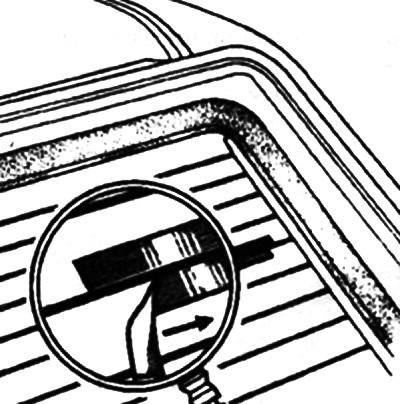
To get a straight line, cover the area to be repaired on both sides with adhesive tape, leaving only the filament itself exposed.
Shake the lacquer bottle before use.
Using a small brush, apply a sufficient layer of varnish. When applying multiple layers (no more than three layers) the previous layer must dry.
Leave the varnish to dry for an hour. without removing the adhesive tape.
The adhesive tape is peeled off perpendicular to the surface in the direction indicated by the arrow.
If, despite the use of adhesive tape, smudges have formed, leave the varnish to dry until completely cured. and then remove the excess with the tip of a knife or razor blade.
Note. The drying time of the varnish is approximately three hours at room temperature.