



Contents: Special tool required 🠛 Tightening torques, Nm 🠛 Installation 🠛 Checking the initial injection…🠛 Modification of the Mot. 1358 device 🠛 Setting the initial injection…🠛
Special tool required
- Mot. 1054 TDC locking device.
- Mot. 1079 Tool kit for adjusting the LUCAS pump.
- Mot. 1200, Mot. 1317 Device for fixing the fuel injection pump pulley.
- Mot. 1358, Mot. 1359 Tool kit for working with RAM pulley (with high-precision angular position adjustment).
Tightening torques, Nm
- RAM Pulley Fastening Nut (to lock in the adjusted position): 90.
Installation
Attention! The crankshaft can only be turned in the direction of its rotation and only by turning the front wheel, after first engaging fifth gear; if you accidentally turn the crankshaft in the opposite direction, repeat the procedure for checking or adjusting the pulley position.
Checking the initial injection advance angle setting of high-pressure fuel pumps equipped with a RAM pulley
1. Turn the crankshaft two revolutions in the direction of rotation (rotating the front wheel and engaging fifth gear).
2. Remove the plug that closes access to the adjustment channel located on the pump cover.
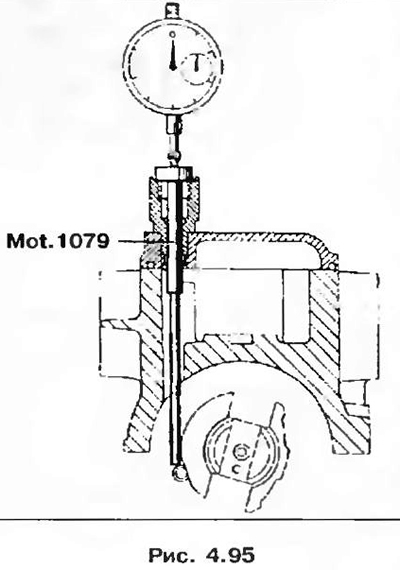
3. Set the Mot. 1079 tool and the indicator pointer to zero so that the extension of the indicator leg touches the pump cam in the non-working position (to do this, turn the crankshaft slightly in the direction of rotation).
Note: To ensure measurement accuracy and sufficient travel of the indicator leg, it is recommended to install the indicator leg on the support mandrel with a preload of 1 mm, and fix the indicator in this position by setting its arrow to zero.
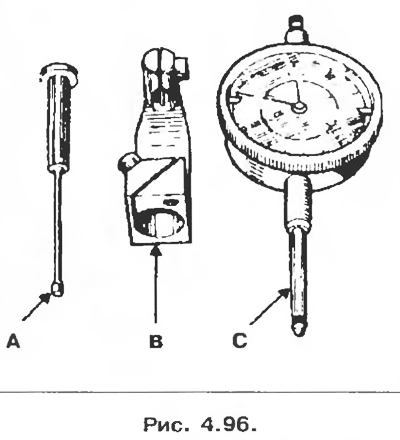
Composition of the Mot. 1079 device:
A - Indicator leg extension;
B - Indicator support;
C - Indicator with a measurement scale up to 30 mm.
4. Lock the crankshaft with the Mot. 1054 locking tool.
- turn the crankshaft in the direction of rotation (clockwise when viewed from the timing drive side);
- while monitoring the appearance of a mark on the toothed pulley of the camshaft through the hatch holes in the upper cover of the timing drive;
- half a tooth before the mark on the toothed pulley of the camshaft is aligned with the installation protrusion of the hatch, stop rotating the crankshaft;
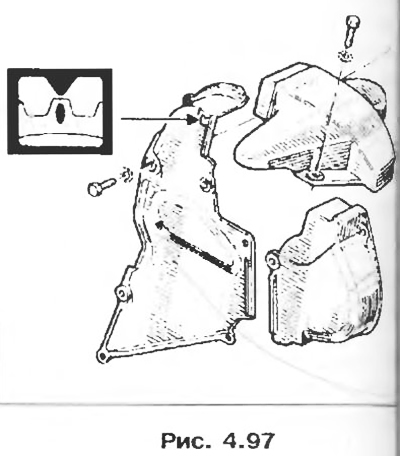
- insert retainer Mot. 1054
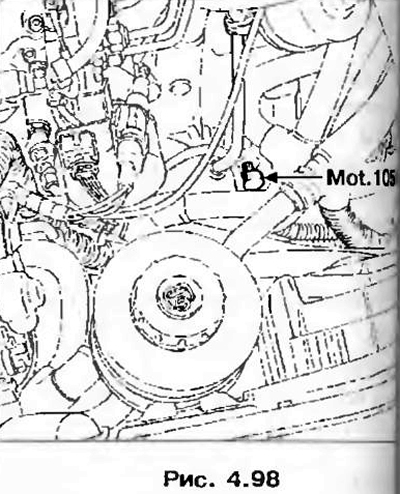
- keep pressing on the lock;
- slowly turn the crankshaft until the locking pin enters the groove on the crankshaft;
- using a pointer-type indicator, check the stroke of the pump plunger;
- the value is indicated on the plate fixed to the load lever;
- if the values do not match, change the position of the pulley (not lower).
Modification of the Mot. 1358 device
To adjust the position of the HTD2 pulleys, it is necessary to perform this modification by shortening all three legs of the device by 1.5 mm.
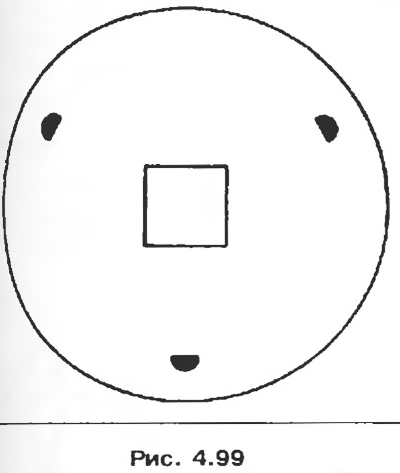
Setting the initial injection advance angle on the fuel injection pump with a RAM pulley
1. Remove the RAM pulley cover.
2. Fit the pulley locking device Mot. 1317 or Mot. 1200.
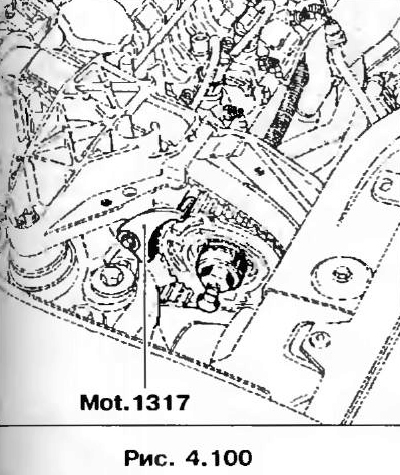
Caution! Using tool Mot. 1359, loosen bolt 1 slightly (be careful: left hand thread), so that flange B can be turned.
3. Insert the tabs of the modified tool Mot. 1358 into the three holes on flange B.
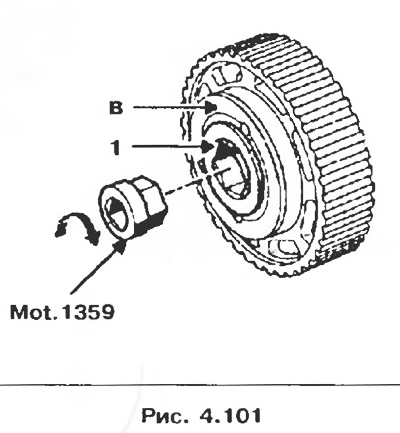
4. Turn the fixture together with the flange so that the three tabs of the fixture fit into the three recesses on the adjusting bolt plate.
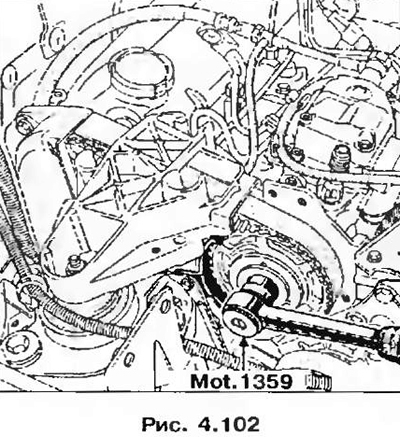
5. Turn the tool together with the flange clockwise until the tool locks Mot. 1358; this is necessary to set the pulley to the transition adjustment position.
6. Remove tool Mot. 1317 or Mot. 1200.
7. Turn the crankshaft two revolutions in the direction of rotation (rotating the front wheel, engaging fifth gear).
8. Remove the plug that closes access to the adjustment channel located on the pump cover.
9. Set the Mot. 1079 tool and the indicator pointer to zero in the area of no action of the pump cam (to do this, turn the crankshaft slightly in the direction of rotation).
10. Lock the crankshaft with locking tool Mot. 1054.
Note: If the cable length is not sufficient to adjust, turn the tool back one turn to tighten the cable using tool Mot. 1358 and resume the adjustment from the previous operation.
11. Leave the Mot. 1054 retainer in place
12. Using tool Mot. 1359, pre-tighten screw 1 to a torque not exceeding 2 Nm (the screw has a left-hand thread).
Caution! The torque wrench used must be capable of tightening screws with left-hand threads.
13. Remove the retainer Mot. 1054.
14. Fit the pulley locking device Mot. 1377 or Mot. 1200.
15. Turn the crankshaft counterclockwise by hand until the locking device contacts the pulley.
16. Tighten bolt 1 to 9 Nm using tool Mot. 1359.
17. Turn the crankshaft two revolutions and check again that the initial injection advance angle is set correctly.