
Removing
Attention! Install a windshield of the same tint to avoid malfunctioning of the rain sensor. The old rain sensor must remain on the old windshield for the duration of the replacement operation.
Note. When removing, installing or replacing the windshield, be sure to replace the seal and mounting pads.
Remove facings of racks of an aperture of a windscreen.
Remove an internal rear-view mirror.
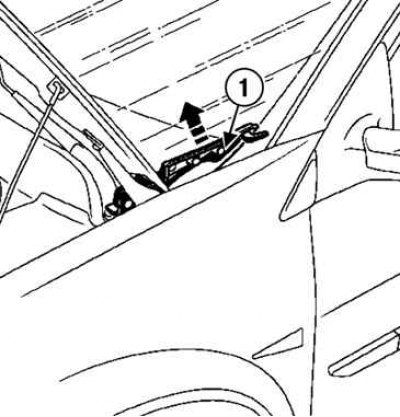
Pic. 8.87. Removing the decorative trim: 1 - overlay
Detach the decorative trim (pic. 8.87).
Remove the seal and plastic rivets.
Remove the wiper arms using the special tool (Ele. 1552).
Remove the air intake grille.
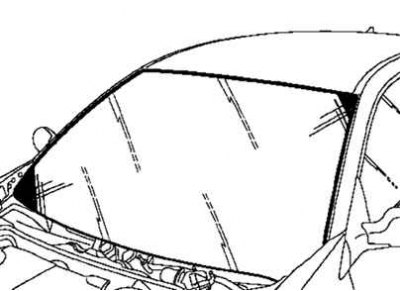
Pic. 8.88. Windshield seal
Disconnect the windshield seal (pic. 8.88).
Stick the protective tape around the perimeters of the windshield upholstery of the roof.
Install the guard (Sag. 1670) on the dashboard.
Cut through the bead of glue.
Remove glass.
Installation
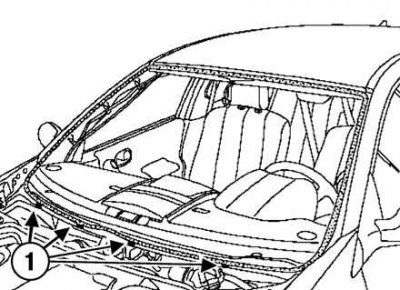
Pic. 8.89. Installing the lower inserts: 1 - inserts
Install the four lower inserts (pic. 8.89).
Pull the new seal over the windshield.
Attention! Use an adhesive with a high modulus of elasticity to bond the glass.
Attention! Observe the thickness of the adhesive layer.
Observe clearance and protrusion values:
- between the windshield and the roof;
- between the windshield and the pillars of the opening.
Note. Features of installing the grille of the air intake niche:
- - clean the lower part of the windshield;
- - make sure that the grille clips of the air intake niche do not come into contact with the windshield.
Note. Plastic rivets and clips must be replaced after each removal.
Make sure the motor is in the same position as the original position of the wiper on the rear window.
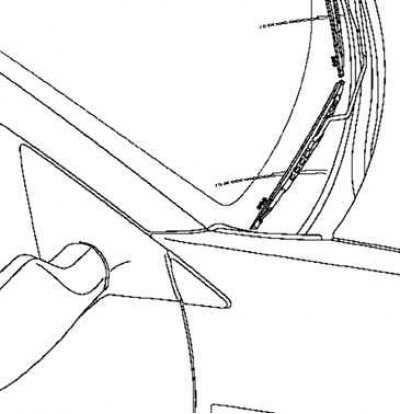
Pic. 8.90. Installation of wiper arms on the marks on the windshield
Install the wiper arms according to the marks on the windshield (pic. 8.90).
Torque tighten the wiper arm nuts to 21 Nm.
Attention! All work with the rain sensor must be carried out in conditions of perfect cleanliness: dust, particles of rags can lead to a malfunction of the sensor.